
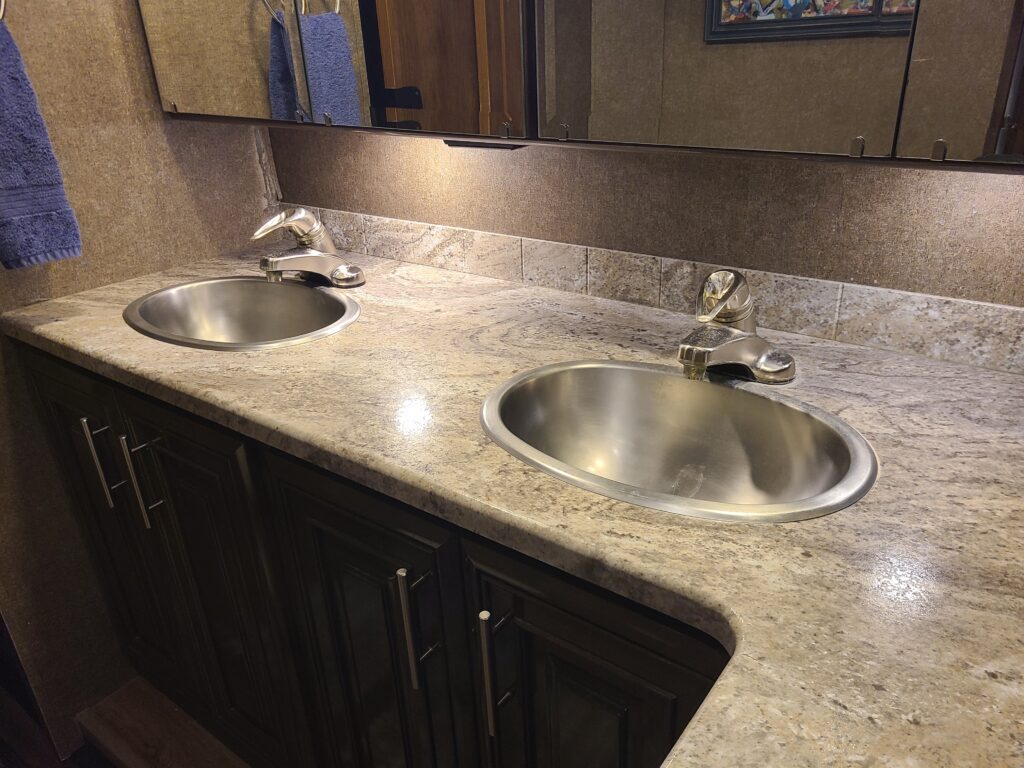
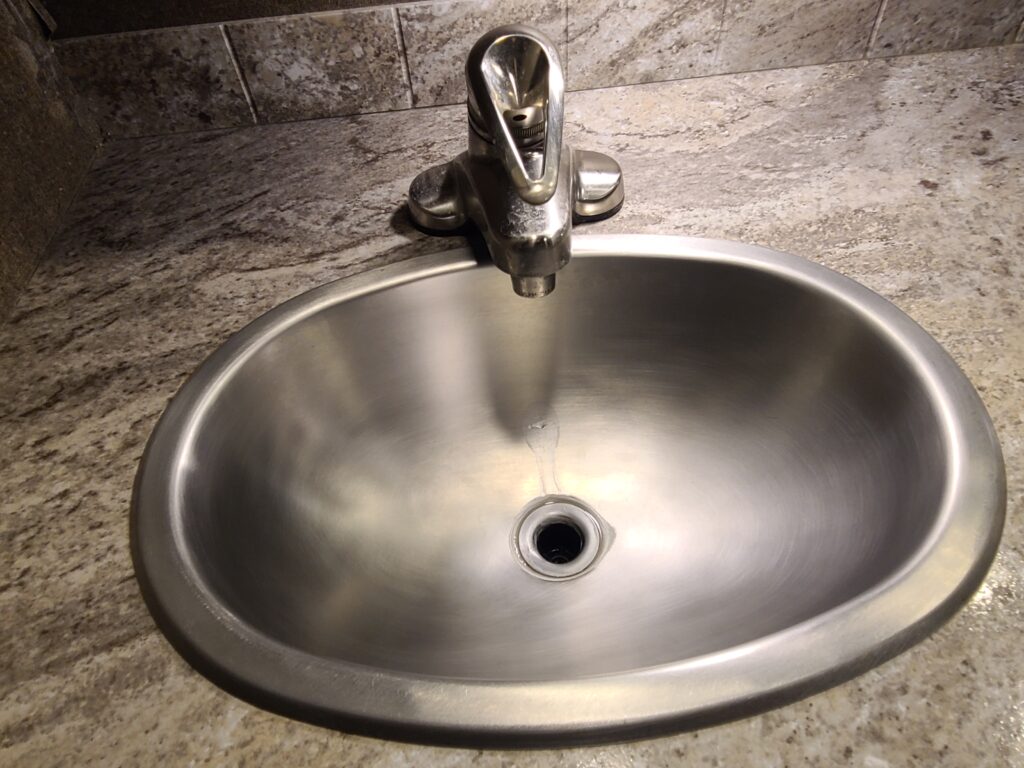
One of the quickest and most impactful upgrades we’ve made in our RV bathroom was replacing the factory-installed plastic faucets. Like many RVers, we found that the standard faucets were flimsy, hard to keep clean, and just didn’t match the look we wanted. To make matters worse, our original faucets had started to drip constantly, which made the decision to replace them even easier.
Instead of sticking with “RV faucets,” we went with residential faucets — and the difference has been night and day.
This post contains affiliate links. As a participant in Amazon Associates and various affiliate programs, we are compensated when qualifying purchases are made through our referral links at no additional cost to you. Full Disclosure
Why Replace RV Faucets?
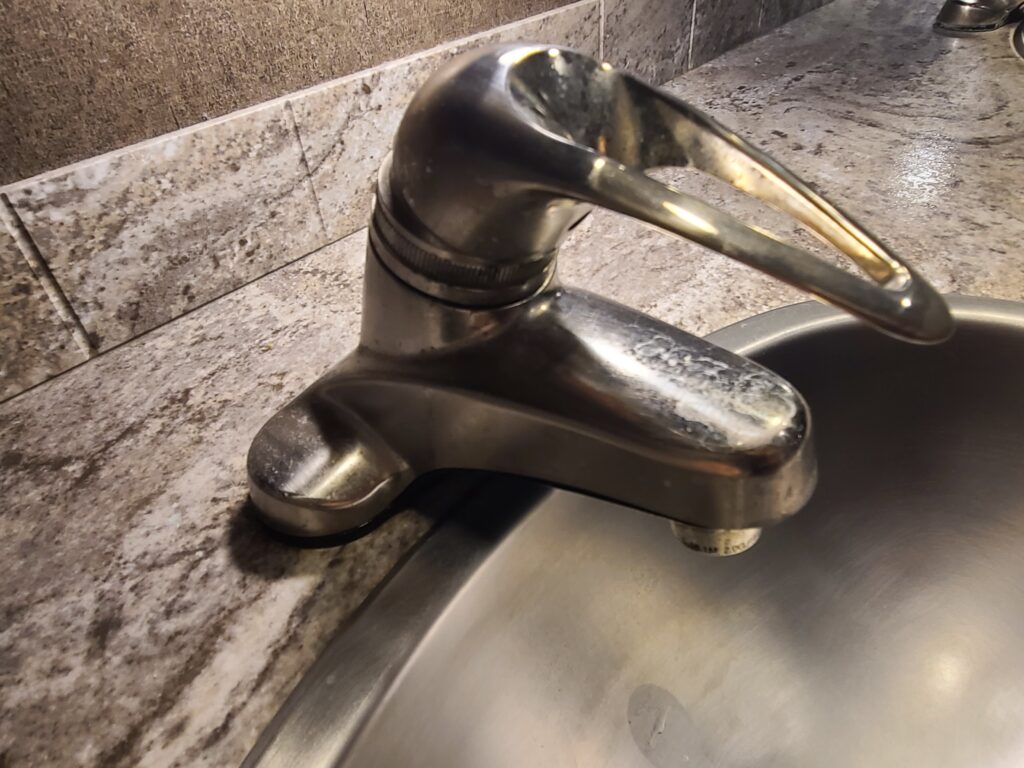
Like many rigs, ours came with lightweight plastic faucets. At first, they were fine, but over time, they felt cheap, looked worn, and eventually started to drip. When we went searching for replacement RV faucets, we quickly realized most of the options were the same plastic junk we already had. That’s when we decided to take a different route: residential faucets.
Since the bathroom is one of the most-used spaces in the RV, upgrading to residential faucets was an easy decision.
Choosing Residential Faucets for an RV
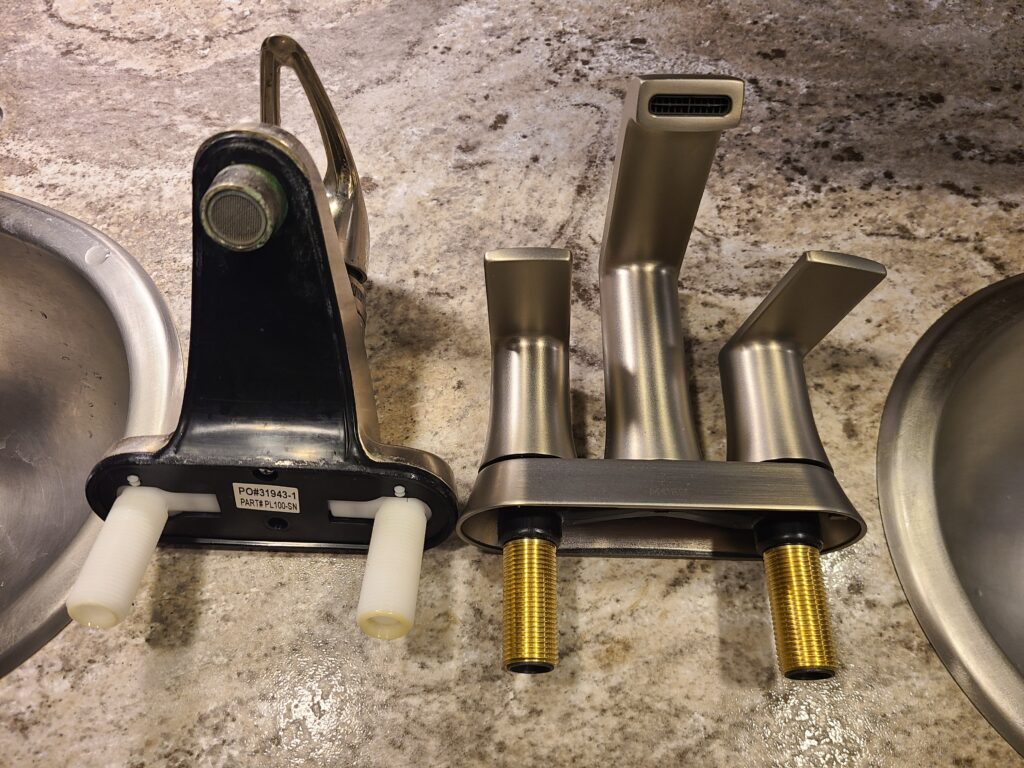
Before you swap out your RV faucets, it’s important to measure your sink cutouts. Many RV bathroom sinks use a 4-inch centerset faucet, which also happens to be a standard residential size. This makes it possible to install a home faucet with no special modifications.
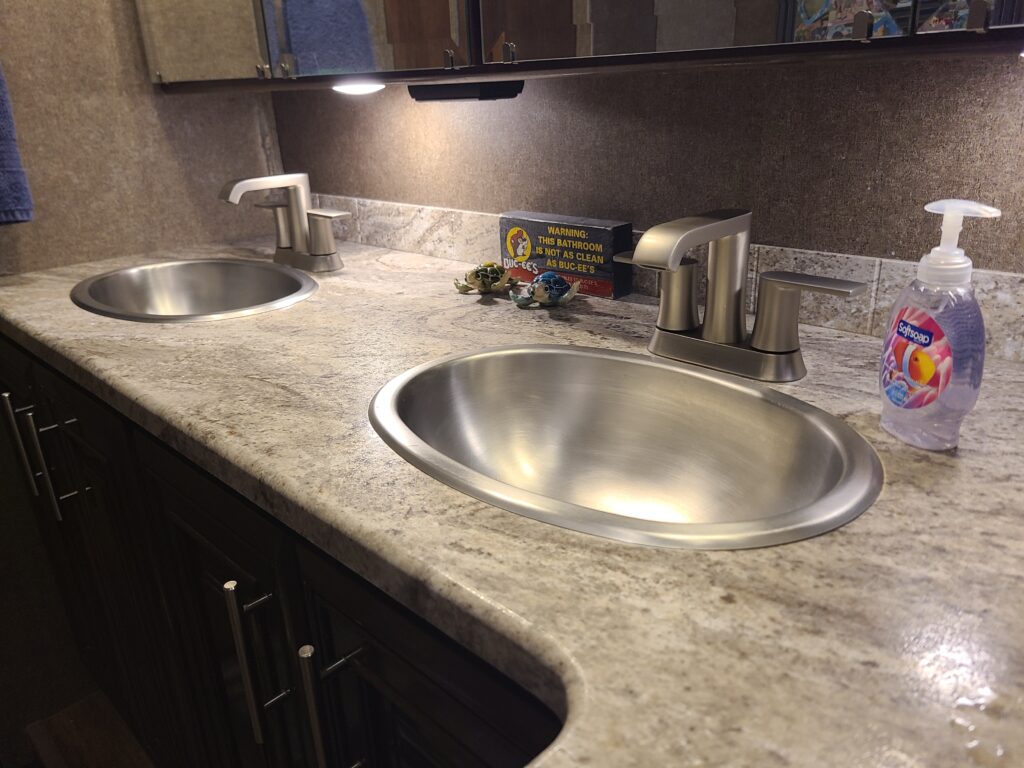
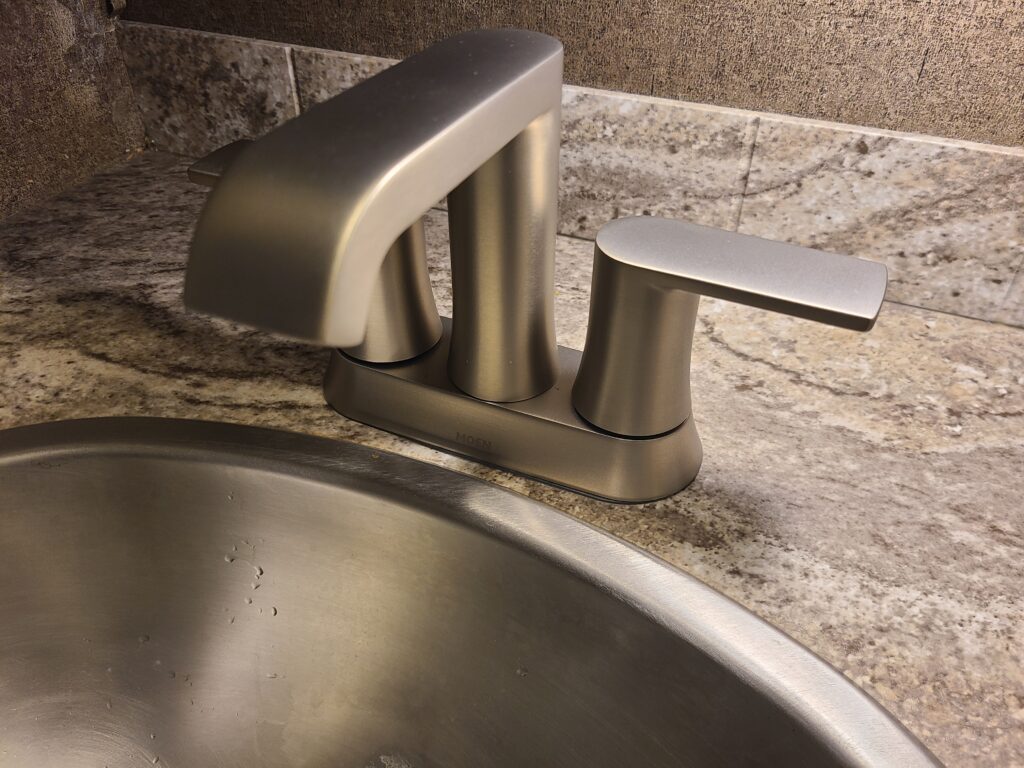
We went with the Moen Genta collection because of its modern design, durable construction, and brushed nickel finish. The best part? Moen makes coordinating accessories, so we upgraded our towel rings and toilet paper holder at the same time for a cohesive look.
👉 Browse Moen Faucets on Amazon
👉 Moen Towel Bars
👉 Moen Towel Rings
👉 Moen Toilet Paper Holders
Installation Was Easier Than Expected
I thought this project might turn into a half-day of crawling under the sink with a pile of tools, but it turned out to be one of the simplest upgrades we’ve done.
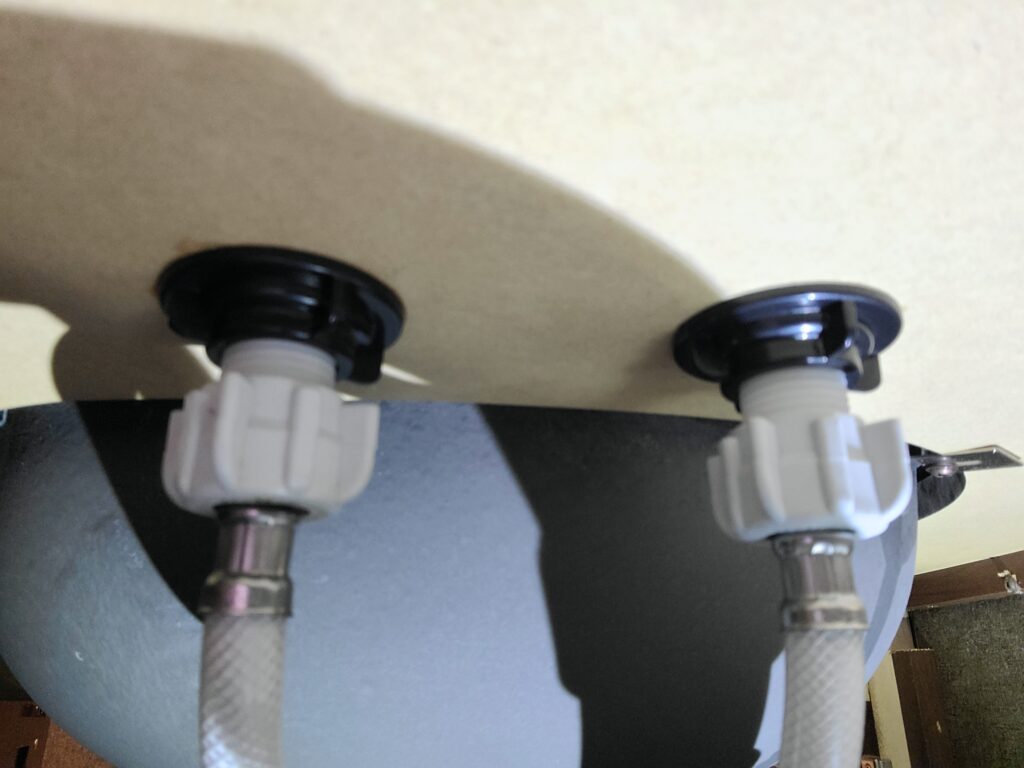
The fittings on the Moen faucets didn’t even require a wrench. All I needed was a flashlight to see what I was doing and a few towels to catch the leftover water when disconnecting the old faucet. In less than an hour, both bathroom faucets were swapped out and are looking great.
Step-by-Step Faucet Replacement
- Turn off the water supply. Either at the RV pump or the city water hookup.
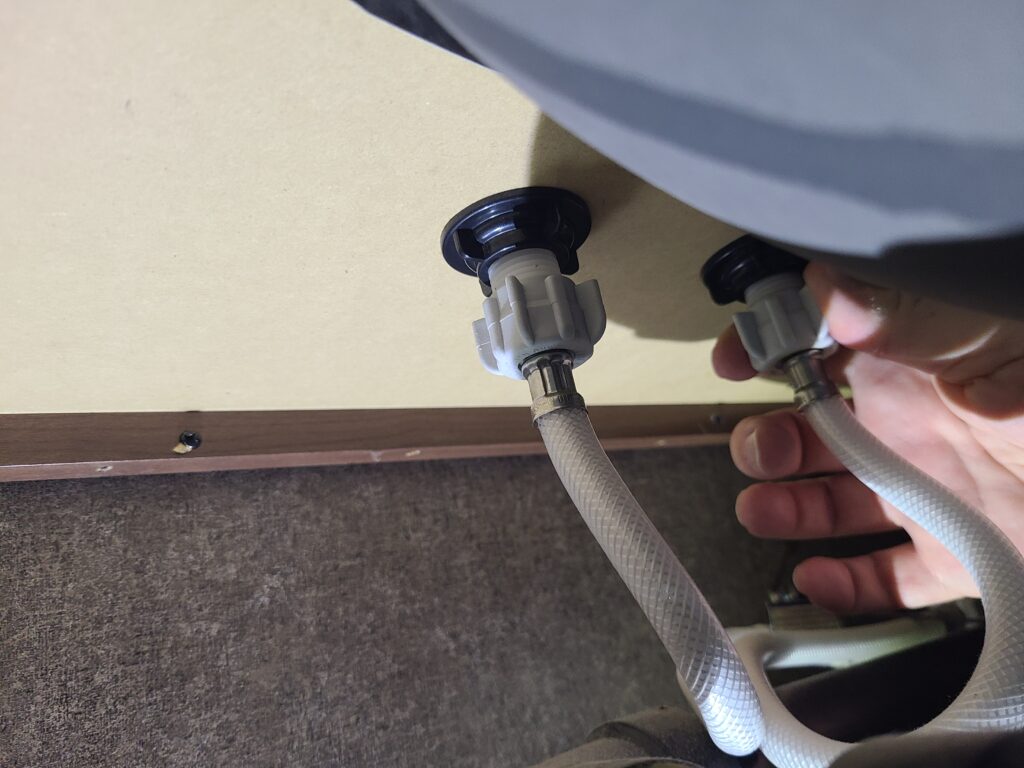
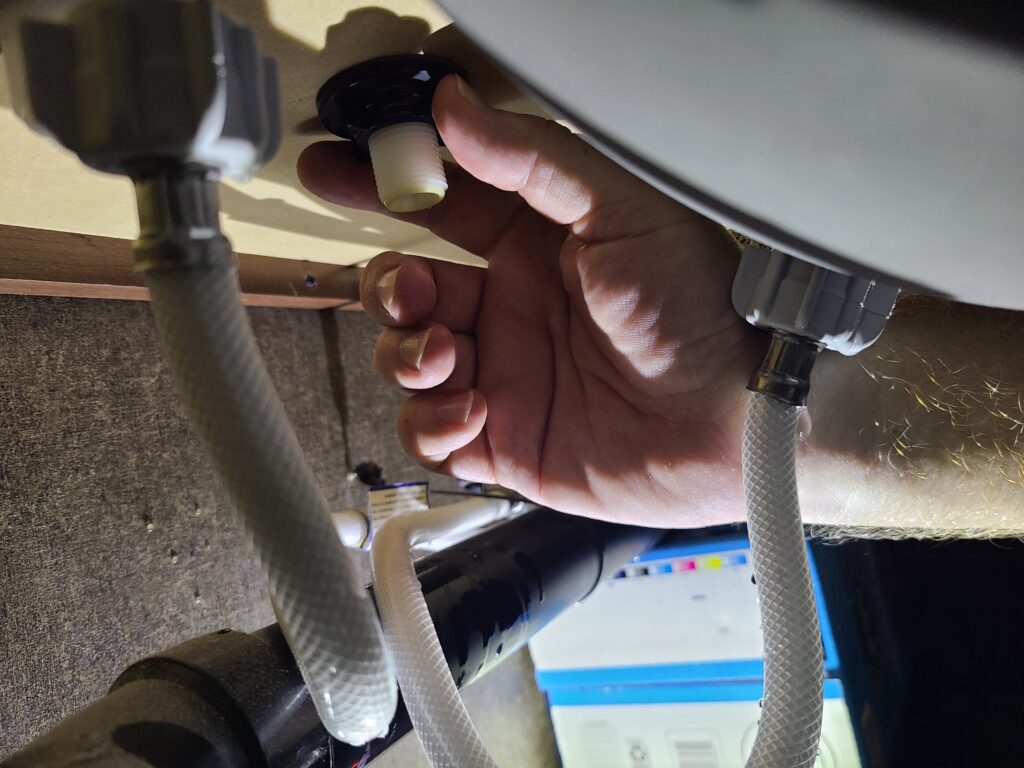
- Remove the old faucet. Loosen the fittings by hand and disconnect the water lines.
- Clean the sink area. Wipe away residue so the new faucet sits flush.
- Install the new faucet. Drop in the Moen faucet and secure it with the provided hardware.
- Reconnect water lines. Hand-tighten until snug.
- Turn the water back on and test. Check carefully for leaks.
No wrench, no fuss, no stress — this really was a beginner-friendly upgrade.
The Results
The upgrade was immediate and obvious. The new faucets look sleek, feel solid, and no longer drip. Every time we turn the handles, it feels like using a real home bathroom instead of settling for RV-grade fixtures. The matching towel hardware completed the look, giving our bathroom a polished, finished feel that fits our full-time lifestyle.
Before & After Results
Before
After
Shop This Upgrade
Shop Our RV Bathroom Upgrade
Durable Moen fixtures that feel just like home — sleek, modern, and built to last.
Lessons Learned
- Residential faucets often fit RV sinks perfectly — don’t feel limited to “RV-only” options.
- Don’t overcomplicate the install — sometimes fittings are hand-tightened and don’t require tools.
- Put a towel in the cabinet before starting — makes cleanup easy.
- Matching accessories (faucets, towel rings, towel bars, TP holders) tie the space together beautifully.
Final Thoughts
Upgrading to residential faucets was one of the easiest projects we’ve tackled in our RV, and the payoff was huge. We eliminated the constant dripping, ditched the flimsy plastic, and gave our bathroom a high-end look that matches our lifestyle.
For us, the Moen Genta line was the perfect fit, but Moen has a wide variety of styles to match any RV bathroom. If you’re ready to make your bathroom feel more like home, upgrading your faucets is a simple yet impactful project. Sometimes the smallest changes make the biggest difference.
And this is just part one of our bathroom refresh. Next up, we tackled the backsplash — and that took the transformation to the next level. If you’d like to see how we finished the look, check out our Peel and Stick Backsplash Upgrade.
If you’re looking to build your own home-based business like we have with this webpage, check out Wealthy Affiliate.
Wealthy Affiliate is an all-in-one platform that you can build your whole affiliate marketing business on. It combines training, software, and website hosting into one. This makes the whole process of starting an online business from scratch much easier, especially if you’re new to building a website.