
If your RV’s electric fireplace is making an annoying squeaking noise, you’re not alone—and the fix is easier than you think. In this post, I’ll walk you through how to identify the source of the squeak and eliminate it, based on our personal experience with the Napoleon EF-30B Electric Fireplace in our 2019 Thor Challenger 37YT.
- Do RVs Really Need a Fireplace?
- When the Squeak Begins…
- What Causes the Squeak?
- How to Fix an Electric Fireplace Squeak
- Steps to Complete:
- Step 1: Turn Off and Cool Down the Fireplace
- Step 2: Remove the Fireplace Shroud
- Step 3: Unscrew the Fireplace and Slide It Out
- Step 4: Move to a Work Area
- Step 5: Remove the Back Panel
- Step 6: Clean the Fire Effect Mechanism
- Step 7: Lubricate the Grommet
- Step 8: Clean the Heater Fan (Optional see below)
- Step 9: Reassemble in Reverse Order
- Step 10: Test the Fireplace
- Optional: Clean the Heater Fan
- What If Your Blower Motor Fails?
- Final Thoughts
This post contains affiliate links. As a participant in Amazon Associates and various affiliate programs, we are compensated when qualifying purchases are made through our referral links at no additional cost to you. Full Disclosure
Do RVs Really Need a Fireplace?
When Lisa and I first started shopping for RVs, the last thing we thought we needed was a fireplace. Fast forward to winter in Colorado, and we quickly realized how valuable that feature actually is. While the propane furnace heats the rig well, it guzzles propane fast. Once we started using the electric fireplace and paired it with a ceramic space heater in the bedroom, our propane usage dropped dramatically.
One thing we’ve learned on the road: use what you’ve got to stay comfortable—and save money.
When the Squeak Begins…
In February 2020, a soft squeak started coming from the fireplace. At first, it was subtle and sporadic. A month later? It was constant. That high-pitched squeal echoed through the front of the motorhome and overpowered the TV. That’s when I knew I had to get in there and fix it.
What Causes the Squeak?
The culprit is the fire effect mechanism. The flame visuals you see are created using an LED light source and a rotating rod lined with shiny reflective pieces. One end of the rod is powered by a small electric motor; the other end rests in a grommet. That grommet is where the annoying squeak comes from.
How to Fix an Electric Fireplace Squeak
Difficulty: Very easy
Time required: 30–60 minutes
Recommended maintenance: Bi-annually
Tools and supplies:
- #2 Phillips screwdriver
- Compressed Air Duster
- Lint Free Rags or cleaning wipes
- WD-40 White Lithium Grease or similar lubricant
Steps to Complete:
Step 1: Turn Off and Cool Down the Fireplace
Make sure the fireplace has been powered off and cooled for at least 30 minutes before working on it.
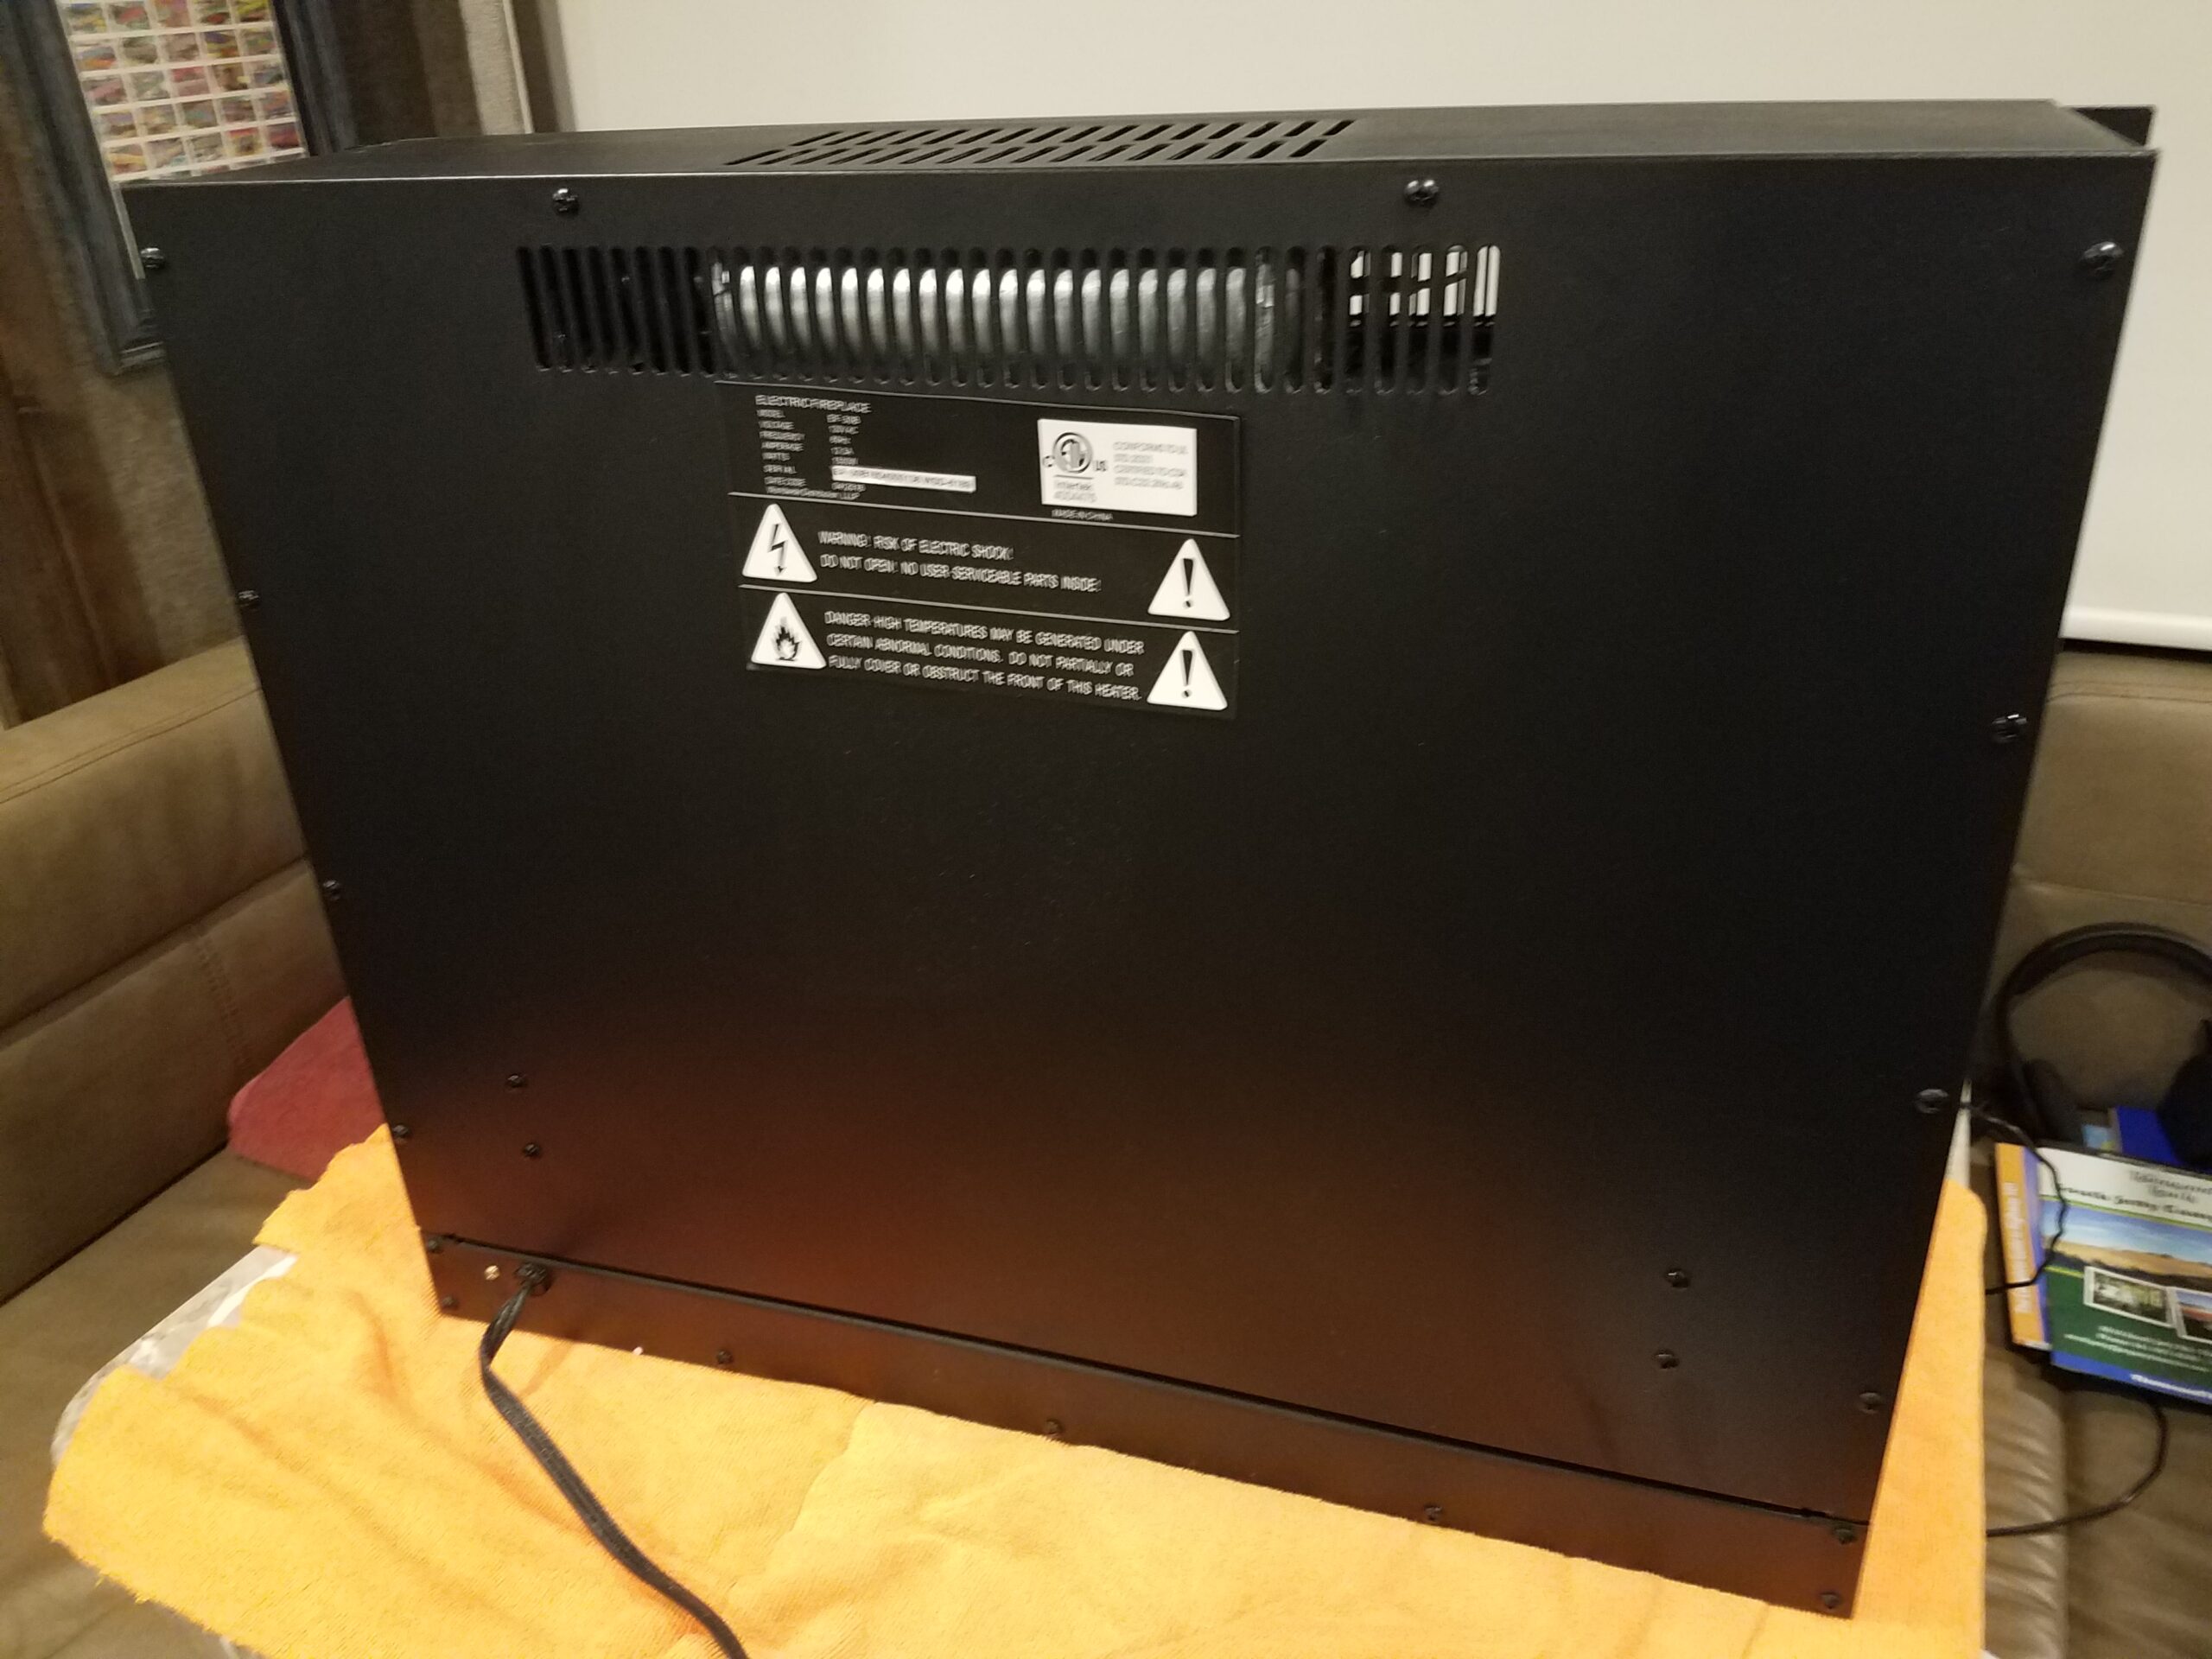
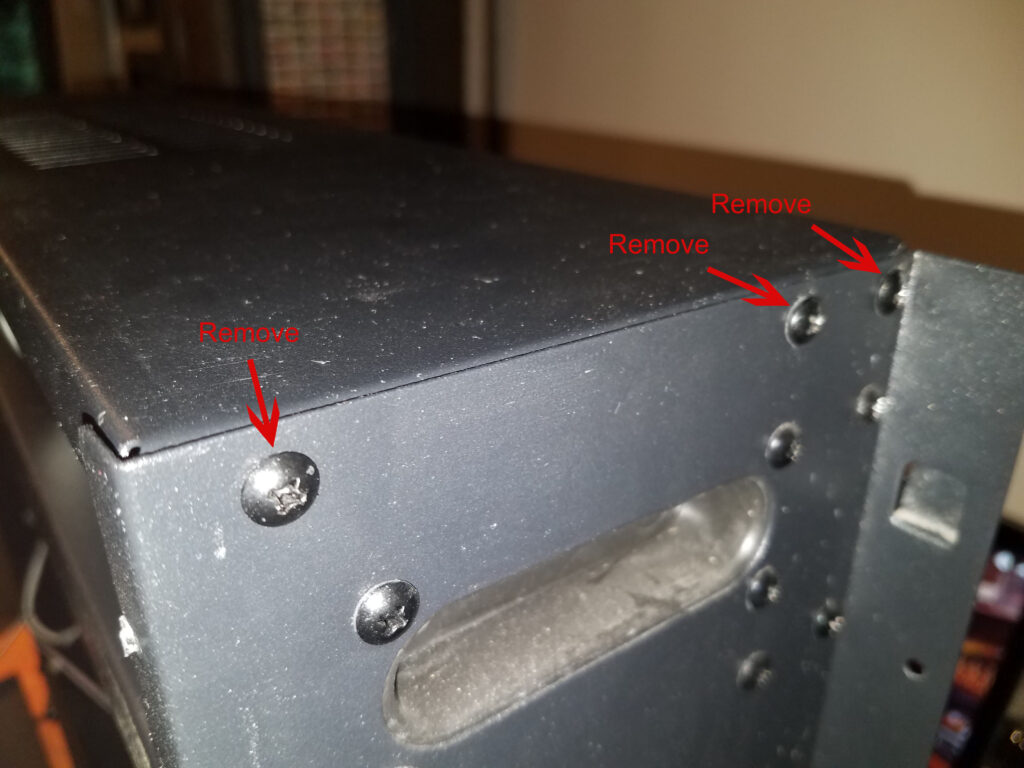
Step 2: Remove the Fireplace Shroud
The shroud slides up and off by hand. This gives access to the mounting screws.
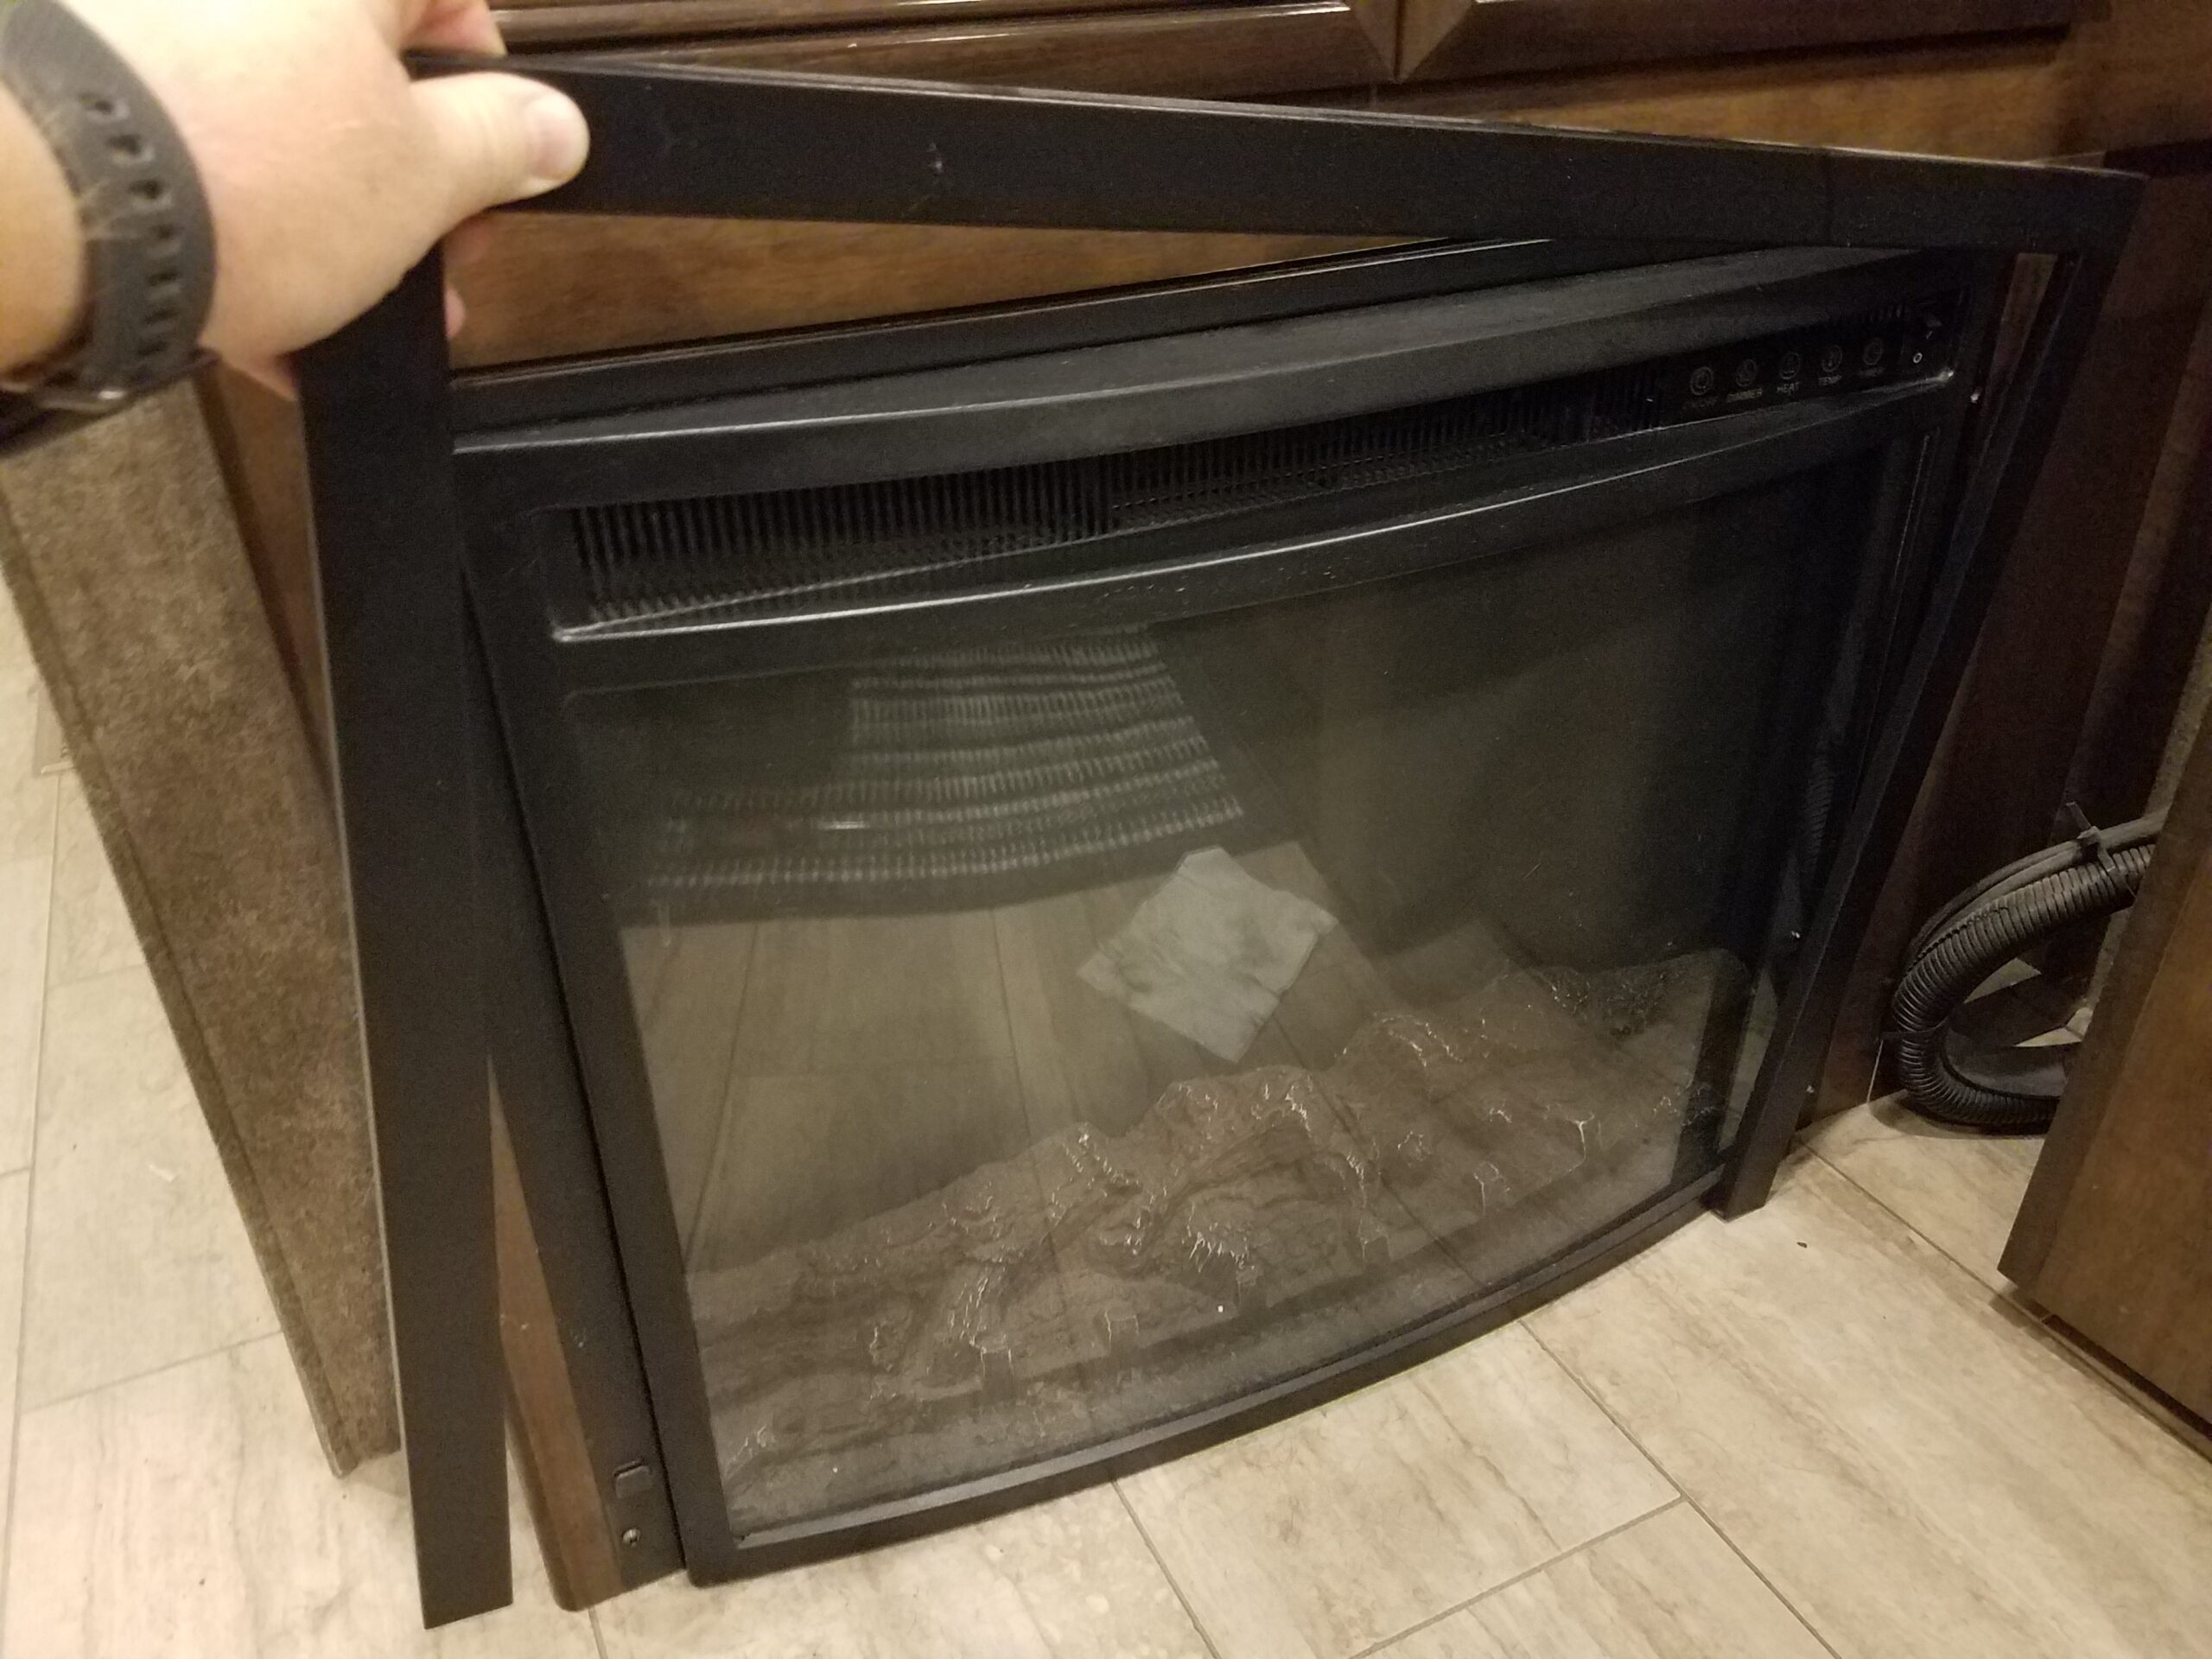
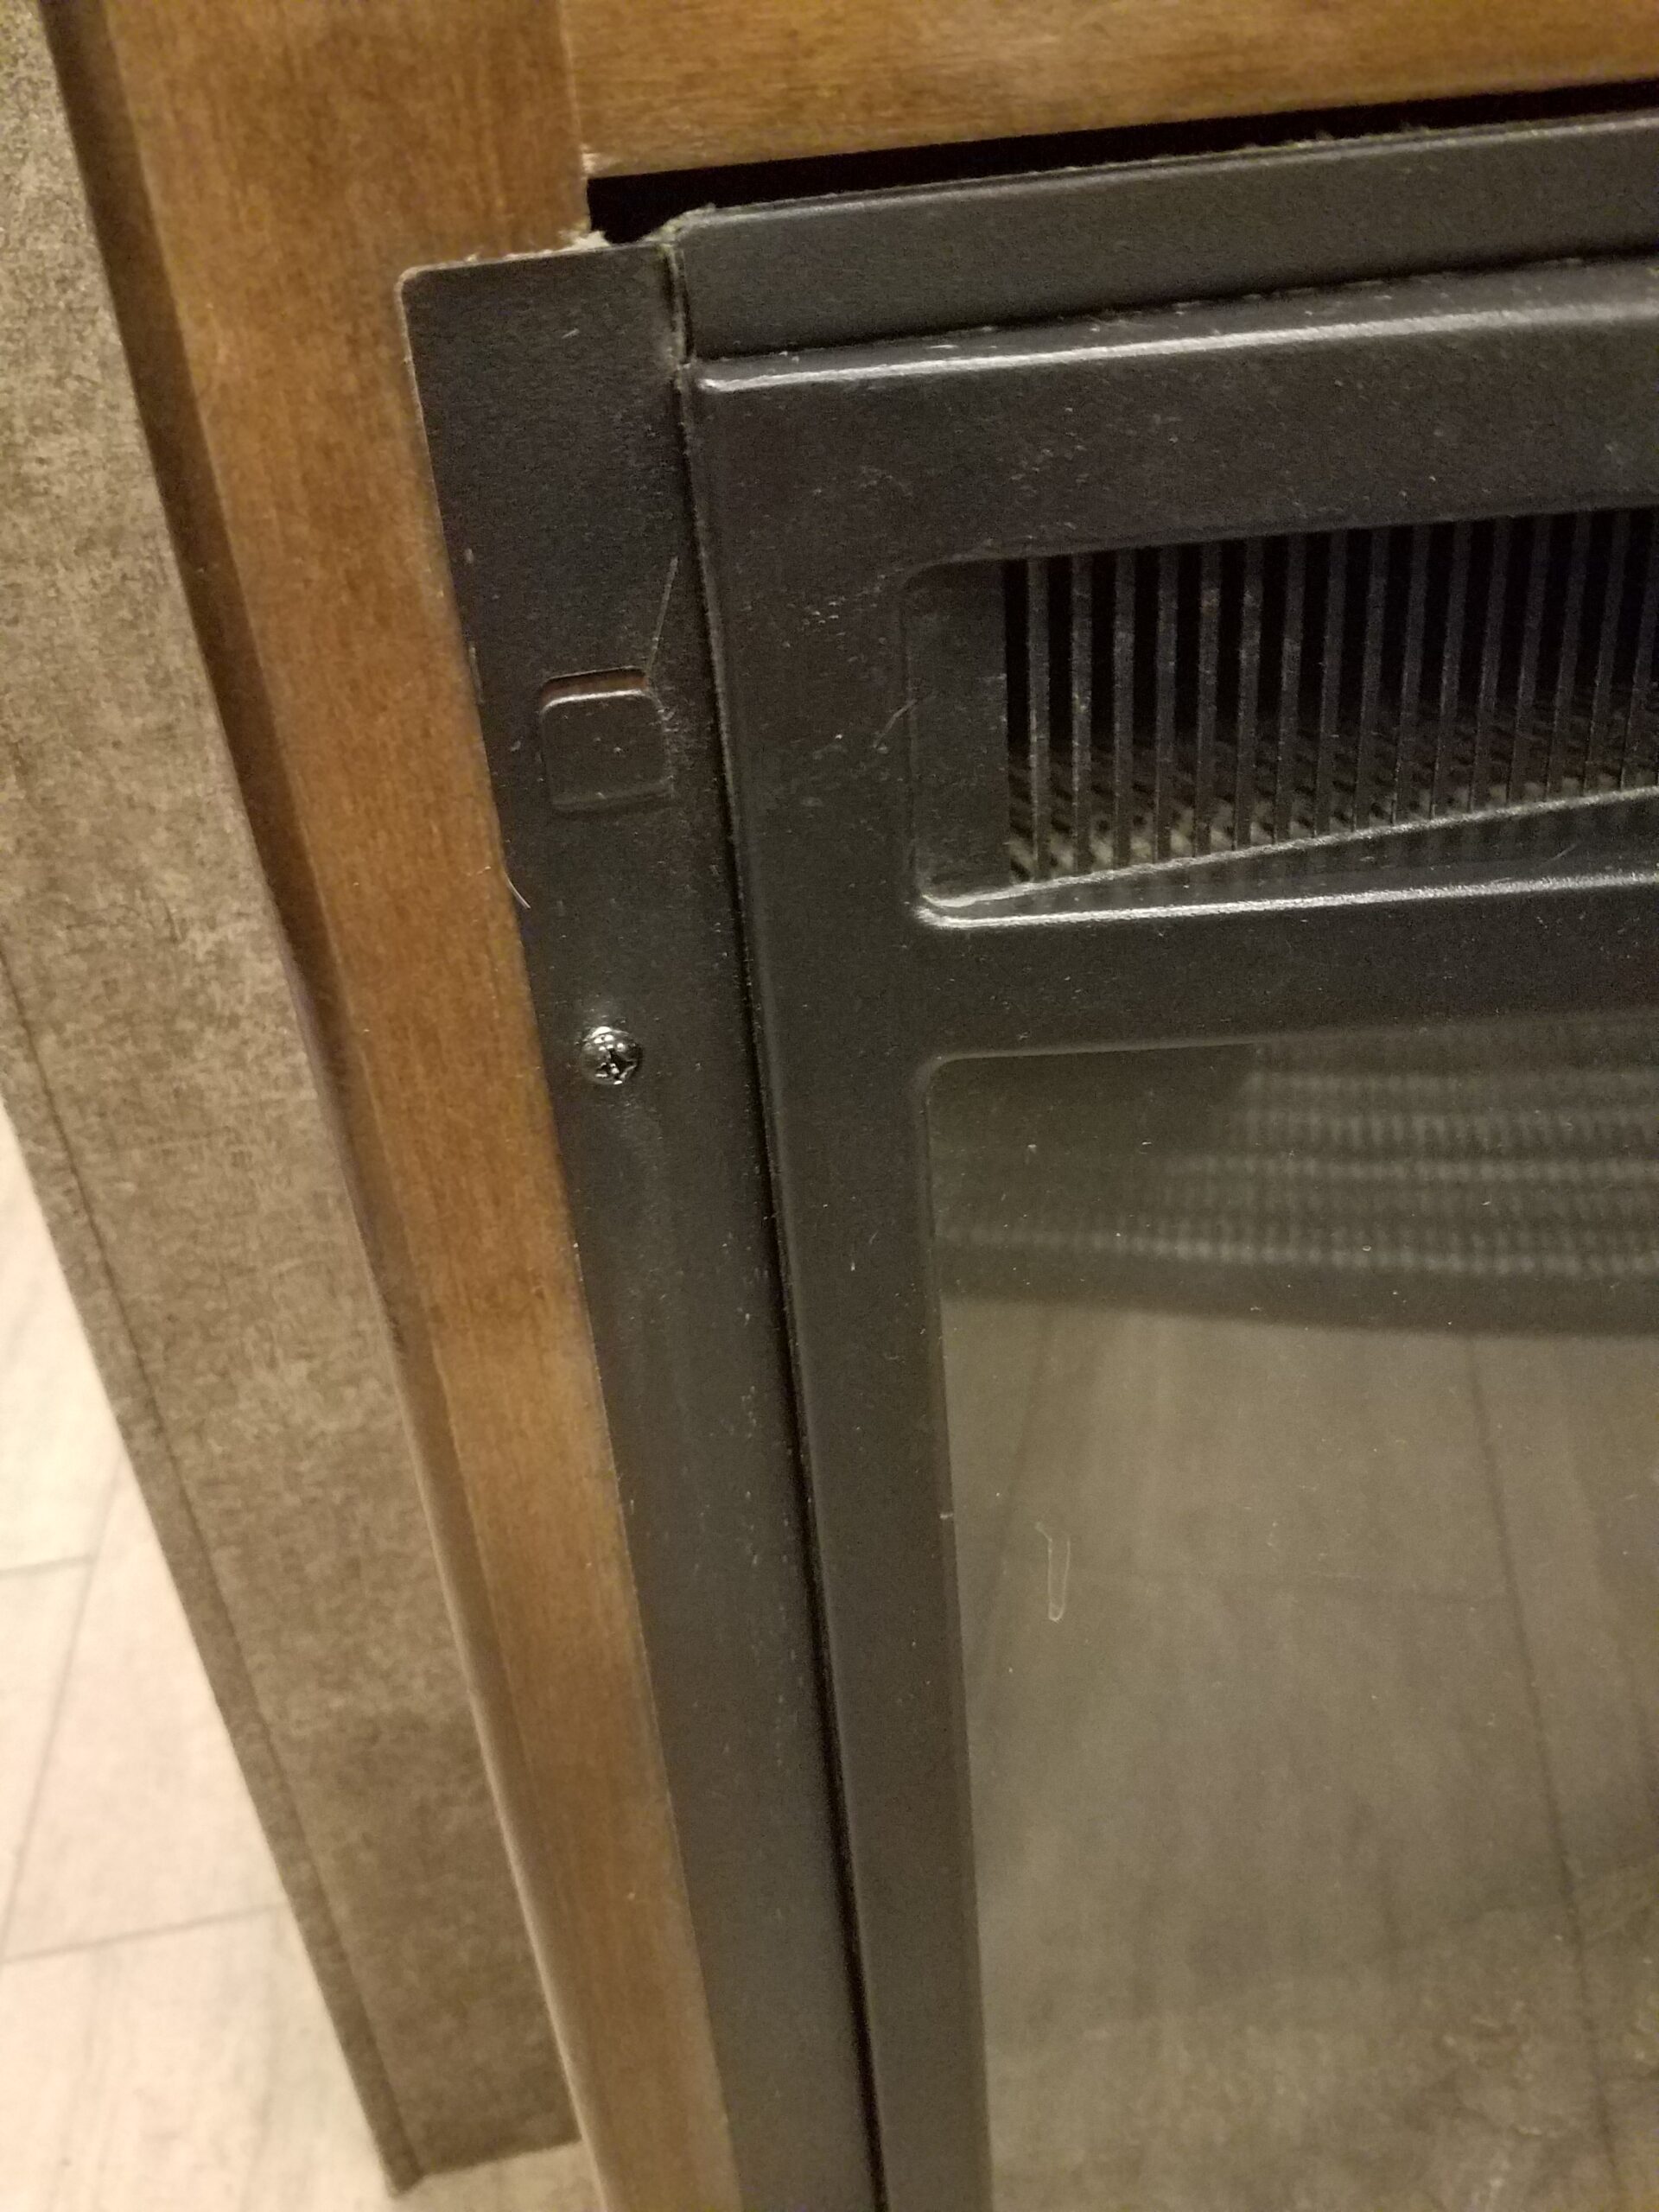
Step 3: Unscrew the Fireplace and Slide It Out
Using a #2 Phillips screwdriver, remove the four screws from the outer frame. Slide the fireplace out slightly to reach the plug.
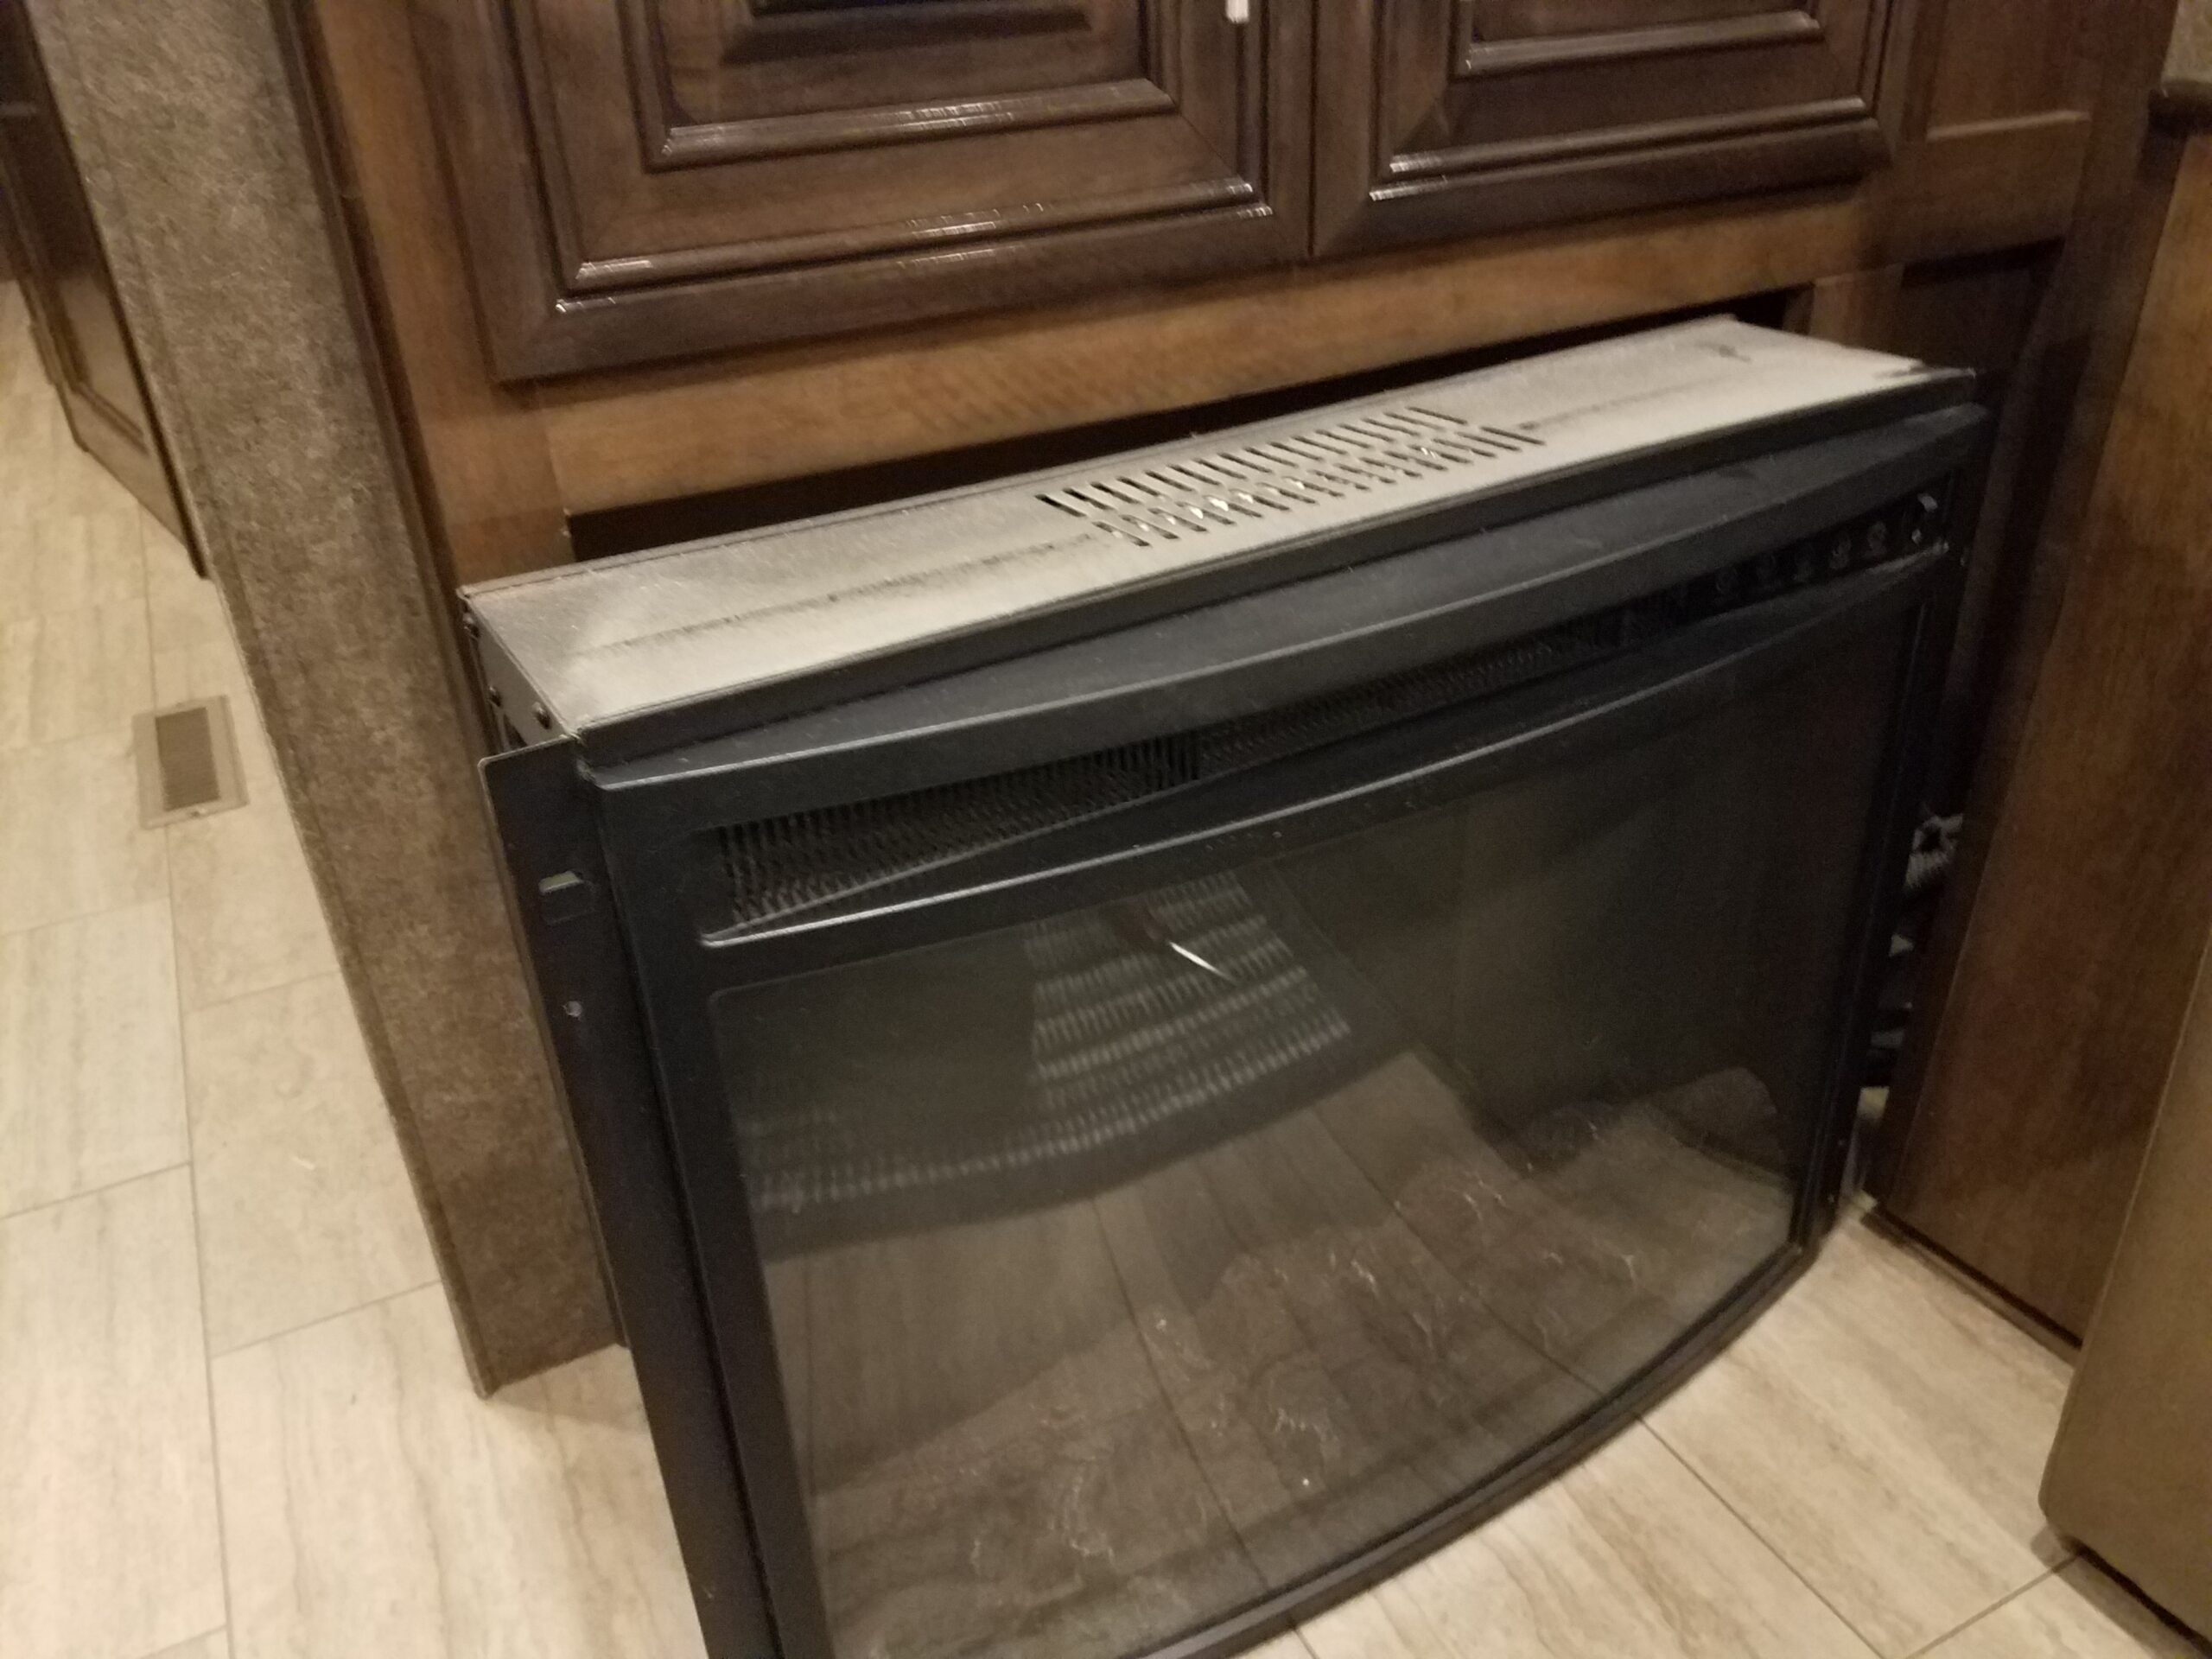
Step 4: Move to a Work Area
Move the fireplace to a table or workspace for the rest of the repair.
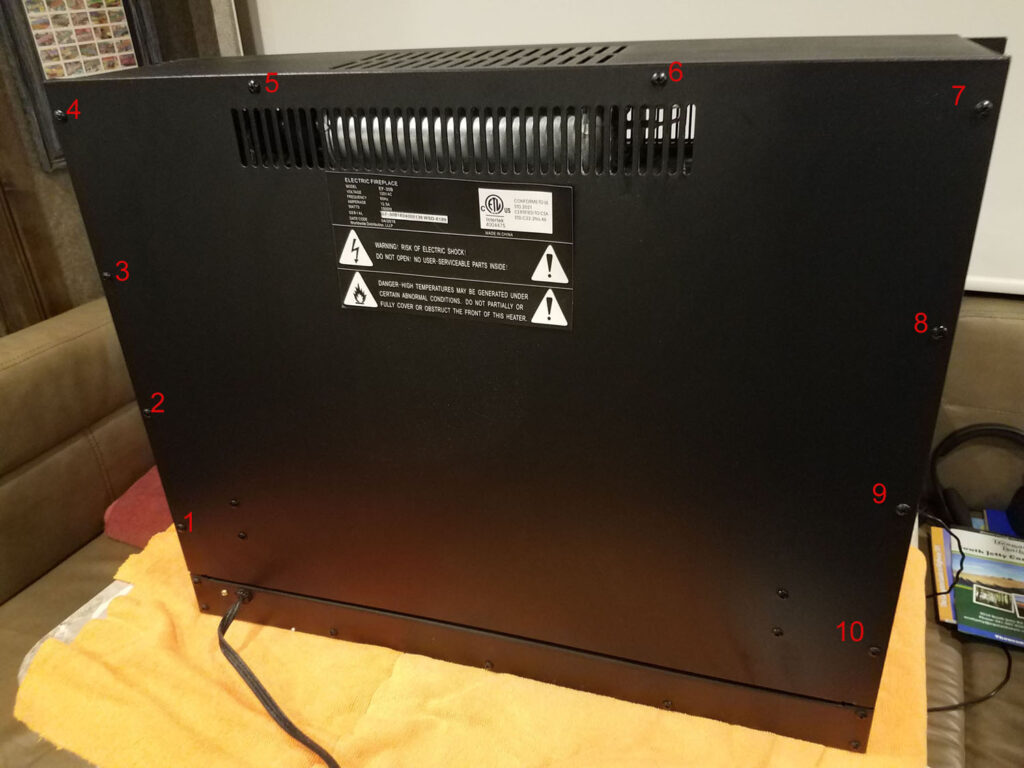
Step 5: Remove the Back Panel
On the back, remove the 10 screws securing the rear panel. Lay the panel down gently—it’s connected by wires.
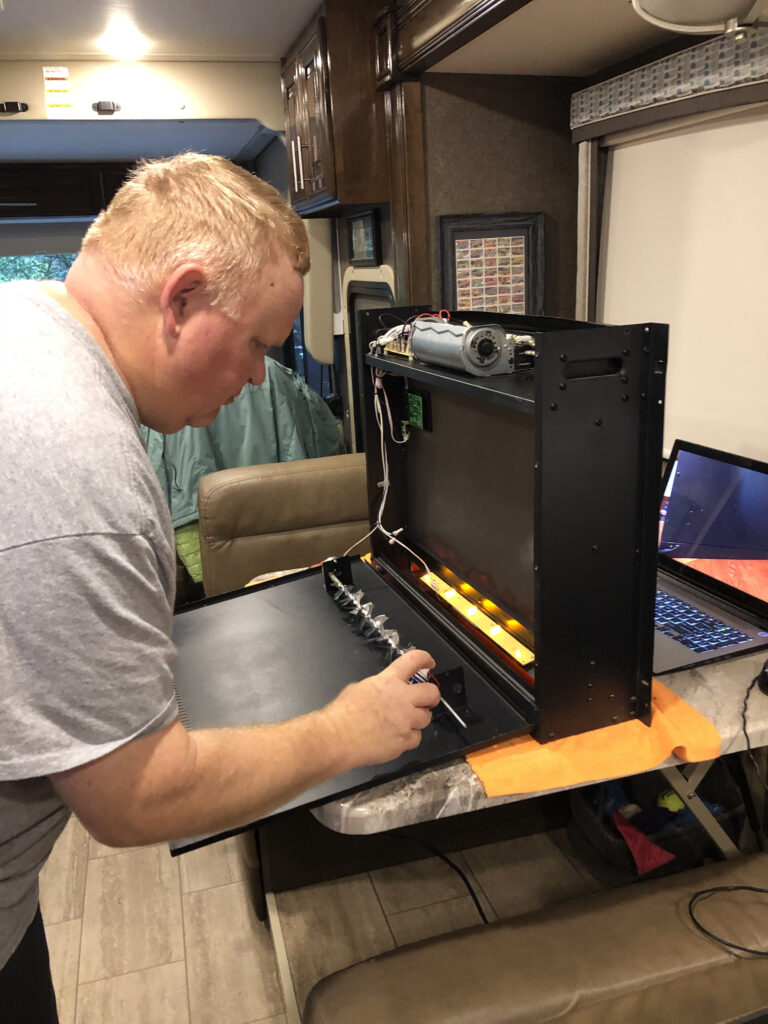
Step 6: Clean the Fire Effect Mechanism
Use compressed air and a soft rag to remove dust from the motor and rotating rod area.
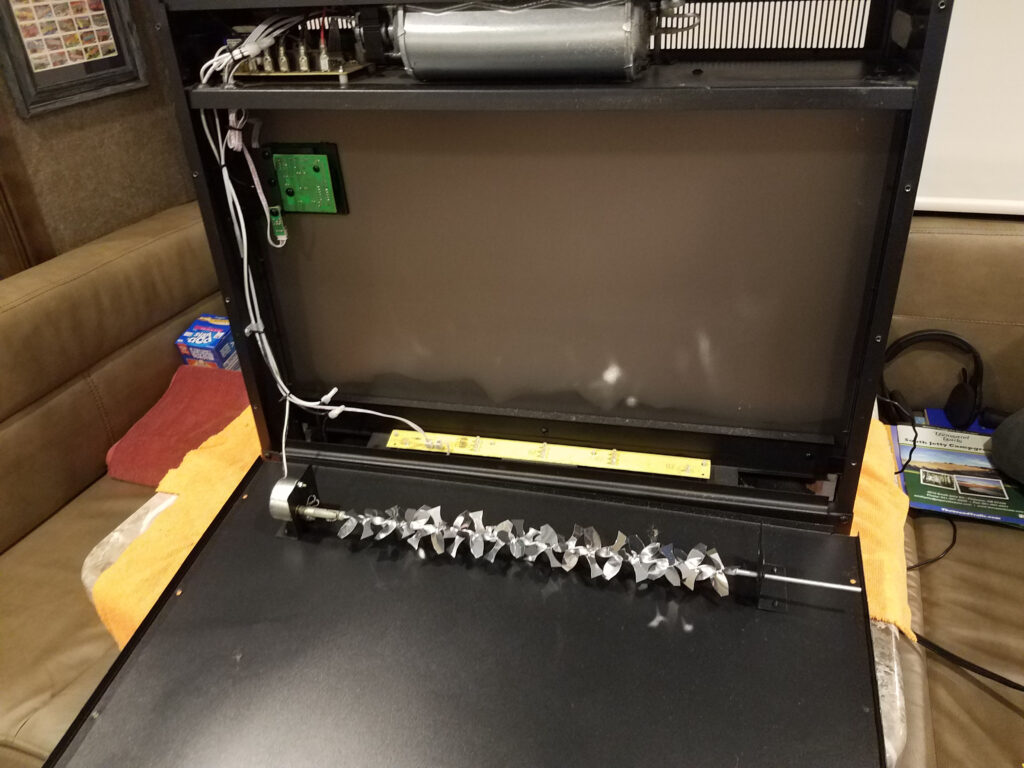
Step 7: Lubricate the Grommet
Apply WD-40 White Lithium Grease to the rod end at the grommet and the motor shaft. This is the source of the squeak.
Step 8: Clean the Heater Fan (Optional see below)
If you want to go the extra mile, remove the six top screws to access the heater fan. Use compressed air and wipes to clean it thoroughly.
Step 9: Reassemble in Reverse Order
Reattach all screws and slide the fireplace back into place. Reinstall the shroud and plug it back in.
Step 10: Test the Fireplace
Power the fireplace back on and listen. If the squeak is gone, you’re good to go!
Optional: Clean the Heater Fan
Since you already have the fireplace out, it’s a great time to give the heater fan a little love:
- Remove the top panel (six screws—three per side).
- Access the heater fan and control board.
- Blow out the dust with compressed air.
- Wipe the fan blades and surrounding areas clean.
- Reassemble everything in reverse order.
What If Your Blower Motor Fails?
About nine months after this repair, the blower motor in our original fireplace failed. I tried to replace just the motor, but the one listed by Thor was for a much larger home unit—not even close to what was in our rig.
We ended up replacing the entire fireplace with the RV Titan Flame Model EF-30B 26″ Curved LED Insert. It fit perfectly and has been squeak-free for over four years.
No problem! You can browse a variety of RV-friendly electric fireplaces, inserts, and replacement parts right here:
🔎 Browse Electric Fireplaces on Amazon
Final Thoughts
If your electric fireplace is driving you nuts with a constant squeak—or just needs some cleaning—don’t wait for it to get worse. It’s an easy repair you can do yourself with minimal tools and mechanical skills.
Maintenance like this should really be part of the owner’s guide, but unfortunately, most RV dealers don’t cover the little things that keep your rig running smooth. Over time, we’ve built a list of these simple maintenance tasks that save us time, money, and frustration on the road.
What RV maintenance surprises have you run into?
Drop a comment below—we’d love to hear your story.
Recommended Gear:
If you’re looking to build your own home-based business like we have with this webpage, check out Wealthy Affiliate.
Wealthy Affiliate is an all-in-one platform that you can build your whole affiliate marketing business on. It combines training, software, and website hosting into one. This makes the whole process of starting an online business from scratch much easier, especially if you’re new to building a website.


Your fireplace fix/problem was similar to mine.
In my case, it was an intermittent thumping noise.
I knew it had to be something like your problem because it did it even when the heat was not on, just the fake flames.
My unit was a practically new MASTERFLAME TED25 G3 home unit in a large TV cabinet.
Manual here. https://www.manualslib.com/download/1222143/Masterflame-Ted25-G3.html
So after I moved the cabinet out from the wall and removed the bottom of the case (where the offending part was), I plugged it back in and turned it on, and I could see after almost every rotation, that the plastic spinner rod was not quite true or straight and the 1/8″ rod was rotating inside a 1/4″ opening grommet and sort of jumping in the large grommet hole as it rotated making the thumping noise.
I just happened to have a case of assorted sized grommets that I bought on sale at Canadian Tire a while ago, so I swapped out the grommet for one with a much smaller hole and greased the whole thing. Problem solved.
Hope this helps someone.
Thank you for your input, Rick. The issue with your fireplace was definitely different than mine. Good to have the info on other issues that may pop up on these fireplaces. The fireplaces do a fairly good job for what they are. They do require some upkeep and maintenance on them to keep them in working order. Thanks again for your comments and help.
Rob