One of the simplest maintenance items to do is cleaning your RV Air Conditioner Filters. This is a task I do monthly. The whole process takes only a few minutes, and it’s done for another month.
An air conditioning unit works by pulling warm air into the unit, typically through an intake opening. On ours, it pulls air in through the bottom of the unit, mounted on our motorhome ceiling. With the air comes dust, smog, allergens, and particles that it carries along. Even the cleanest mountain air still has dust and pollen. The unit cools the air and blows it back into the RV through the exhaust ducts and vents.
This post contains affiliate links. As a participant in Amazon Associates and various affiliate programs, we are compensated when qualifying purchases are made through our referral links at no additional cost to you. Full Disclosure
Why Do You Need to Clean Your RV Air Conditioner Filter?
AC filters physically trap the contaminants, and, needless to say, if you don’t occasionally clean the filter, it is going to have all sorts of nasty stuff built up on it. If not trapped by a filter, the dirt and debris can damage the interior components of the air conditioner, making it ineffective or possibly even halting its operation.
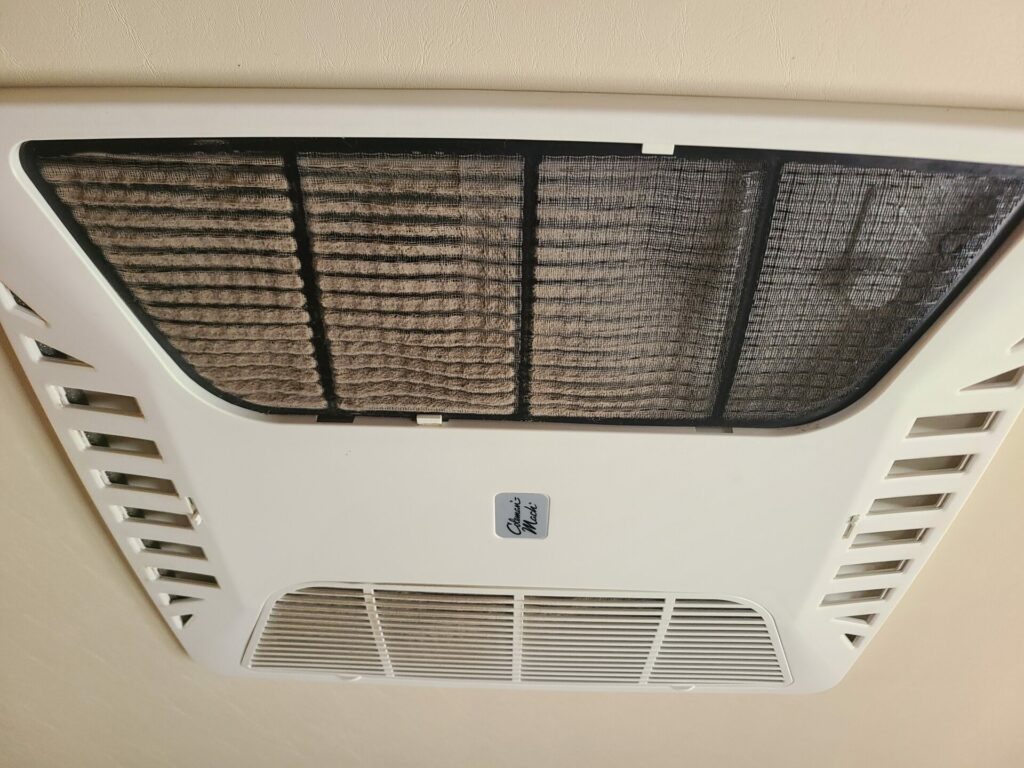
A filter minimizes allergens that could create respiratory issues for those who might already be compromised. And finally, bacteria, debris, and pollutants not captured by a filter could ‘infiltrate’ the interior of your RV, bringing with them odors and could cause illness.
With all of these issues, it’s easy to see why cleaning your RV air conditioner filter is an important maintenance item every month.
Steps To Clean RV Air Conditioner Filter
Important: These steps only work for washable filters. If you have Single-use filters, they are just that, designed for one-time use. Do not attempt to wash and reuse them. If you wash a disposable filter, it will likely lose effectiveness and not work well once replaced. Don’t waste your time or risk your family’s health. Instead, buy a new filter.
1. Prepare The AC Unit
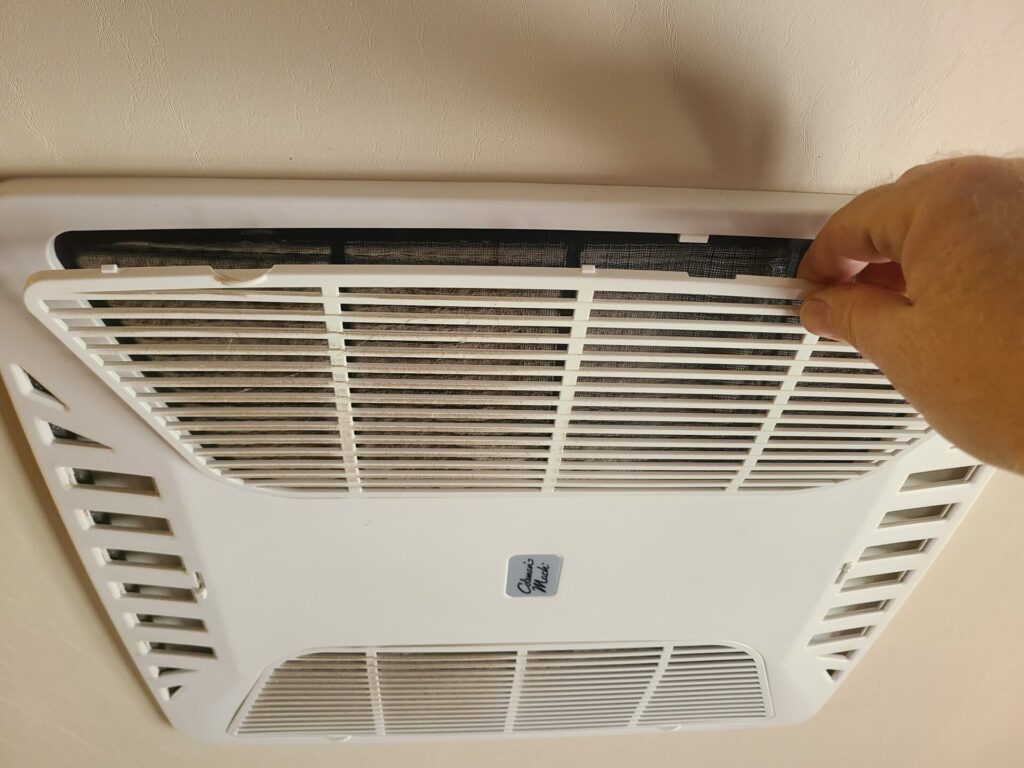
Begin the cleaning process by turning off the AC unit. Then, remove the grate to expose the filter. Use caution when you pull out the screen to prevent any injuries or damage.
Tip: Consult your RV’s owner manual for exact instructions on removing the filter, as it will vary by model.
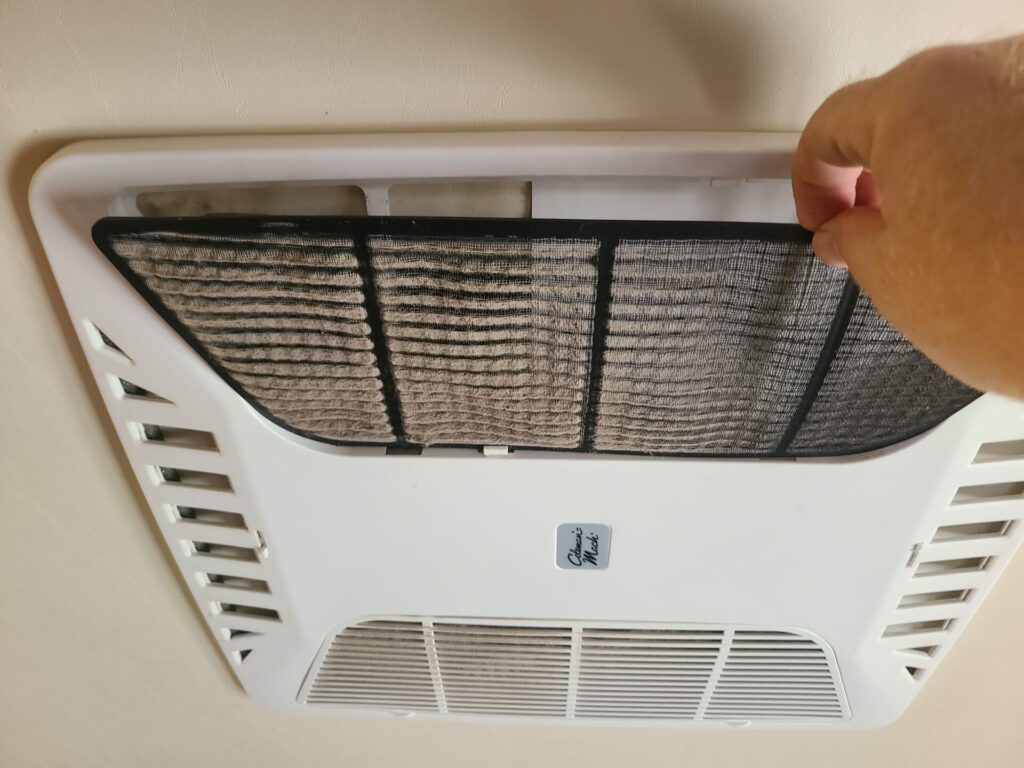
Next, remove the filter itself.
2. Use A Vacuum To Clean The Filter
A vacuum cleaner uses suction to loosen and pull out the particulates from inside the filter. Be careful not to damage the screen with too much suction. Find the screen’s sweet spot of force that gets the job done without creating new problems.
Sometimes, just a vacuum is enough to clean your air filter. If you don’t see a lot of buildup on your screen, you can put it back in after this step.
I don’t normally vacuum our filters as I’ve found that just a good rinsing gets rid of more of the dust and grime.
3. Rinse, Soak, And Scrub The Filter
To wash your RV air conditioner filter, use warm water and mild detergent. I normally just use warm water with the spray function of our sink faucet to get the job done. It works well for the monthly cleaning I do. I spray the grate and the filter from both sides
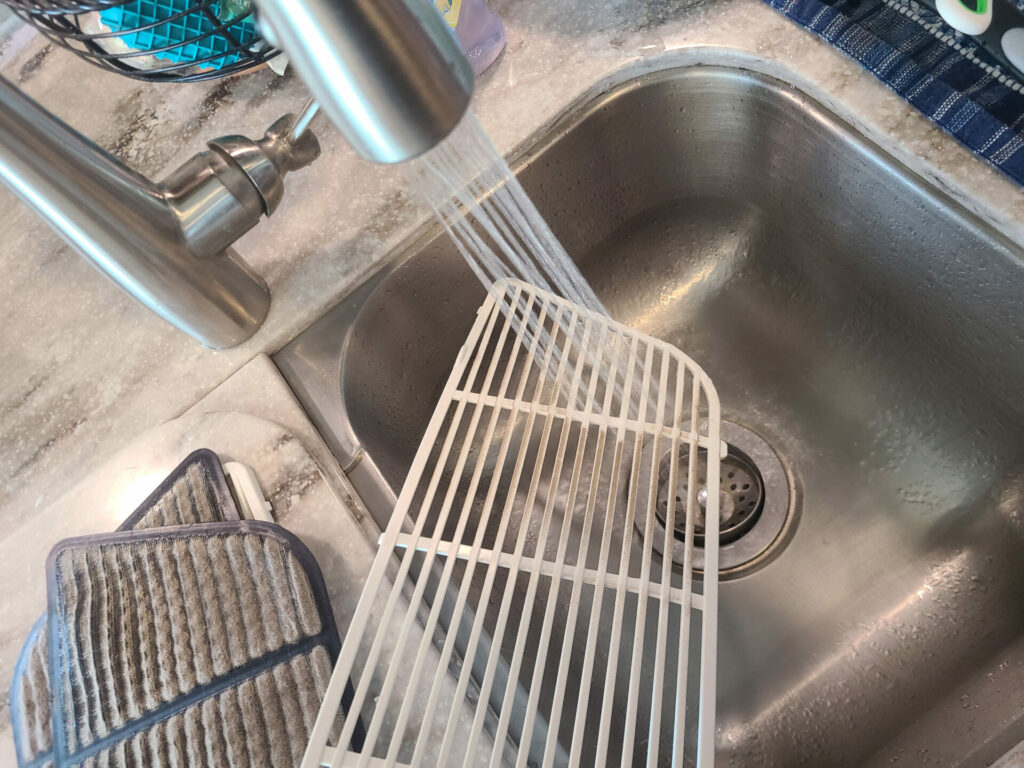
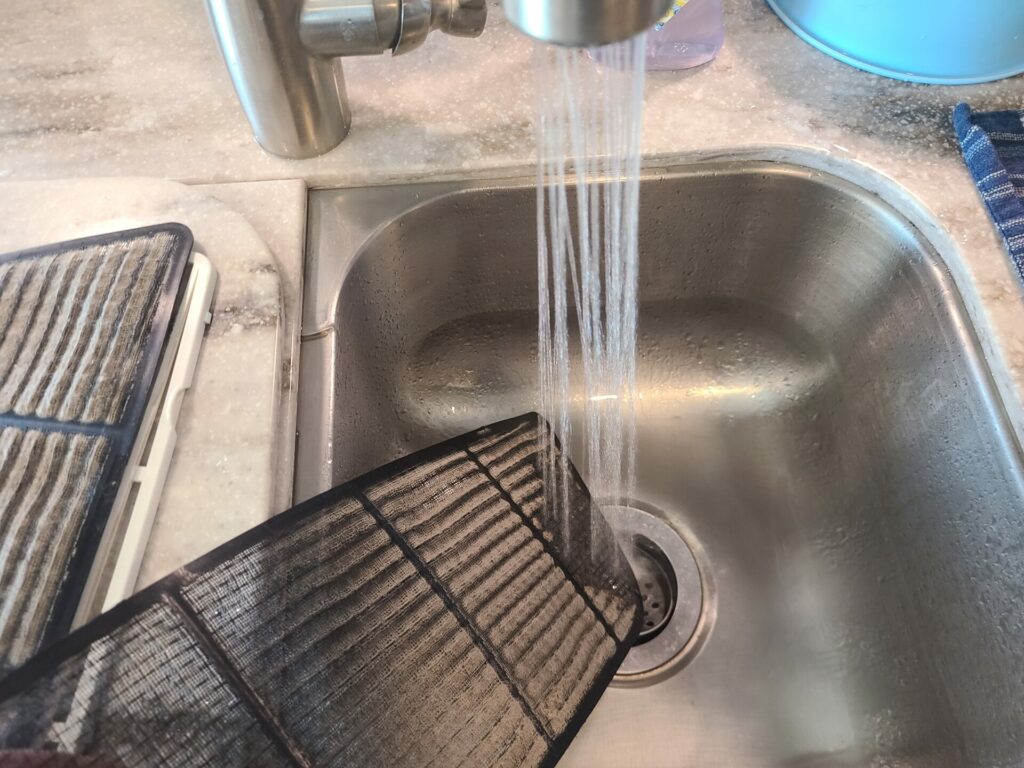
Filthy filters might require more attention. Submerge the screen and let it soak for at least 10-15 minutes. If your filters are packed with gunk, they will benefit from a longer time in the solution, up to a few hours. You can work a soft brush, for example, a toothbrush, through the screen to remove the dirt and grime from the filter, but use extra caution to ensure it isn’t damaging the fibers.
Once you find yourself satisfied with the cleanliness of the filter, rinse it. Use your RV’s detachable nozzle, showerhead (or a hose) to wash the soap off the filter entirely and to remove any remaining dirt.
4. Use A Vinegar Solution To Prevent Bacterial Growth
To take care of any bacteria or odors in the filter, spray it with a solution of one part water and one part vinegar. Spray both sides, allowing the mixture to penetrate the filter and act as an antibacterial cleaner. Then rinse it in water so the filter won’t smell like vinegar when you replace it.
5. Be Sure The Filter Is Completely Dry, Then Put It Back In Place
Air conditioner filters have thick, dense fibers in the screen. As a result, it can take several hours for the filter to dry.
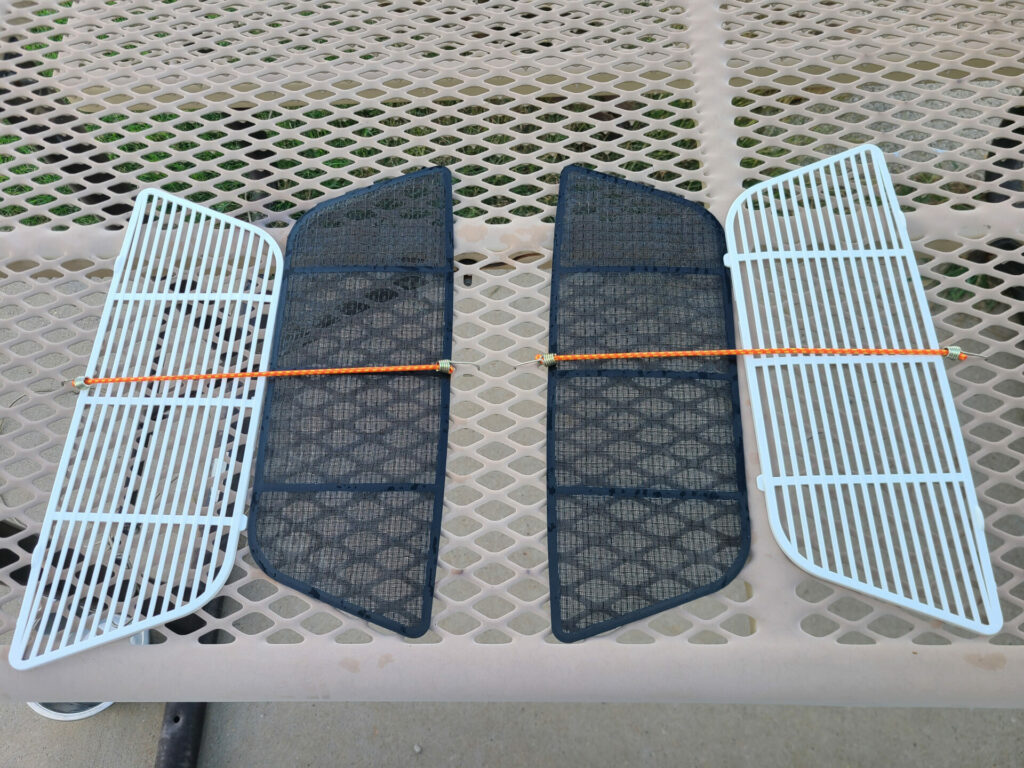
Tip: Allow the filter to dry in sunlight to help kill bacteria and to speed up the drying process.
Once the filter is dry all the way through, carefully reinstall it in the reverse order. Reinstall the air conditioner grate and turn on the power. Then you’re good to turn your cold air on once more!
Recommended Gear
Here are the tools and products I used:
- Aluminum Duct Tape
- Long Straw Brush, Nylon Pipe Tube Cleaner
- Compressed Air Duster
- Microfiber Cleaning Cloths
Conclusion
Regularly cleaning the A/C filter can help the unit run more smoothly and avoid costly RV air conditioner repairs.
Most manufacturers recommend you clean your air conditioner filter after every two weeks of use. I’ve found that monthly is sufficient even with our full-time RVing lifestyle. Your situation may require more frequent cleaning if you camp in windy areas where a lot of dirt and debris get blown around. Adjust your maintenance schedule accordingly, but don’t put off cleaning your RV air conditioner filter.
Thank you for reading our article. If you have any comments or questions, we’d love to hear from you below.
Related Posts You Might Like
If you’re looking to build your own home-based business like we have with this webpage, check out Wealthy Affiliate.
Wealthy Affiliate is an all-in-one platform that you can build your whole affiliate marketing business on. It combines training, software, and website hosting into one. This makes the whole process of starting an online business from scratch much easier, especially if you’re new to building a website.


