It was time for our RV vent fan to be replaced. For about a month we could tell the fan was on its last leg. We could press the button to turn the fan on but the fan sounded weak and got weaker as time went on. It got to a point where we knew it needed to be replaced.
This post contains affiliate links. As a participant in Amazon Associates and various affiliate programs, we are compensated when qualifying purchases are made through our referral links at no additional cost to you. Full Disclosure
Since we were traveling from Yellowstone to Texas there wasn’t a really good place to take the time to replace it. Plus we had to come up with a fan to replace the dying one. Knowing we had to find a fan I started investigating our options. Do we just replace the fan motor? It would be a very simple process. Do we go with a different fan? There are many options on the market.
I finally came across a direct replacement that looked like it would work much better than our original 6″ fan. The installed fan is like most things in RVs, just plain cheap! So when it comes to replacing things in our motorhome we always want to make an upgrade, not just replace it with the same cheap parts.
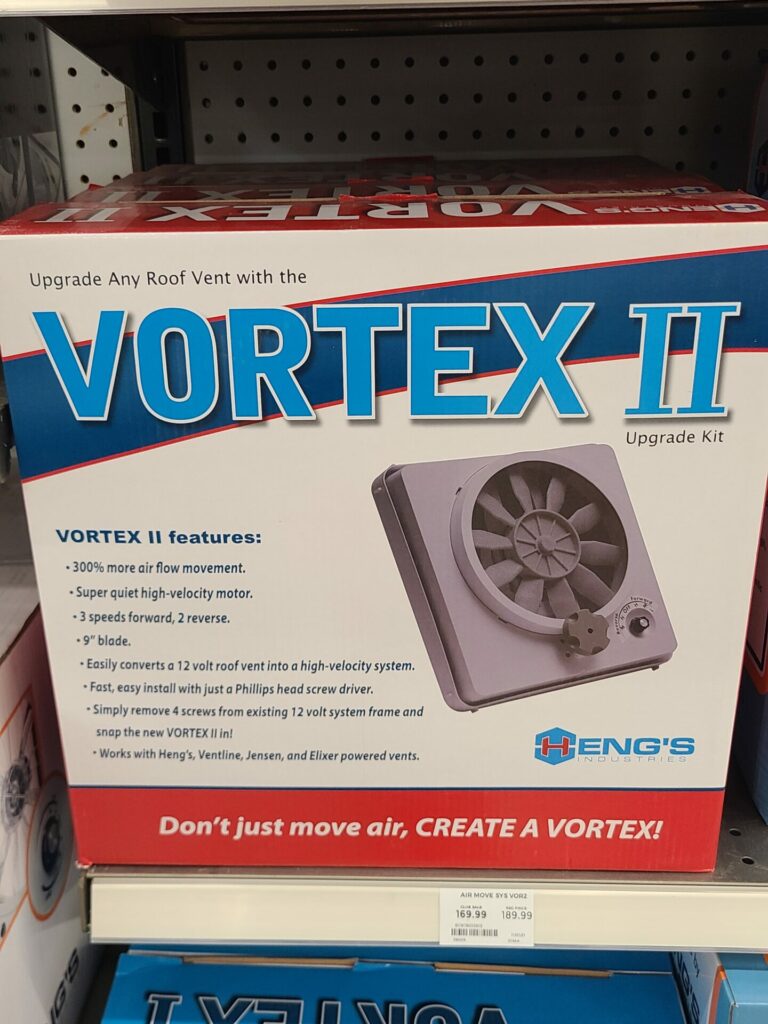
The replacement fan I found is Heng’s Vortex II Vent Fan. It is a direct replacement for most vent fans, including Ventline, Jensen, and Elixir. What I really liked about this replacement fan is that it’s easily replaceable without compromising the rooftop seal. If you have to mess with the rooftop seal you can end up with future leaks. Not something you want to create.
I checked at Camping World and found they carry the fan for nearly $190. Amazon had the same fan for about $100. That’s the way I went. When we finally got to Austin, Texas we had a 28-day stay planned that allowed me the time to order the fan from Amazon. It arrived two days after I ordered it.
About
Heng’s Vortex II fan is a MultiSpeed Quiet operation fan with three forward speeds and two reverse. The 9″ blades keep the fan quiet and efficient. Fast and easy installation with only a Phillips screwdriver. Enjoy over 300% more air movement over standard roof vents. Universal fit for Elixir, Ventline, Jensen, and Heng’s Does not require rooftop vent seal to be tampered with. Universal fit for Ventline, Jensen, Heng’s, and Elixir-powered vents.
The one concern I have with Heng’s Vortex II fan is the exposed circuit board on top of it. It seems to me that it could potentially get wet and short out. But so far we haven’t had any issues with the fan.
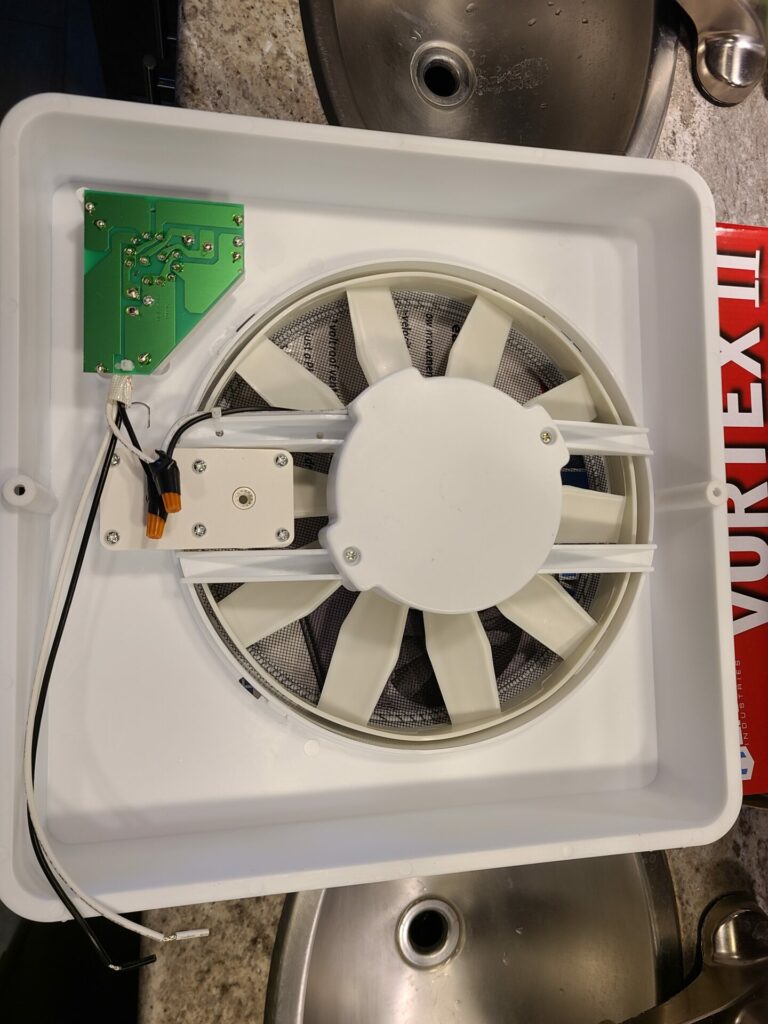
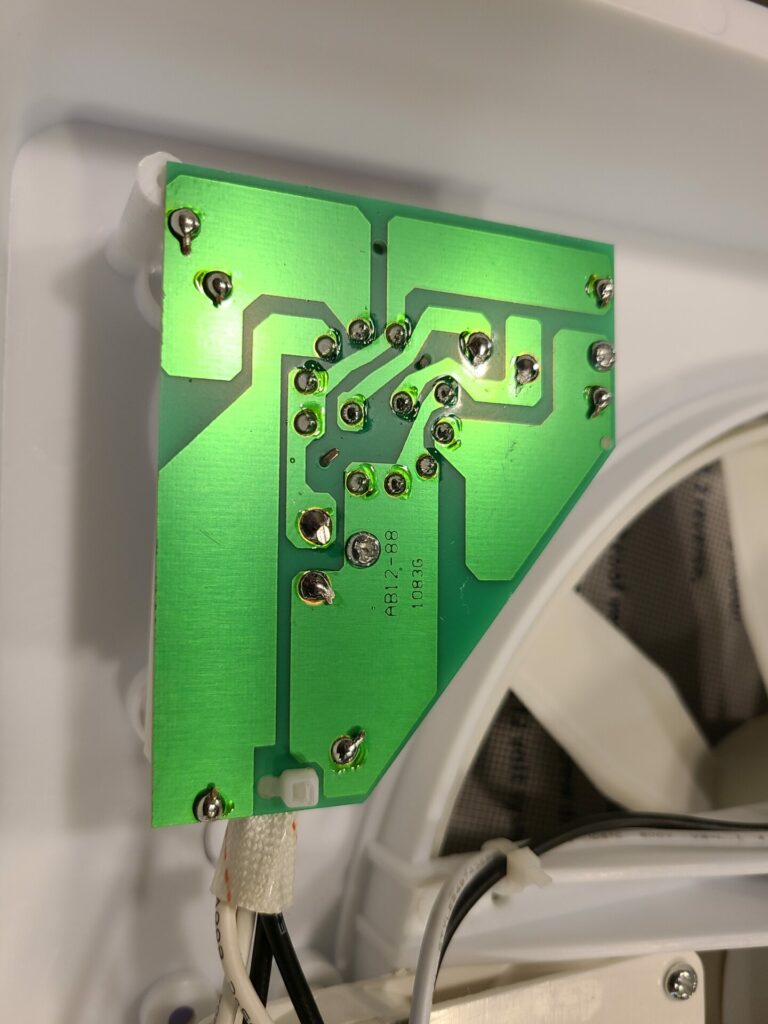
Installation
The installation was fairly straightforward and took only about 15 minutes to complete.
Steps:
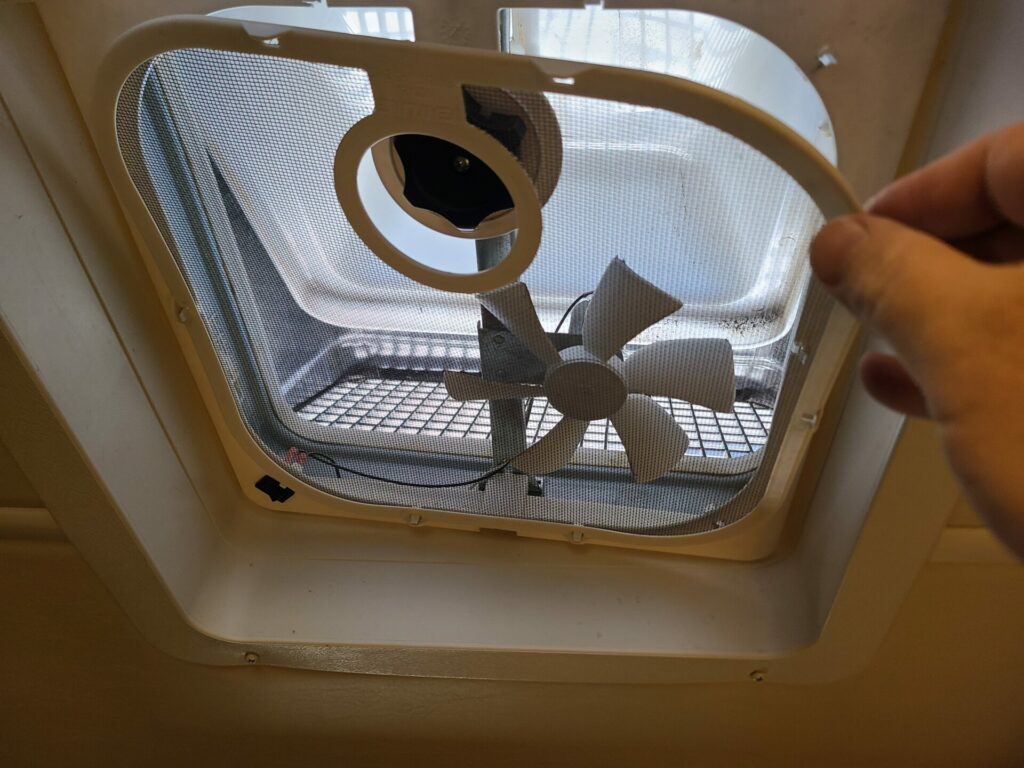
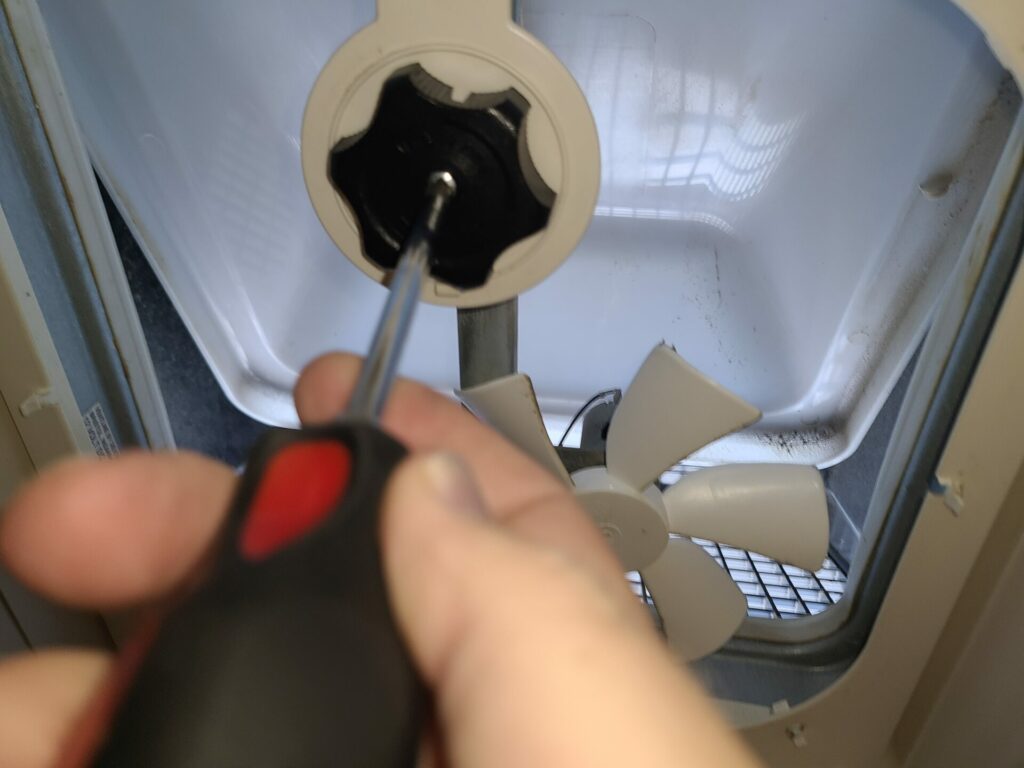
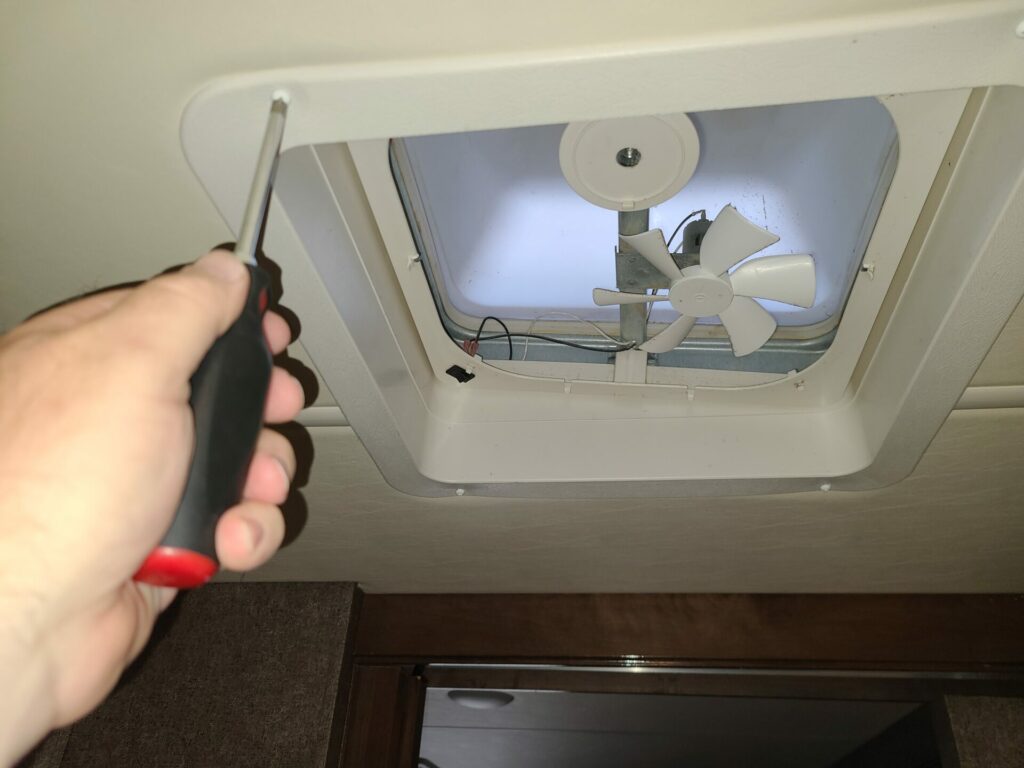
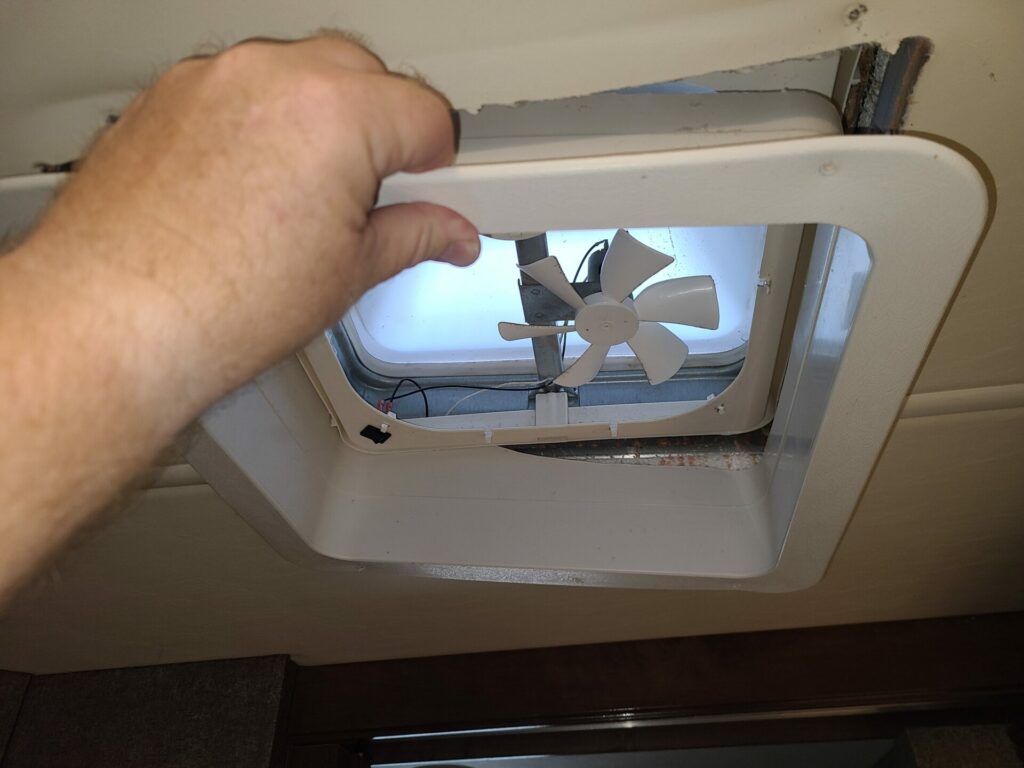
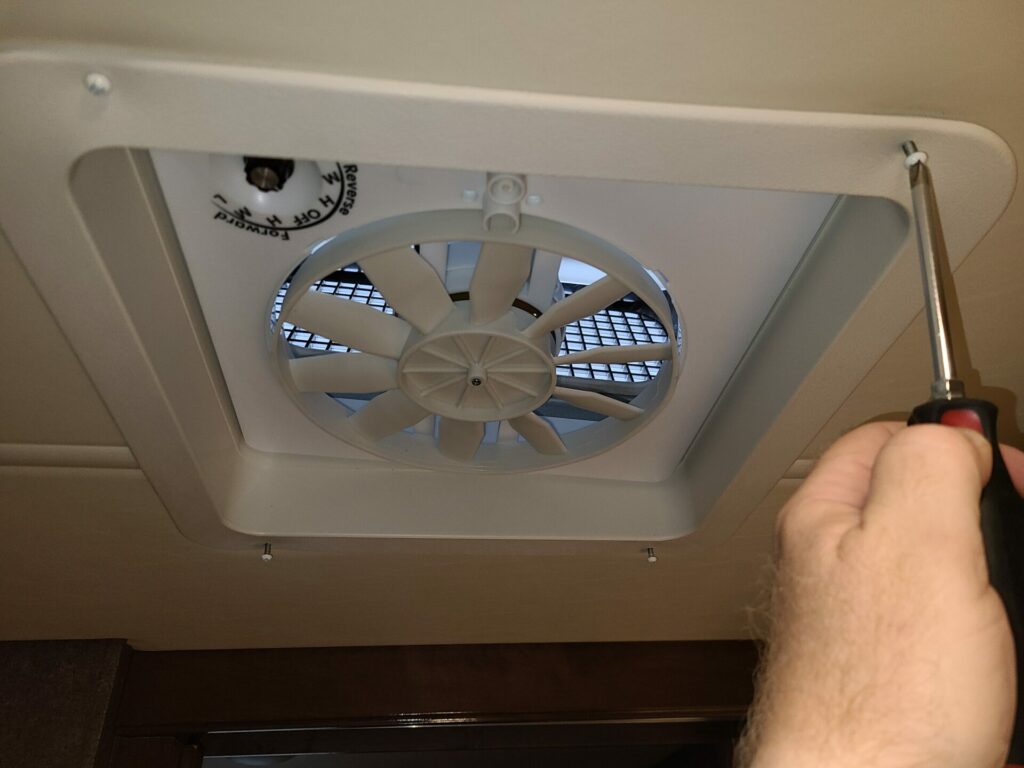
3. Remove screws that hold the shroud in place and remove the shroud.
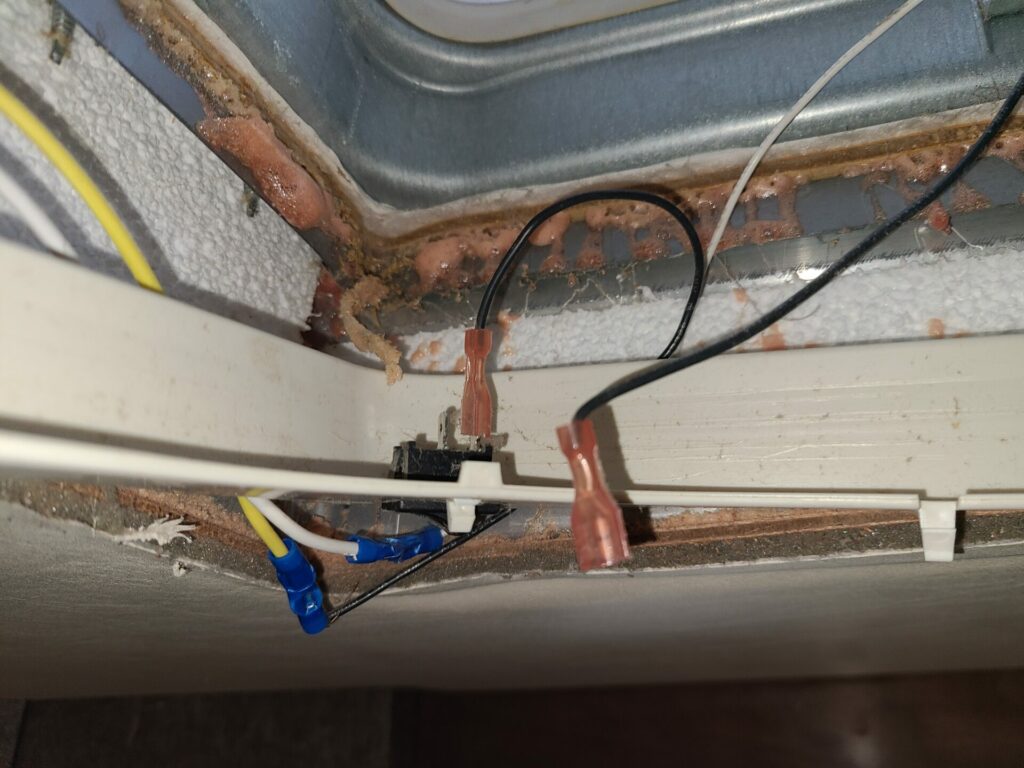
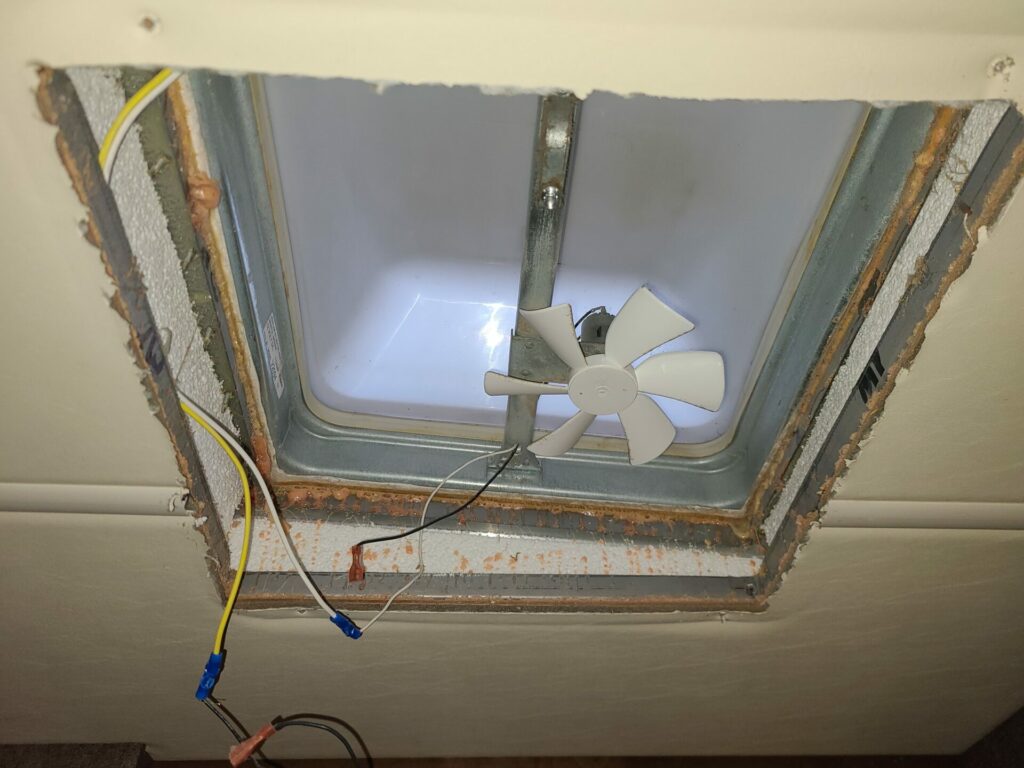
4. Disconnect the wires that run to the fan motor.
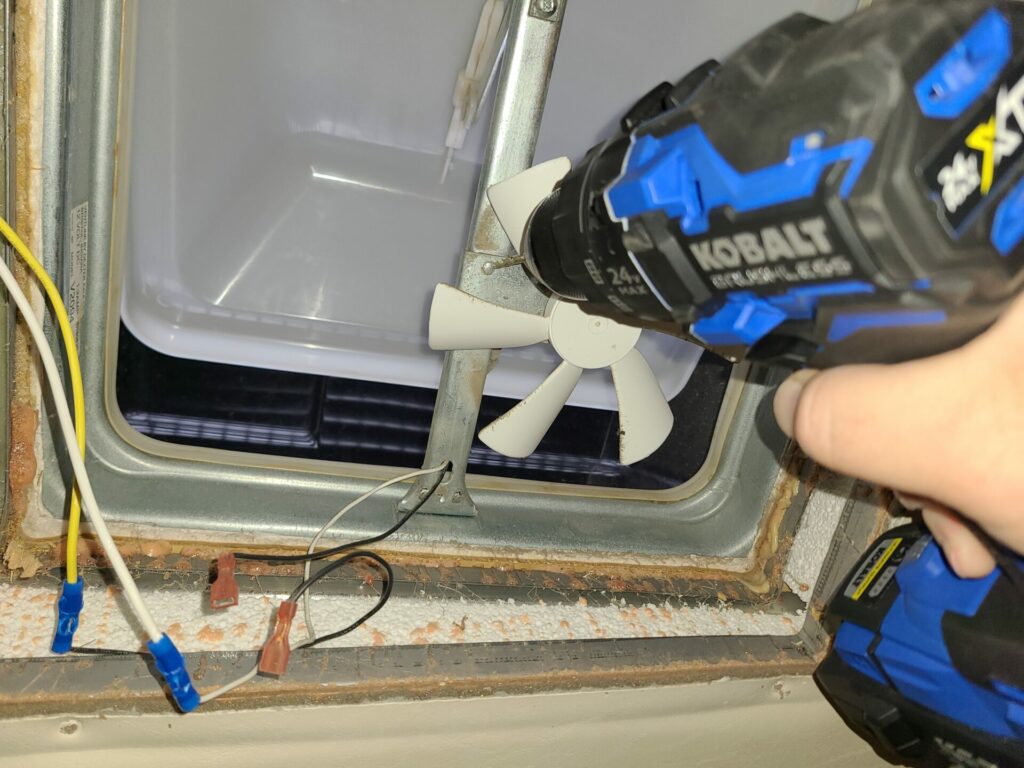
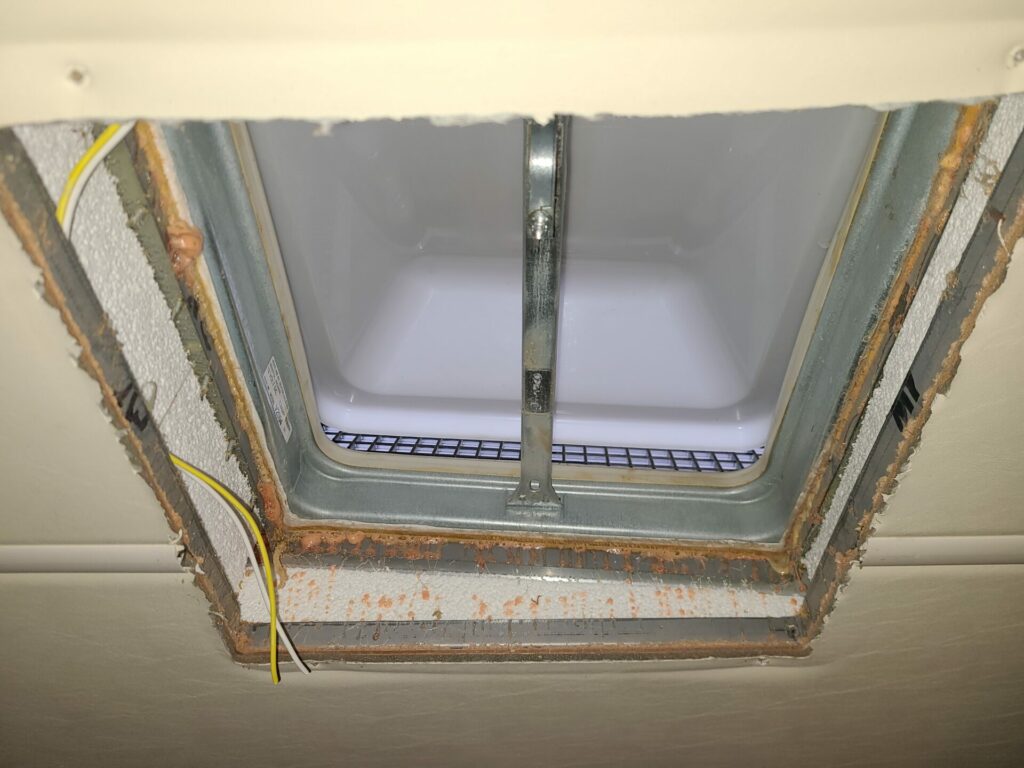
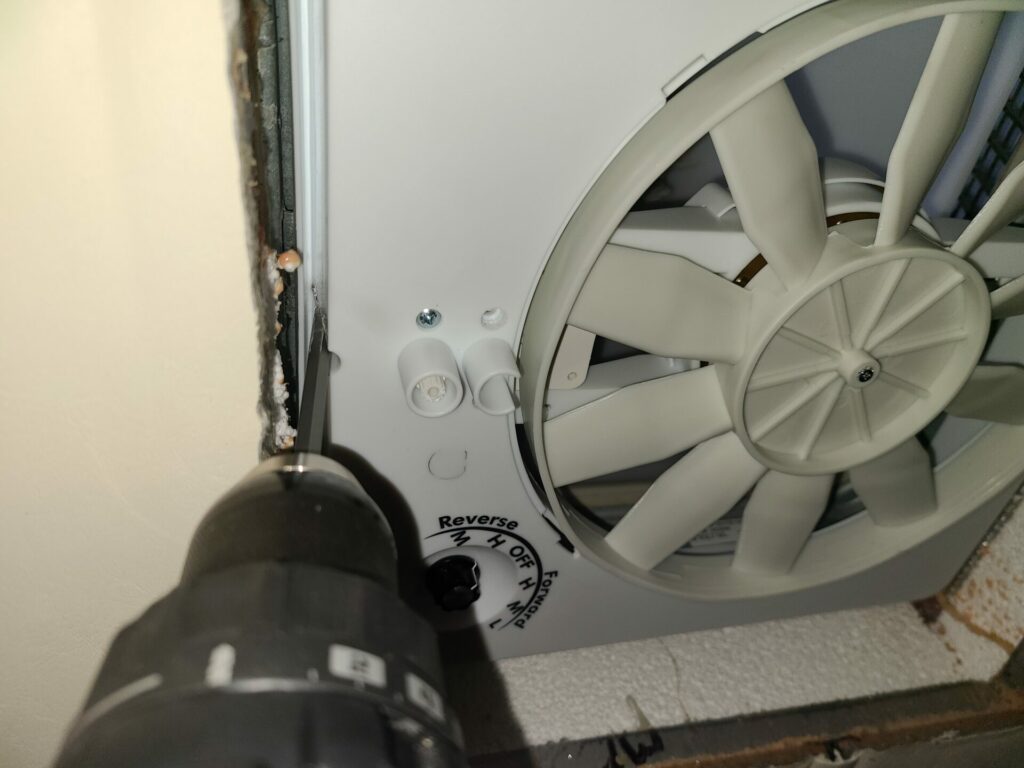
5. Drill out the rivets that hold the fan motor bracket in place and remove the bracket, and fan motor.
6. On the new fan assembly, you need to figure out which of the two points for the vent control knob you need to use for your system. You may need to move the mechanism from where it is installed to the other location depending on how your vent is set up.
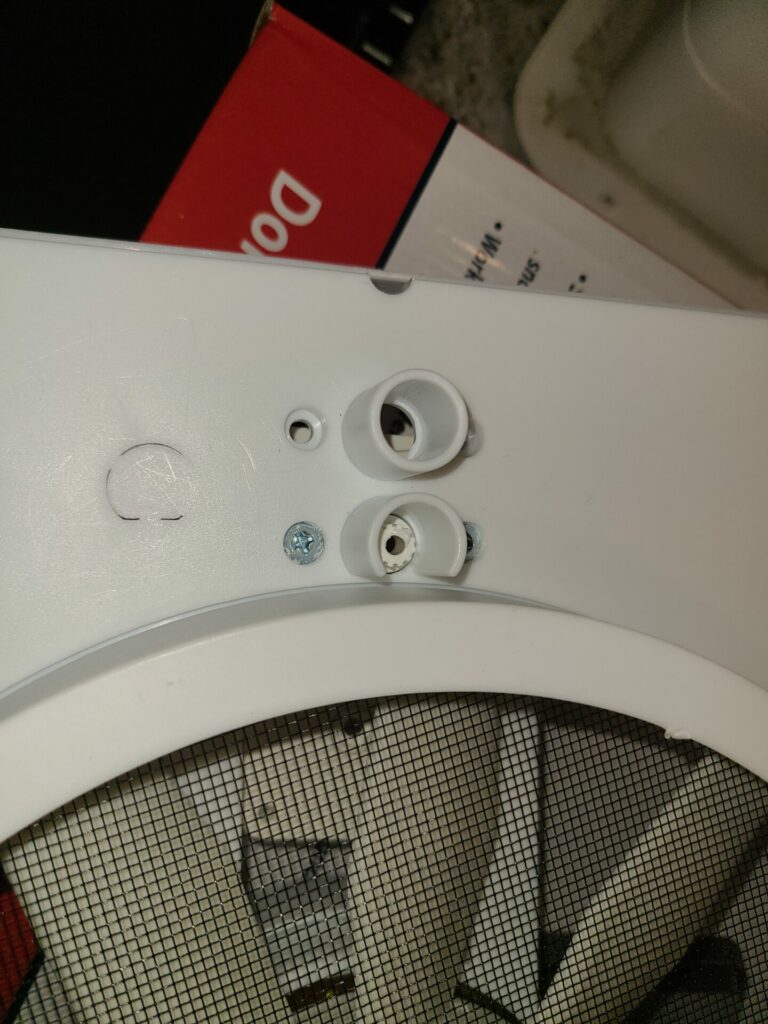
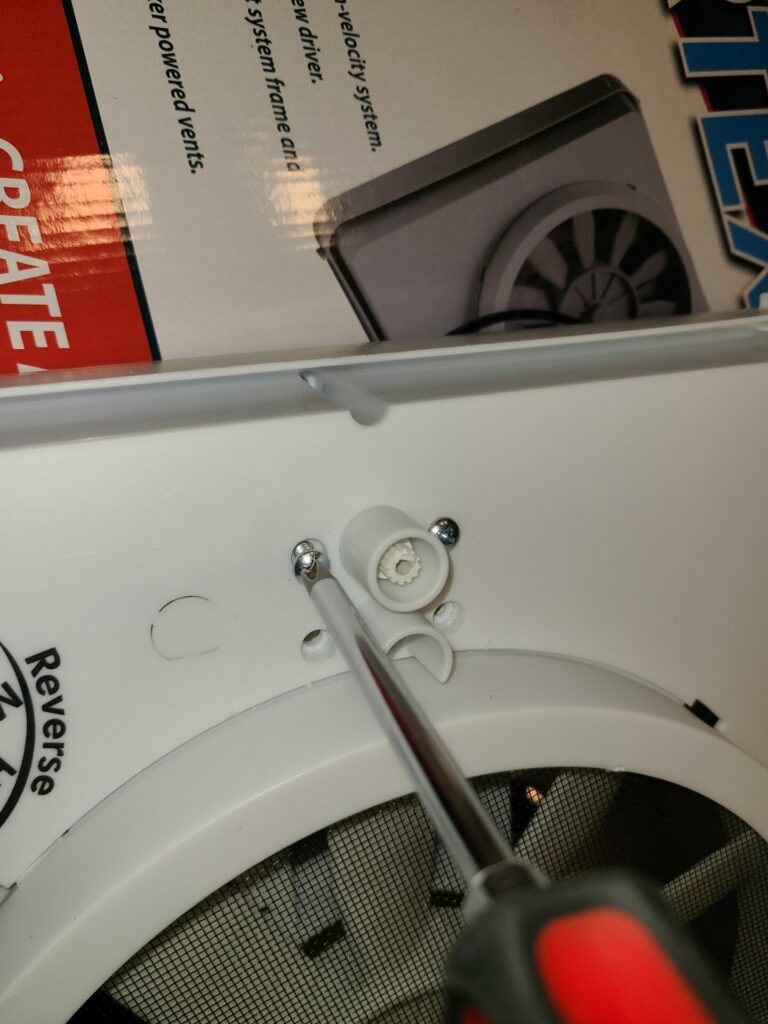
7. Attach the wires to the new fan.
Conclusion
If your old fan has died or you just want to have a fan with more airflow, Heng’s Vortex II fan is a great choice. Upgrade your noisy, inefficient vent fan without replacing the entire vent or disturbing the rooftop seal. Just replace the existing screen and 12-volt fan with the high-velocity three-speed Vortex II Fan Kit to turn your roof vent into a powerful ventilation system.
Have you changed your fan? What brand did you get?
Thank you for taking the time to read our article. If you have any questions or comments let us know below.




Is the overall dimensions 14″ x 14″ square? That’s the size of my roof opening.
Hi Tommy,
Yes the the opening is 14″ x 14″.