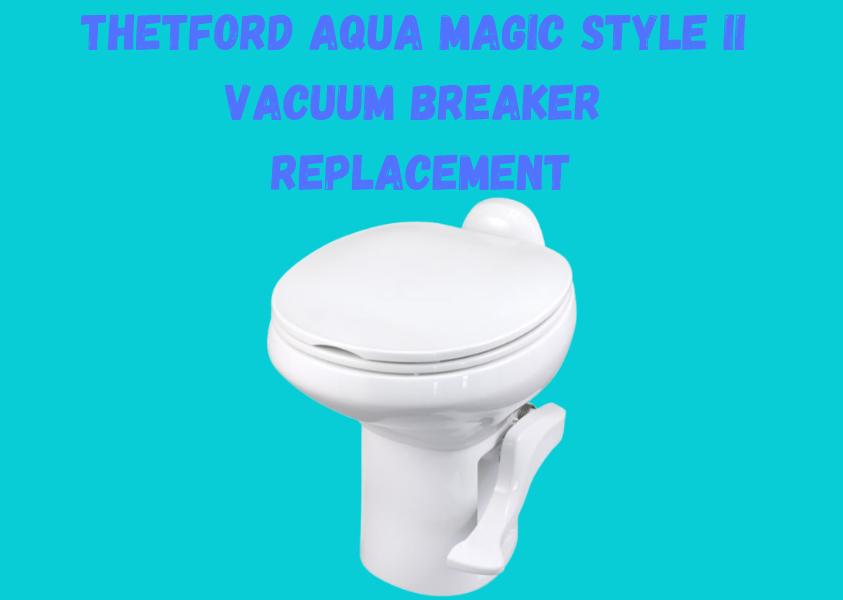
There is always seems to be something in an RV that needs to be repaired, replaced, or worked on. Our toilet has leaked for a few months now. It wouldn’t happen all the time, but when you’d press the pedal down partway to fill the bowl, you could hear the water hitting the floor. We discovered the Vacuum Breaker was leaking on our Thetford Aqua Magic Style II Toilet.
This post contains affiliate links. As a participant in Amazon Associates and various affiliate programs, we are compensated when qualifying purchases are made through our referral links at no additional cost to you. Full Disclosure
Vacuum Breaker Replacement
Replacing the vacuum breaker on the Thetford Aqua Magic Style II Toilet is one of the easiest jobs you could ask for. It should take you no longer than 30 minutes, including removing and replacing the toilet, to complete this task.
Tools Needed:
- Pliers
- 1/2″ Combination Wrench
- Towels
Parts Needed:
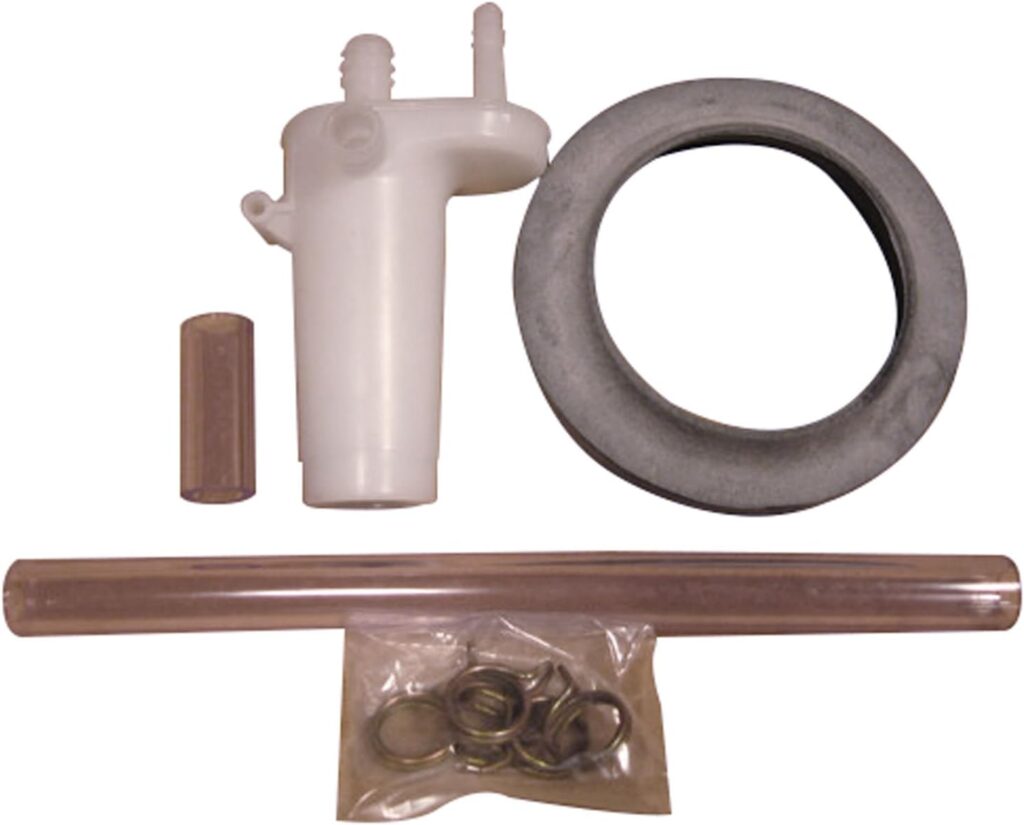
- Thetford Vacuum Breaker Kit Part Number 34122 (Kit contains Vacuum Breaker assembly P/N 34313, Clamps (4) P/N 19541, Flush hose P/N 34377, and Flange Seal P/N 02125)
Steps:
- Turn off the water in your RV and open a valve at a sink to drain any residual pressure.
- Press the foot pedal all the way down to flush the water from the bowl.
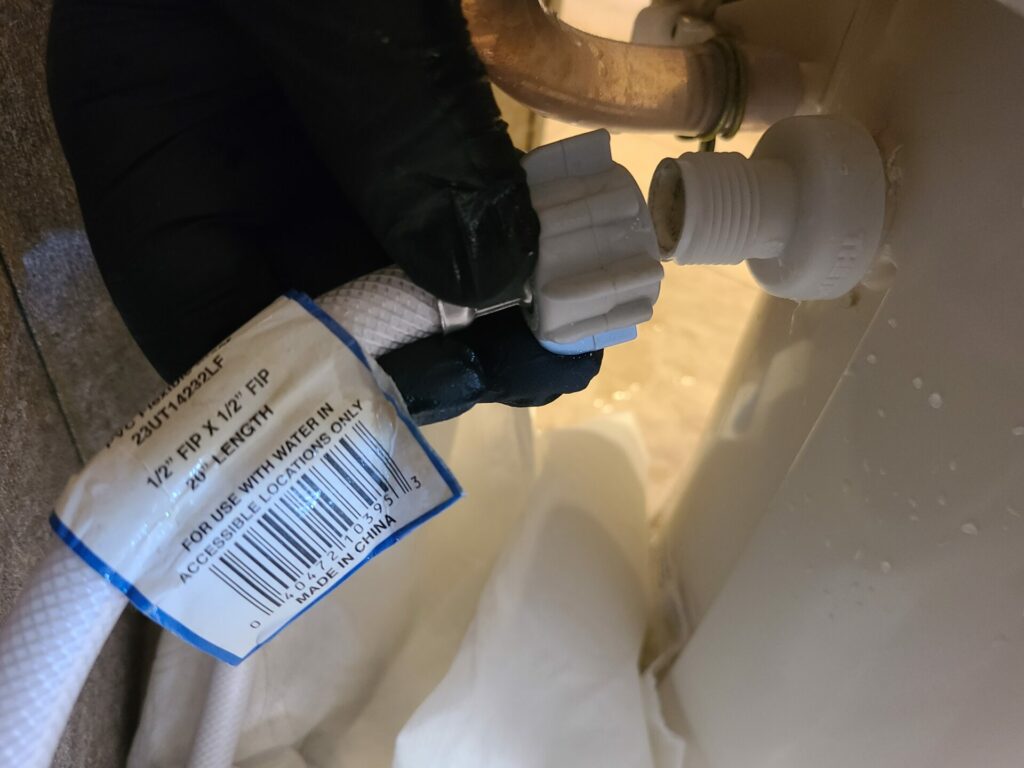
- Remove the water hose that attaches to the back of your toilet.
- If your toilet has caps over the mounting bolts, remove them and set them aside.
- Remove mounting nuts.
- Carefully lift the toilet from the flange and move it to a place to perform the vacuum breaker replacement. (We chose our shower.)
- Using a plier’s grip, the hose clamp on the lower hose from the vacuum breaker and slide it away from the toilet.
- Pull the hose off the toilet.
- Next, grip the hose clamp behind the vacuum breaker that goes into the toilet and slide it toward the breaker.
- Pull the hose off the toilet, and the vacuum breaker should come free.
- Using the parts in the kit, install the new hoses and clamps to the vacuum breaker.
- Reinstall the vacuum breaker in reverse order.
- Change out the toilet flange seal on the bottom of the toilet.
- Reinstall the toilet in reverse order, ensuring not to overtighten nuts.


Other Repairs We’ve Done
See some other repairs we’ve had to make to our RV below:
After traveling in our RV for 2 years and 7 months through 39 states, one of our biggest fears came to fruition. A slide on our 2019 Thor Challenger 37YT got stuck while we tried to set up in Fargo, North Dakota. We’ve heard the nightmares of Schwintek Slide System Issues, and it caught up to us.
RV manufacturers use the cheapest materials and cost-cutting measures to build a motorhome. Some of their work is, in my opinion, on the shoddy side. See our Step Repair here.
A small squeak started coming from the fireplace. It wasn’t too bad to start with, and would come and go. You know how a constant noise can really drive you crazy? A month later, the squeak was back, and this time it was not going away… It constantly squealed and seemed to eat at my soul. Check out our Electric Fireplace Squeak repair.
Conclusion
This super-easy repair item is something you shouldn’t be afraid to do yourself if you’re an RVer. It only takes a few minutes to remove and replace a leaking vacuum breaker. Give it a shot if yours is leaking.
Have you had to repair your RV toilet? What did you need to do? Thank you for taking the time to read this article. If you have any questions or comments, please post them below.
If you’re looking to build your own home-based business like we have with this webpage, check out Wealthy Affiliate.
Wealthy Affiliate is an all-in-one platform that you can build your whole affiliate marketing business on. It combines training, software, and website hosting into one. This makes the whole process of starting an online business from scratch much easier, especially if you’re new to building a website.
