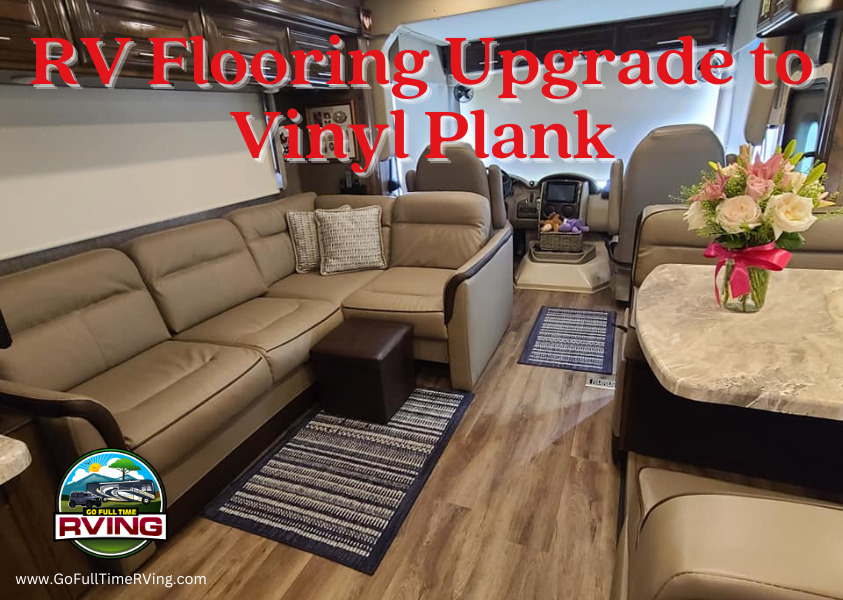
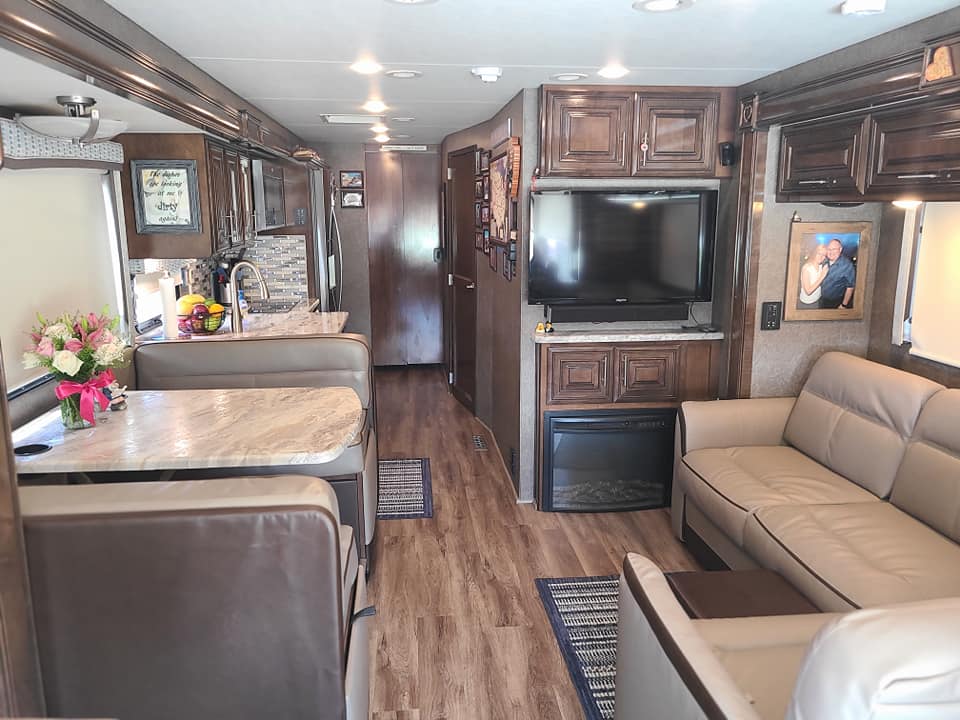
Lisa didn’t really like the flooring in our 2019 Thor Challenger 37YT pretty much from the get-go. She thought it was too light for us with our two Chocolate Labs. Finally, after 3½ years, it was time for an upgrade. New flooring can make a HUGE difference in how an RV looks and functions. It sure did for us!
The flooring Thor installed is, of course, like everything else in RVs, the cheapest crap they can find. We decided to go a different route and go with Vinyl Plank Flooring. Vinyl plank flooring is an alternative to hardwood flooring that has the look of wood without a large price tag. Vinyl flooring is also resilient, easier to maintain, and more moisture-resistant than traditional hardwood.
This post contains affiliate links. As a participant in Amazon Associates and various affiliate programs, we are compensated when qualifying purchases are made through our referral links at no additional cost to you. Full Disclosure
What type of flooring is best for an RV?
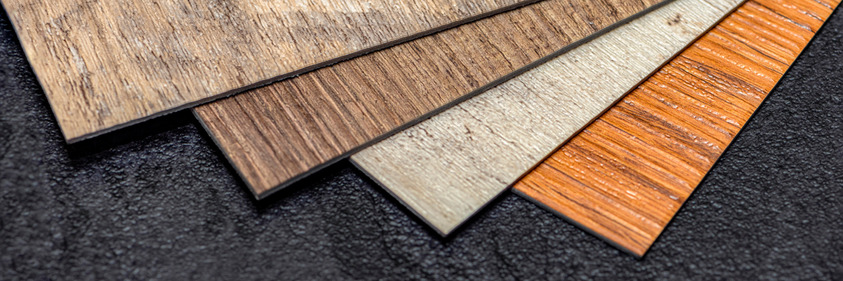
In our opinion, the best replacement flooring for an RV is vinyl. It’s a versatile material, and you can find vinyl tiles, sheets, and planks with simple installation systems. We went with Vinyl planks from Floor and Decor, but you can find a variety of products at any home improvement store or even Amazon. Vinyl is durable and water-resistant. It’s easy to clean, which makes a significant difference in high-traffic areas.
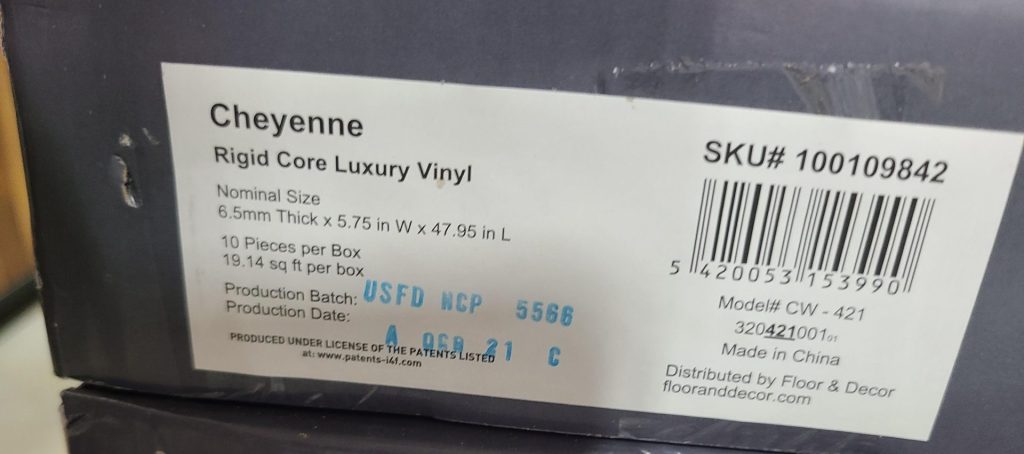
The flooring we went with was called Cheyenne, Rigid Core Luxury Vinyl. The planks measured 6.5mm Thick x 5.75 in Wide x 47.95 in Long. There were 10 pieces per box and each box covered 19.14 square feet.
Is vinyl plank flooring too heavy for RV?
With an RV, every pound of weight adds to the cost of operating the vehicle. More than that, it also adds to wear and tear. When it comes to weight, linoleum and thin carpeting tend to be the best options. If you’re full-timers, then you’re in the same situation you’re already in, with cheap-looking flooring that will need to be upgraded again in a few years. Tile simply isn’t suited to an RV; it’s too heavy. Vinyl planks and thin veneers may be possible, but solid woods and thick plank flooring generally aren’t ideal.
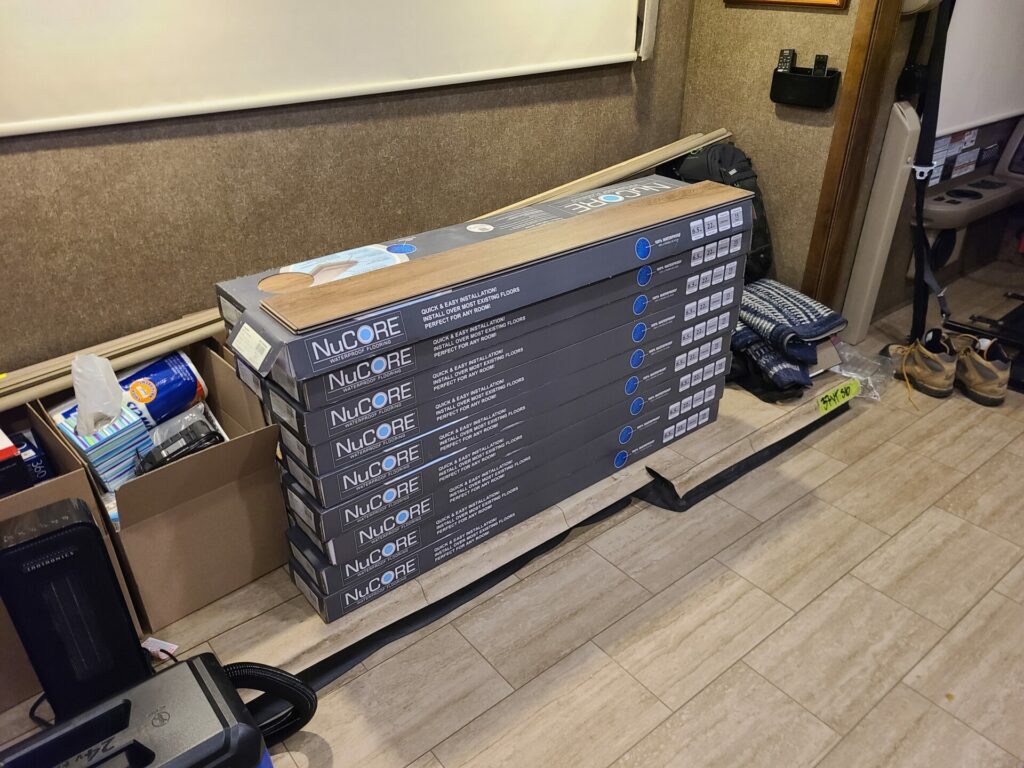
We went with Vinyl plank flooring. When shopping for your flooring, be sure to compare the weight per box to the square footage the box covers. There can be a substantial difference in weight depending on the plank’s material and thickness. The planks we purchased added about 300-400 pounds to our 38′ coach.

RV owners may want to rip out their old flooring and weigh it before they commit to a new flooring type. They may find that they have more room for weight than they thought — or they could discover that they need to lighten their load considerably.
Should RV vinyl planks be glued?
One of my first questions, when we started thinking about replacing our linoleum with vinyl planks, was, Did the planks need to be glued to keep them in place?

It is NOT recommended to glue down vinyl planks in an RV. It is a floating floor and needs to be able to expand and contract with temperature changes and humidity. Otherwise, you will get splits or heaves in the seams. Once you find the best flooring material, make sure you leave a 1/4-inch gap around the edges for expansion and contraction.
How much does it cost to replace flooring in an RV?
The costs to replace your RV floor will vary; you could spend anywhere from $600 to $6,000 for the project. It all depends on how much space you have (square footage), what kind of replacement flooring you want, and the extent of the work. We were actually quoted over $10,000 from an RV remodeling company in Texas just to do the floors.
The cost to complete our installation was $2351.06. Materials were $1601.06, and Labor was $750.00. The flooring we chose was $3.16/sqft. Each box covered slightly more than 19 sqft. We used 18 boxes to cover our 320ish sqft motorhome.

Our Installation
We had to return to the Austin, Texas area to have our furniture reupholstered, so while we had everything out of our motorhome, we decided it would be a good time to replace the flooring.
Initially, we planned on doing the work ourselves. We got pointers from some friends who have a Challenger and replaced their flooring also. The more I thought about it, the more I knew I didn’t have the tools to do the job or the experience to get the job done in a timely manner. After watching the crew do our floors, I’m confident I could have done the job myself, but so glad I hired an experienced flooring installer to do the work. The team I hired had never done an RV floor before and said that it was quite challenging for them.
Prep Work
I did most of the prep work except for actually removing the linoleum from the coach. I started by pulling the carpet from the stair surround. This was the biggest part of the prep. Pulling the carpet was straightforward enough. It was the staples left behind that took time to pull each and every one out of the plywood.


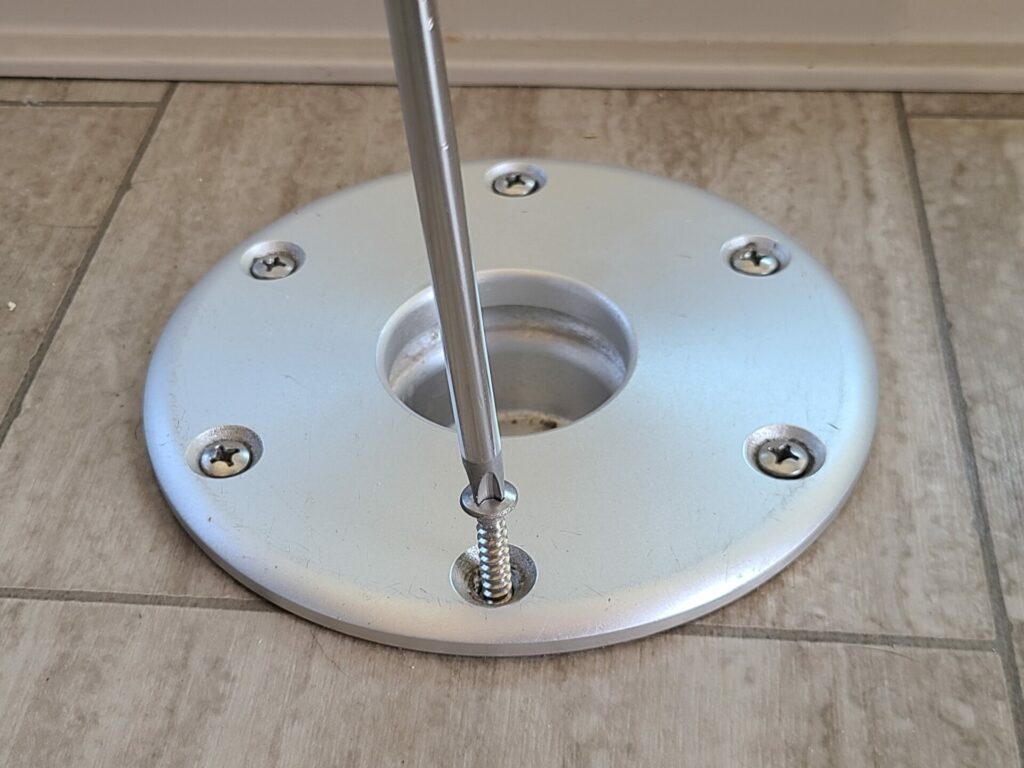
The next thing we wanted to do was get rid of the table mount that is between the driver’s and passenger’s seats. When we first purchased the motorhome, we knew we didn’t like the table between the seats, so we removed it and the post and put them in storage. Now it was time to remove the eyesore bracket left behind.
I removed the six screws and the mounting piece. Then came the dilemma of how to fill in the hole left behind. Finally, I came up with the idea to use spray foam insulation to fill in the hole. It worked perfectly.


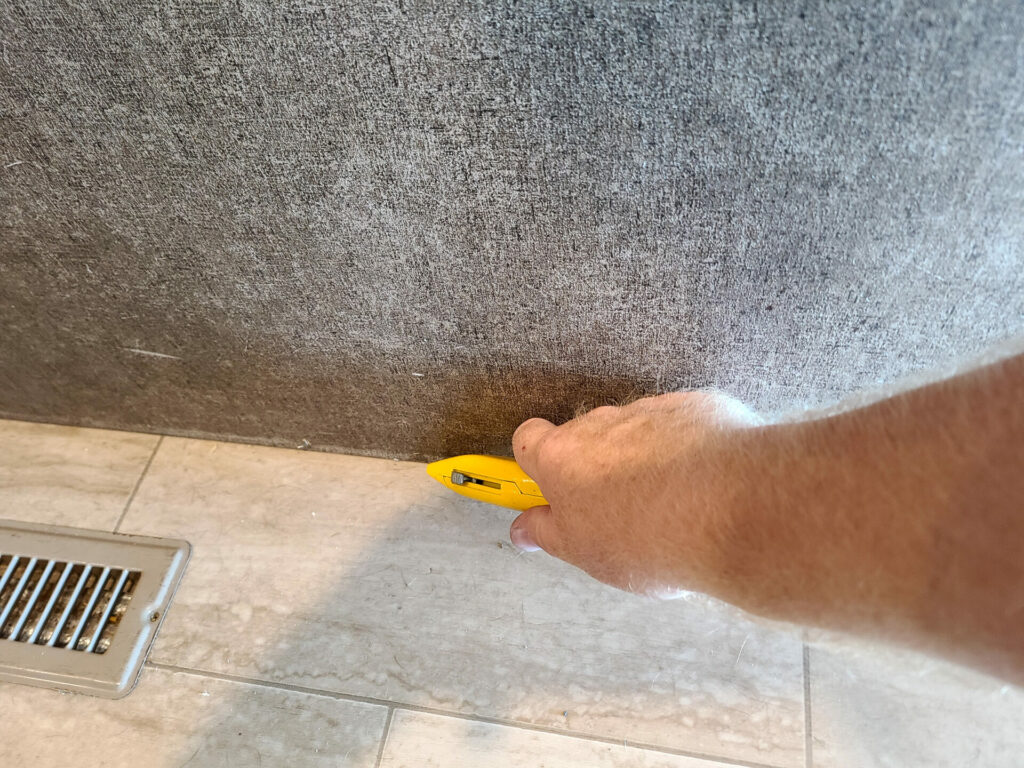
The flooring is one of the first things installed at the factory, and everything is built on top of it. So the flooring is under the walls and everything else. While the spray foam dried, I took my razor knife and cut the linoleum around the motorhome walls. This is a step I thought would be more challenging and take more time, but the flooring is so thin it cut like butter, melted butter. It took me about 10 minutes to cut around the whole coach. It didn’t even dull the blade on my knife, and then the flooring was ready to be removed. I left it for the installers the next day.
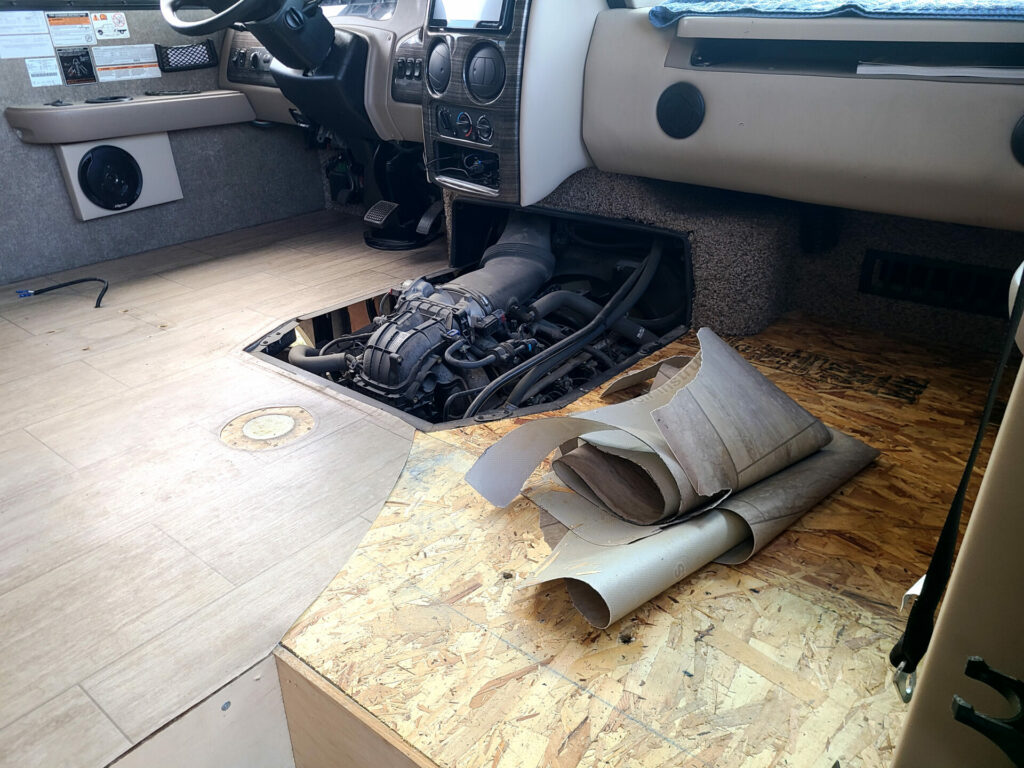
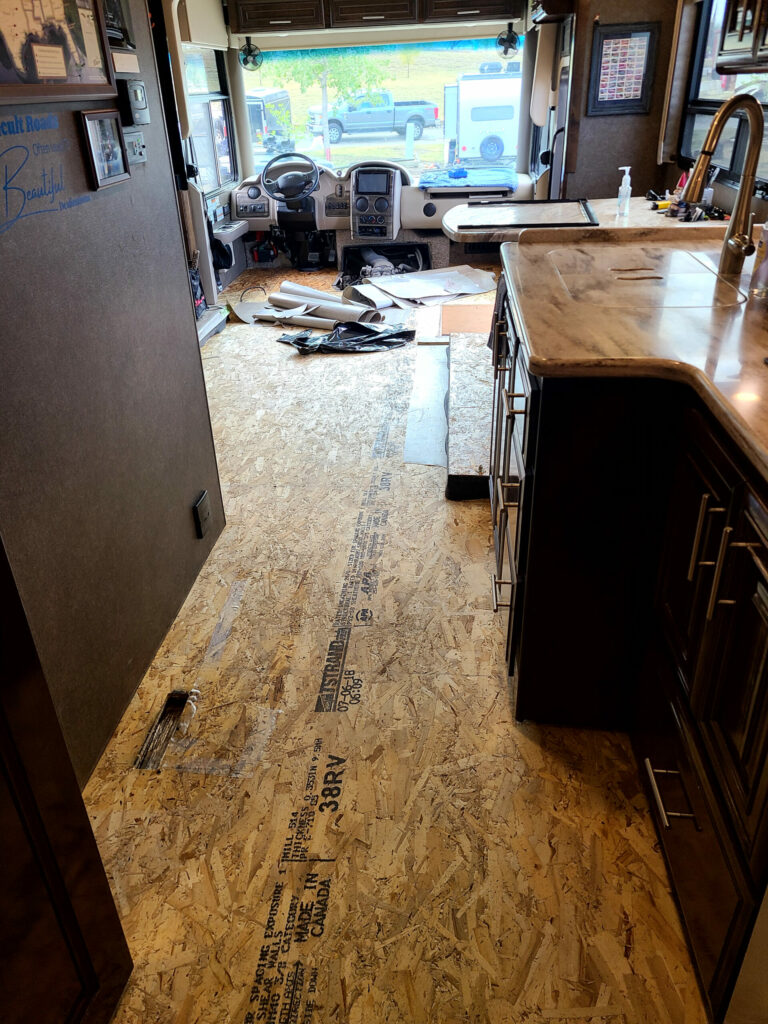
The installers arrived the next morning right on time. They quickly had the old linoleum flooring out of the coach. Once I had cut around the walls, the only thing holding the floor in place was a bit of tack spray adhesive around the edges. The floor pulled right up.

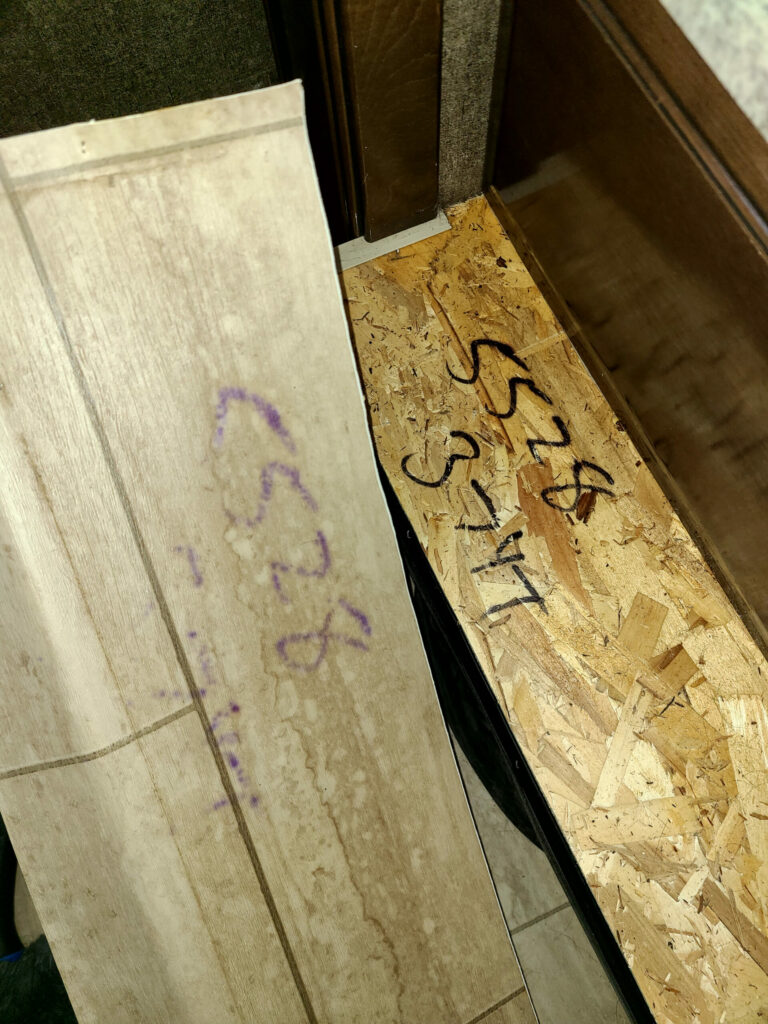
Just under a year into our full-time RVing adventures, I looked down and saw numbers written on the floor of the bedroom slide. I was like WTF is that? I couldn’t understand why I hadn’t seen the writing there before. It was an item we reported to the manufacturer on our warranty checklist, and they were going to cover the replacement. We just never made it back to Indiana to have the work completed. Glad to have the eyesore gone now.
The linoleum is ultra-thin; come to find out, Thor wrote on the OSB subflooring the number 5528 (our motorhome’s stock number) and 37YT (our model number). I guess that with humidity, the numbers bled through the super-thin linoleum. Another great job by the RV manufacturers!

Installation
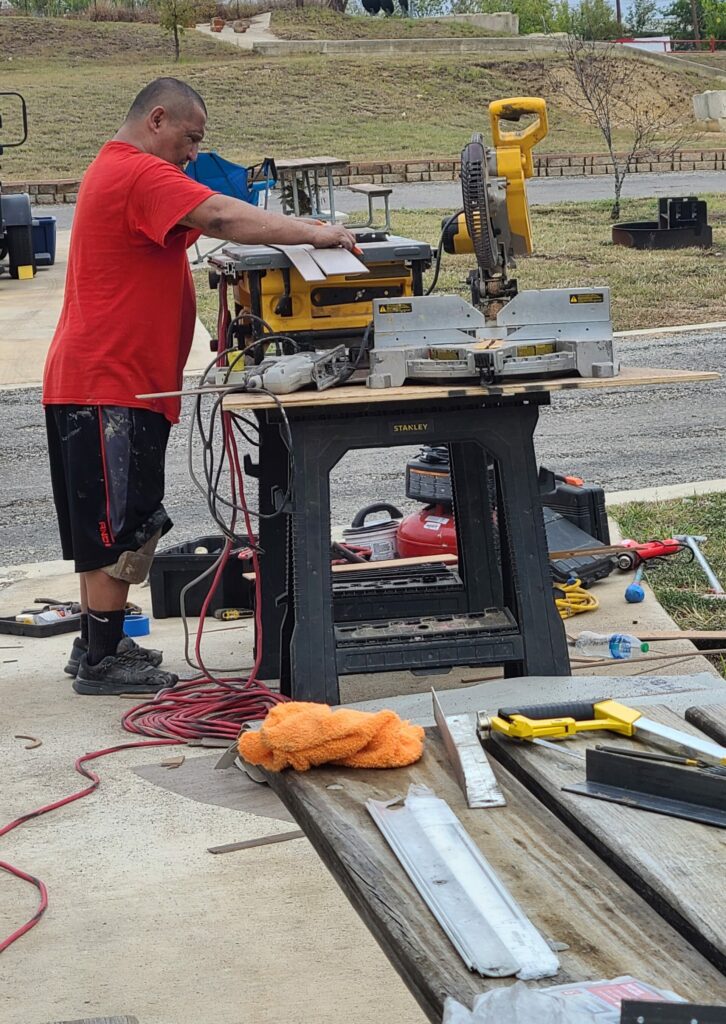
The main reason I hired a team to install our new floors was that our coach has some strange angles that needed to be navigated. I know I would need a table saw or some other way of cutting than the normal score and break method for vinyl flooring.
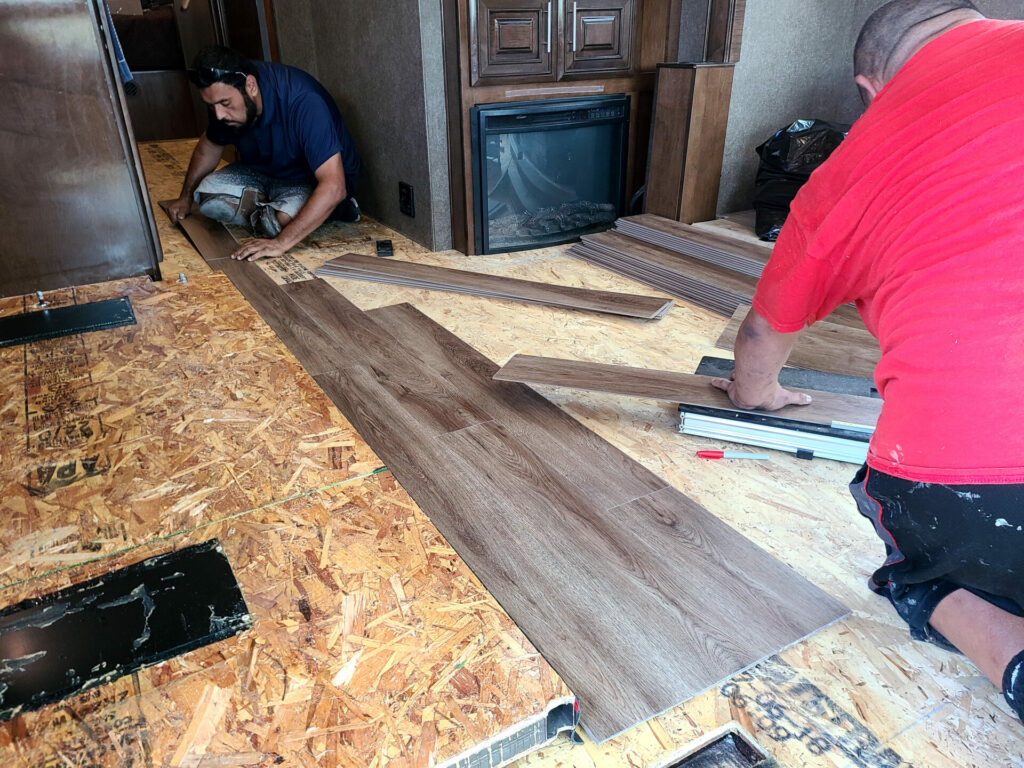

The crew installing the floors looked like they were moving right along in the beginning. I thought to myself, they’ll have the floor installed in no time. That was until they got to the point where they needed to start making cuts on nearly every board. Then time slowed, and it seemed they weren’t getting along as easily as before.
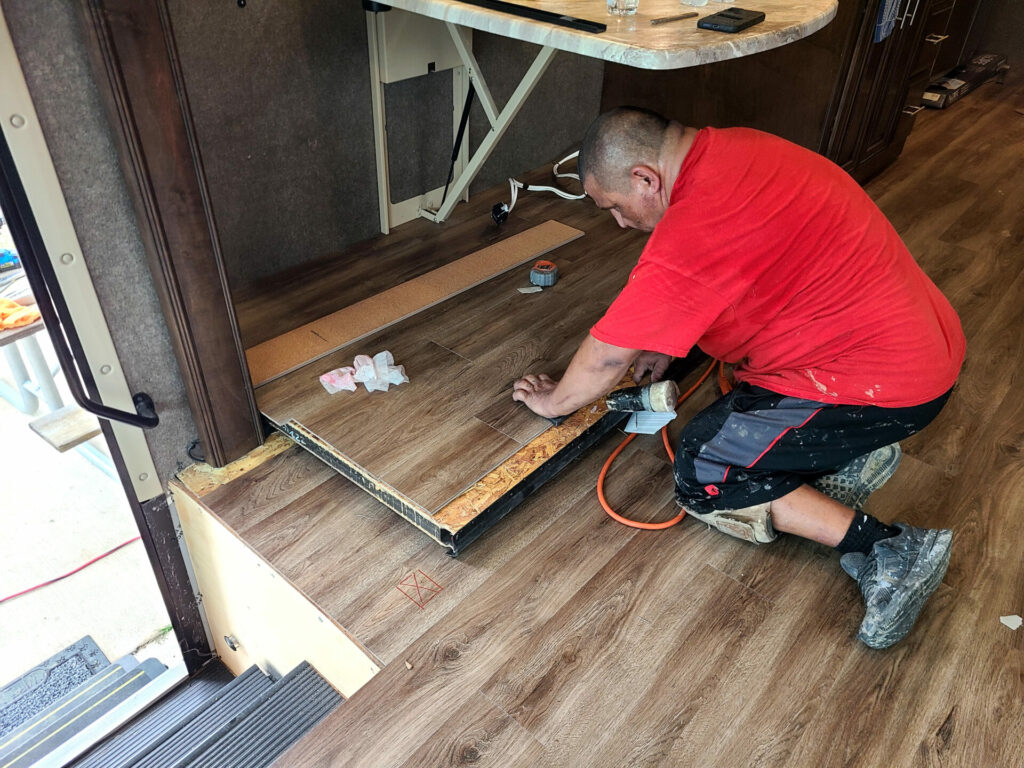
One of my main concerns with the floor is making sure it is under the slide-outs properly and that nothing is going to hit them. The guys made sure to cut the flooring around the slide-out rollers, and the floor was pushed under the slide as far as they could, so there is no chance of it hanging up.
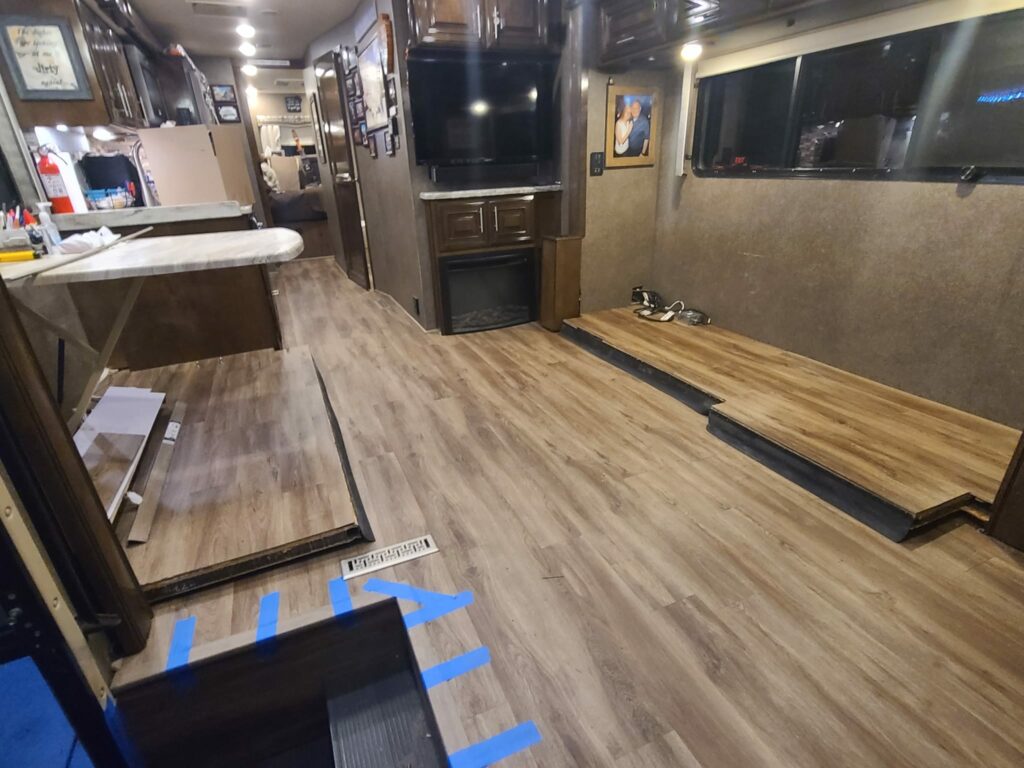
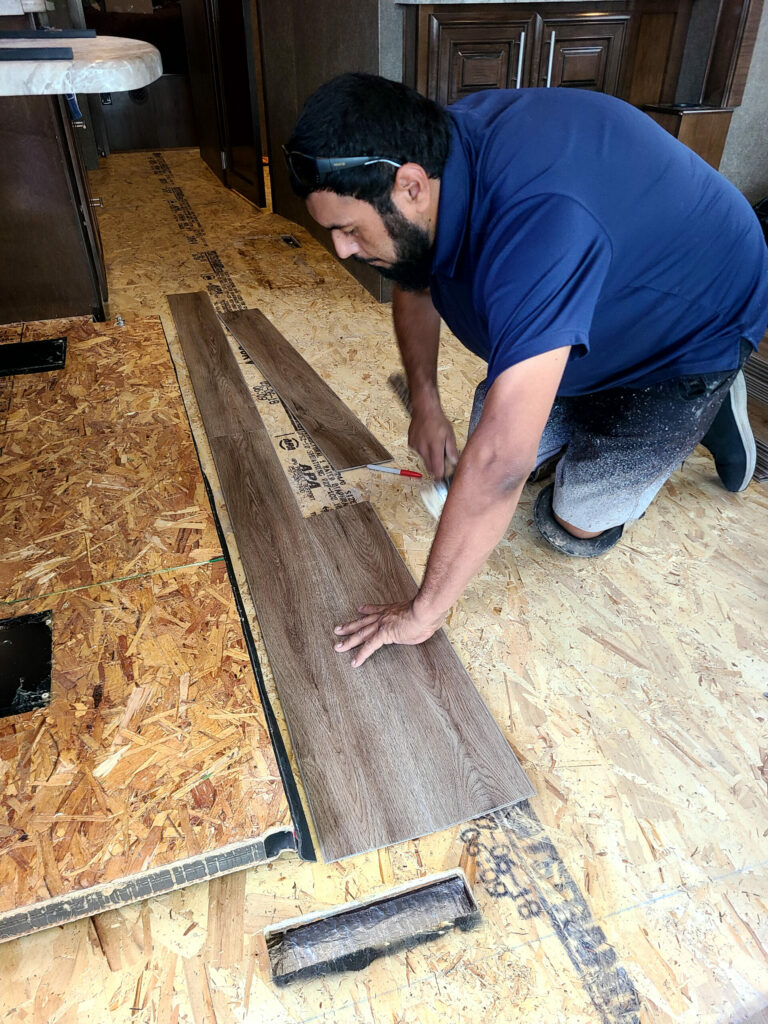
The guys worked hard making cut after cut. The material cuts very easily. You can cut the planks by just scoring the material and snapping it off. The crew used a vinyl floor cutter for most of the straight cuts. For the more complicated cuts, they used a chop saw or portable table saw. They got the center floor done and then worked on the slide-outs and stairs. Everything came together wonderfully.


Finishing Touches
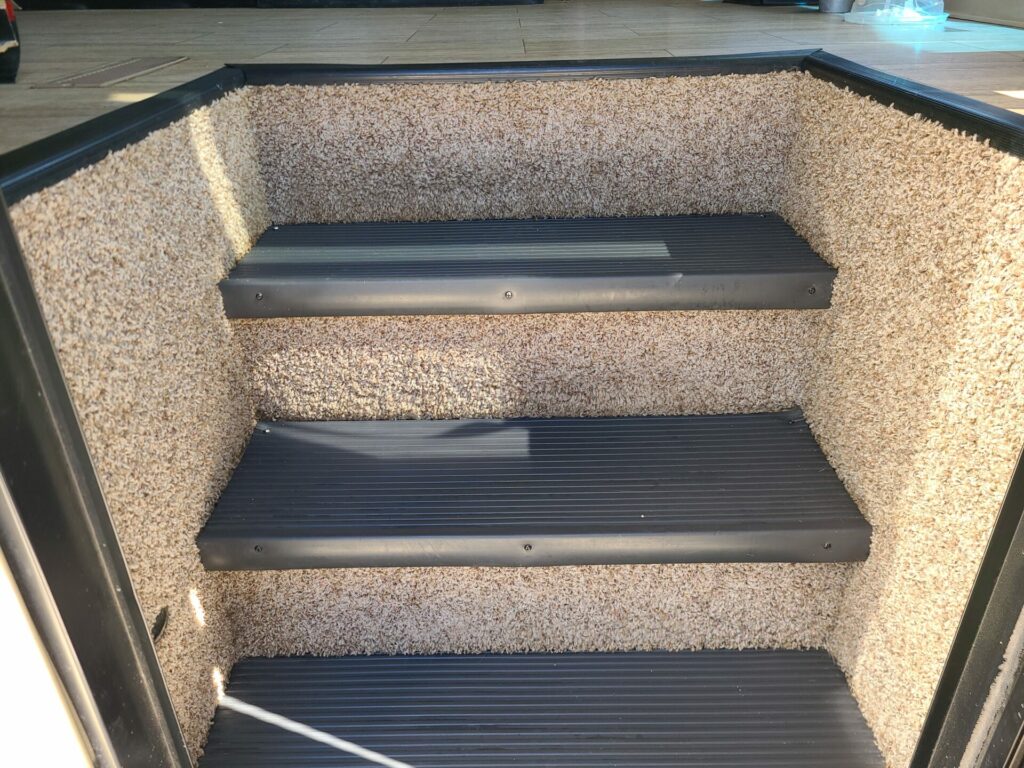
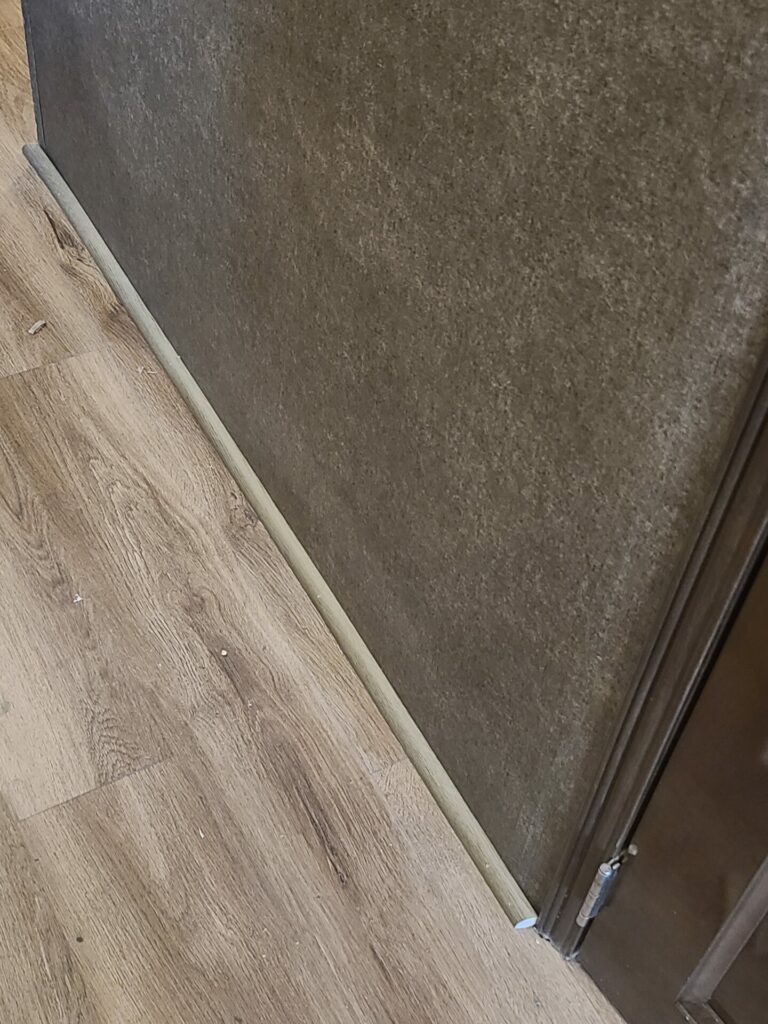
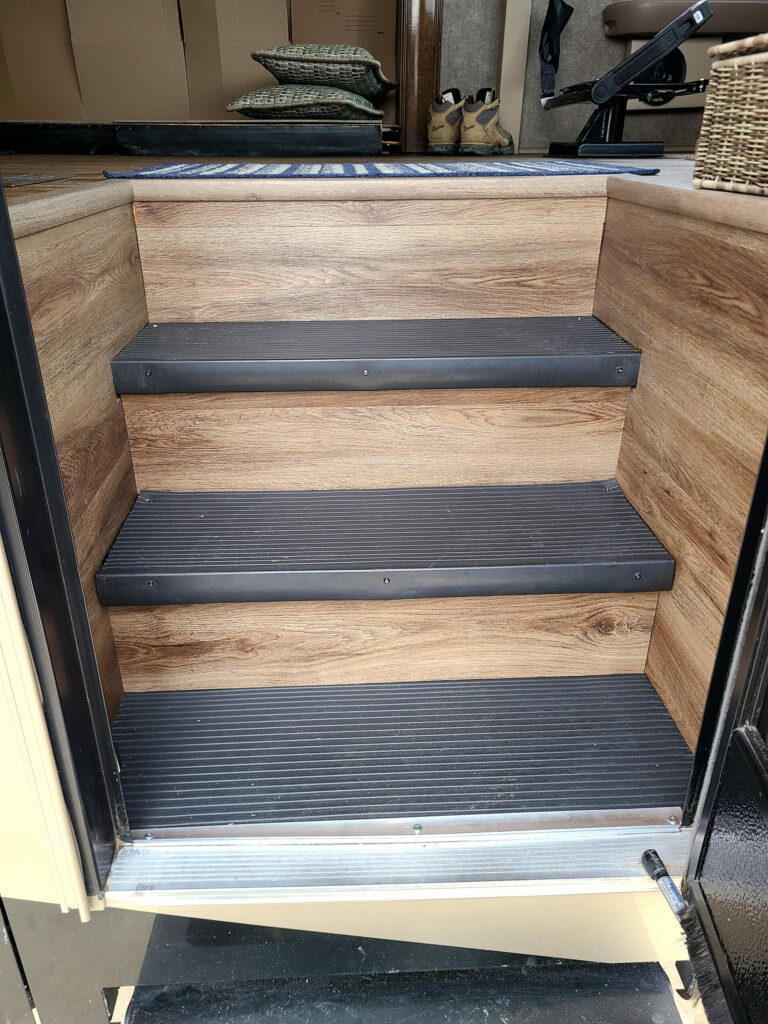
To give our flooring a finished look, the guys installed shoe molding along the walls and added stair molding to the stair surround and on the front edge of the slide-outs.


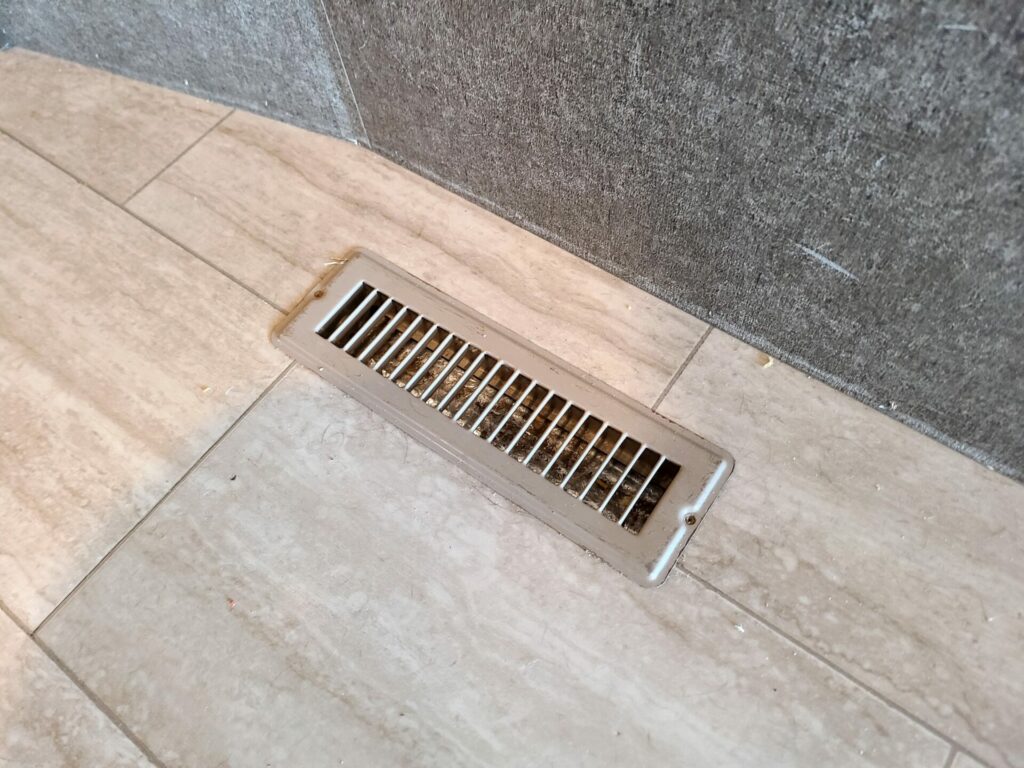
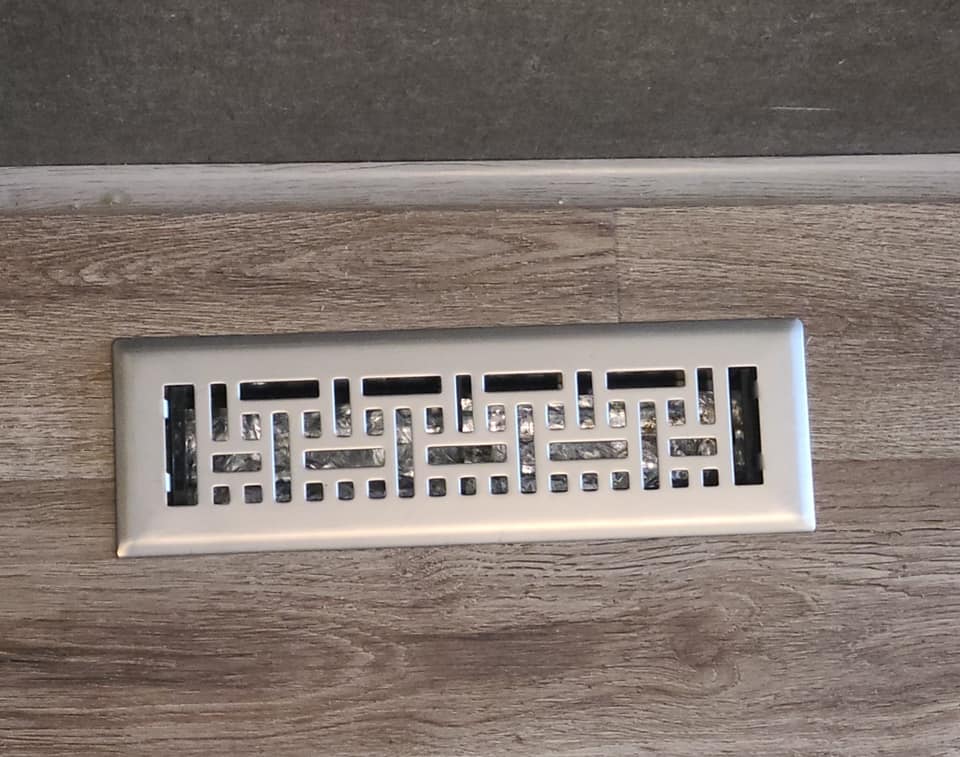
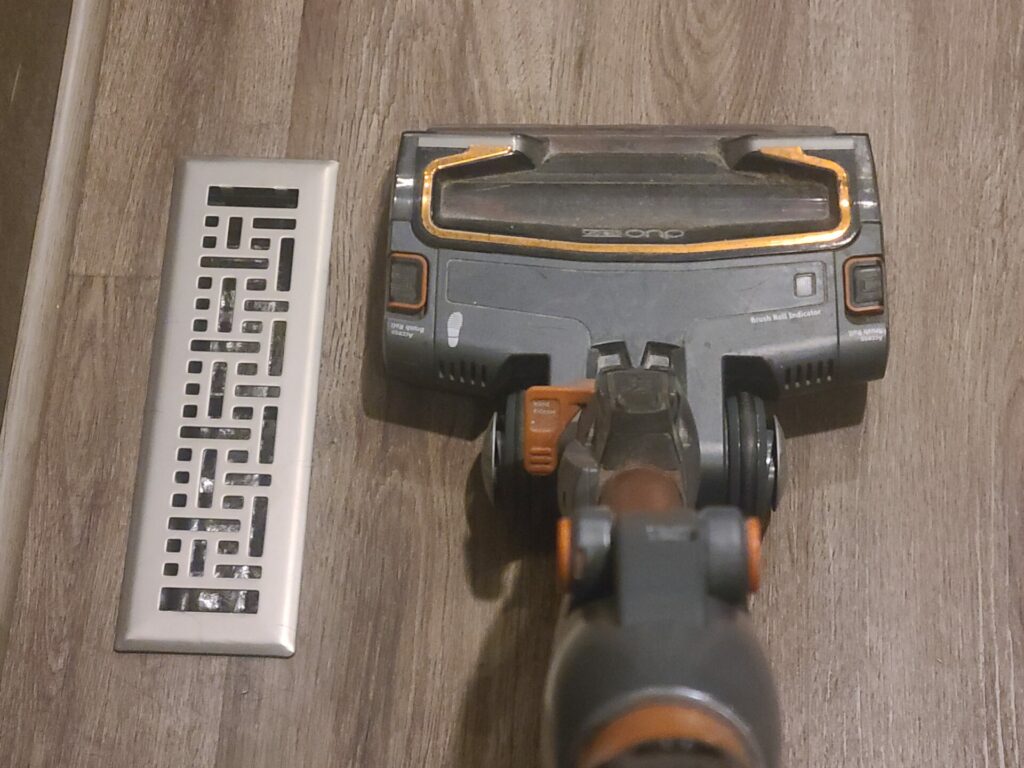
One of my favorite parts about the whole installation is the floor registers we got to replace the manufacturer-installed registers. We found some really nice 2″x10″ brushed nickel registers on Amazon.
The floors turned out really well. I’m glad I hired someone else to install them. The guys doing the installation even commented that it was fairly challenging for them. Having it done in one day was well worth the money spent. It would have taken me a week to install the floors myself. I would have had to go buy or rent tools and learn on the fly. All in all, having someone else do it was totally worth it.


Cleaning and Maintenance
RVs can get very dirty, especially when they are parked in dusty locations or beside very active roads. Because of this, most RV owners want to look for a material that’s very easy to clean. Linoleum and vinyl can both be easily mopped or even hose down if necessary.
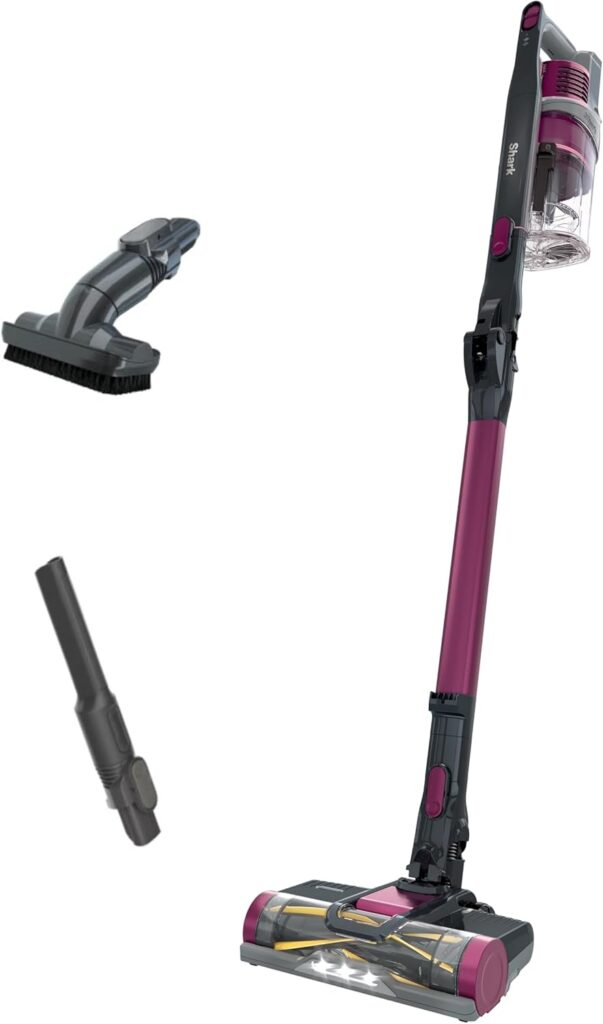
To maintain clean vinyl floors, and before any wet cleaning, use a broom, dry or dust mop, or vacuum to remove surface debris such as dust and hair. When vacuuming, don’t use a “beater bar” attachment that can damage the surface of your floors.
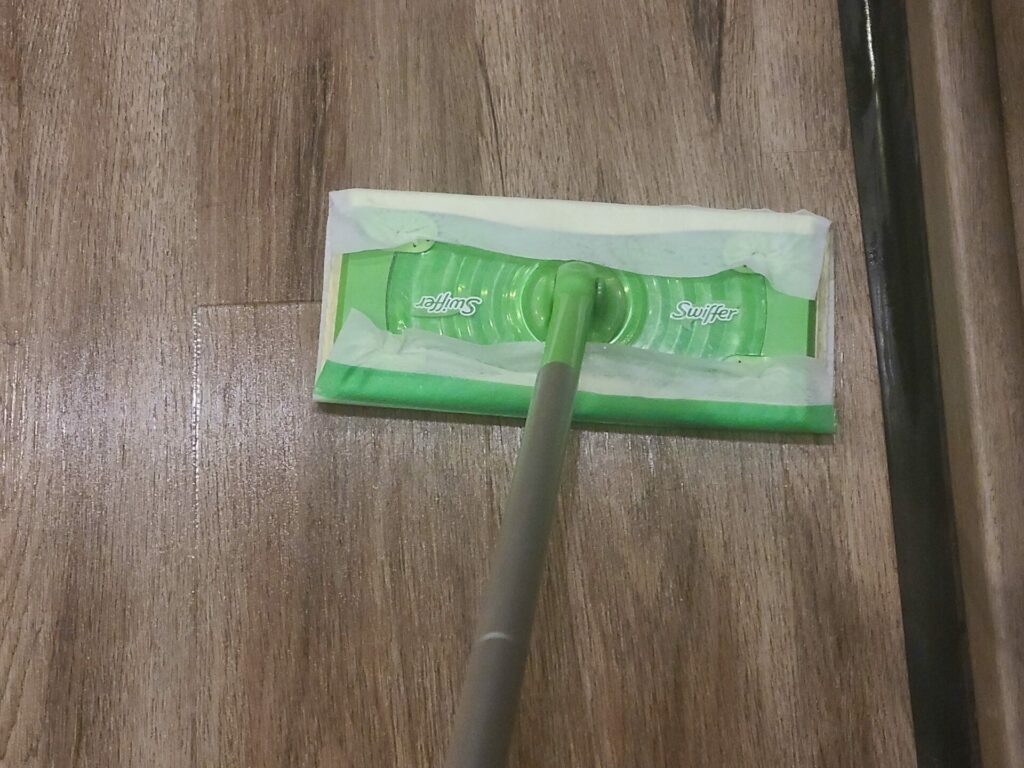
One of the advantages of vinyl plank flooring is that it is relatively easy to maintain. The best way to clean and maintain vinyl floors is to mop your floors regularly using just water. When you want to disinfect your floors or do a deeper cleaning, you can mix your gentle solution using some general household products. Mix a solution of apple cider vinegar — or white vinegar if you want to disinfect — and hot water to mop your floors, rinsing the head of the mop frequently with hot water. We just use a Swiffer Wet mop to do our floors after we vacuum. It does a great job.
When dealing with particularly dirty floors, you can add a few drops of dishwashing soap to the mixture. Make sure not to add too much soap, as it can make your floors sticky. Then mop your floors again with just a water and vinegar mixture to remove the soap. For floors that look a bit dull, add a few drops of baby oil to your vinegar and water solution.
How to fix scratches and scuffs on vinyl plank flooring
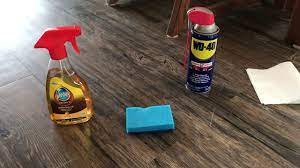
Despite our best intentions, floor scratches are bound to happen. With vinyl plank flooring, you have a few options for treating light scratches and scuffs. For scratches, in particular, drip some olive oil (a natural alternative to WD-40) onto a microfiber towel, and buff the problem area. If the scratch is particularly deep, a vinyl floor sealer may do the trick of hiding it. Otherwise, you’ll have to replace that plank entirely.
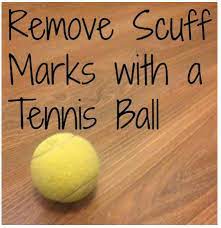
For light scuffs, an old trick is to rub a tennis ball — that’s right, a tennis ball! — over the scuff.
With proper care, your vinyl plank flooring should stay beautiful for many years.
Vinyl Flooring Don’ts
- Never use steel wool or abrasive scrubbers to clean your vinyl floor.
- Avoid using detergents, soaps, abrasive cleaners, or products intended to add shine to your floors. These can cause product buildup that may leave a film on your floors and will generally dull their shine over time.
- Don’t use wax or solvent-based polishes.
- Don’t use ammonia or ammonia-based cleaning solutions. Ammonia can break down the vinyl and cause it to crack.
- Don’t use a steam cleaner on vinyl plank flooring. Though vinyl can sometimes be impervious to water, it won’t stand up to both the water and the intense heat produced by steam cleaning. Using a steam cleaner on vinyl flooring may also violate its warranty in some cases.
Conclusion
Changing out our flooring from the original linoleum to vinyl plank flooring made our motorhome feel more like a home! The vinyl flooring is solid and just makes the place feel more livable. Theoretically, you could replace the flooring yourself, although we don’t really recommend this. While this is a project anyone can do, I would recommend hiring someone for the job. Especially if you’re short on time or want to get it done promptly and have everything look right.
Have you changed out the flooring on your RV? What type of flooring did you go with? If you have any questions or comments, we’d love to hear from you below. Thank you for taking the time to read our article.
If you’re looking to build your own home-based business like we have with this webpage, check out Wealthy Affiliate.
Wealthy Affiliate is an all-in-one platform that you can build your whole affiliate marketing business on. It combines training, software, and website hosting into one. This makes the whole process of starting an online business from scratch much easier, especially if you’re new to building a website.

Hi Rob,
Did you have heat insulation on the floor around the engine compartment that you had to deal with? Thanks, David
Hi David, Thank you for your question. There was no insulation around the engine compartment. It was just the subflooring. The original flooring material came up way easier than I expected.
Good Luck with your project,
Rob
We are about to install vinyl in our RV. What do you along the edges of the slideout?
Thank you for your question Graeme. For our slide outs the planks are thin enough to go under. So we snapped the planks together and slid them under until they were butted up to the rollers. For the top side of the slide out flooring we got some stair edge trim and edged the slide for a finished look. Hope this helps. Let us know if you have any other questions.
Very good analysis about this vinyl flooring. I have used these laminate panels to create a faux “wood” wall for a fraction of the cost and work of real wood panels! It’s very beautiful and exceeded my expectation.
Thank you for your comments, Dalton. I had never used the vinyl plank flooring before, but I am a big fan of it now. It would be great for a wall. We used in on the surround of the steps going into our motorhome. It looks so much nicer and much easier to clean than the carpet that was there previously.
Exactly, Before installing I thought it could be a temporary fix, but it doesn’t look like the floor planks would have to be replaced any time soon.
Good to hear, Dalton. We really like ours and it seems to be holding up well so far with our work out here in the Texas Oil Fields.
What thickness were your planks?
Hi Tom, Thanks for your question. The flooring we went with is 6.5mm thick. Let me know if you have any other questions. Rob