
An RV Microwave Removal and Replacement is only slightly different from changing out a microwave on sticks and bricks at home.
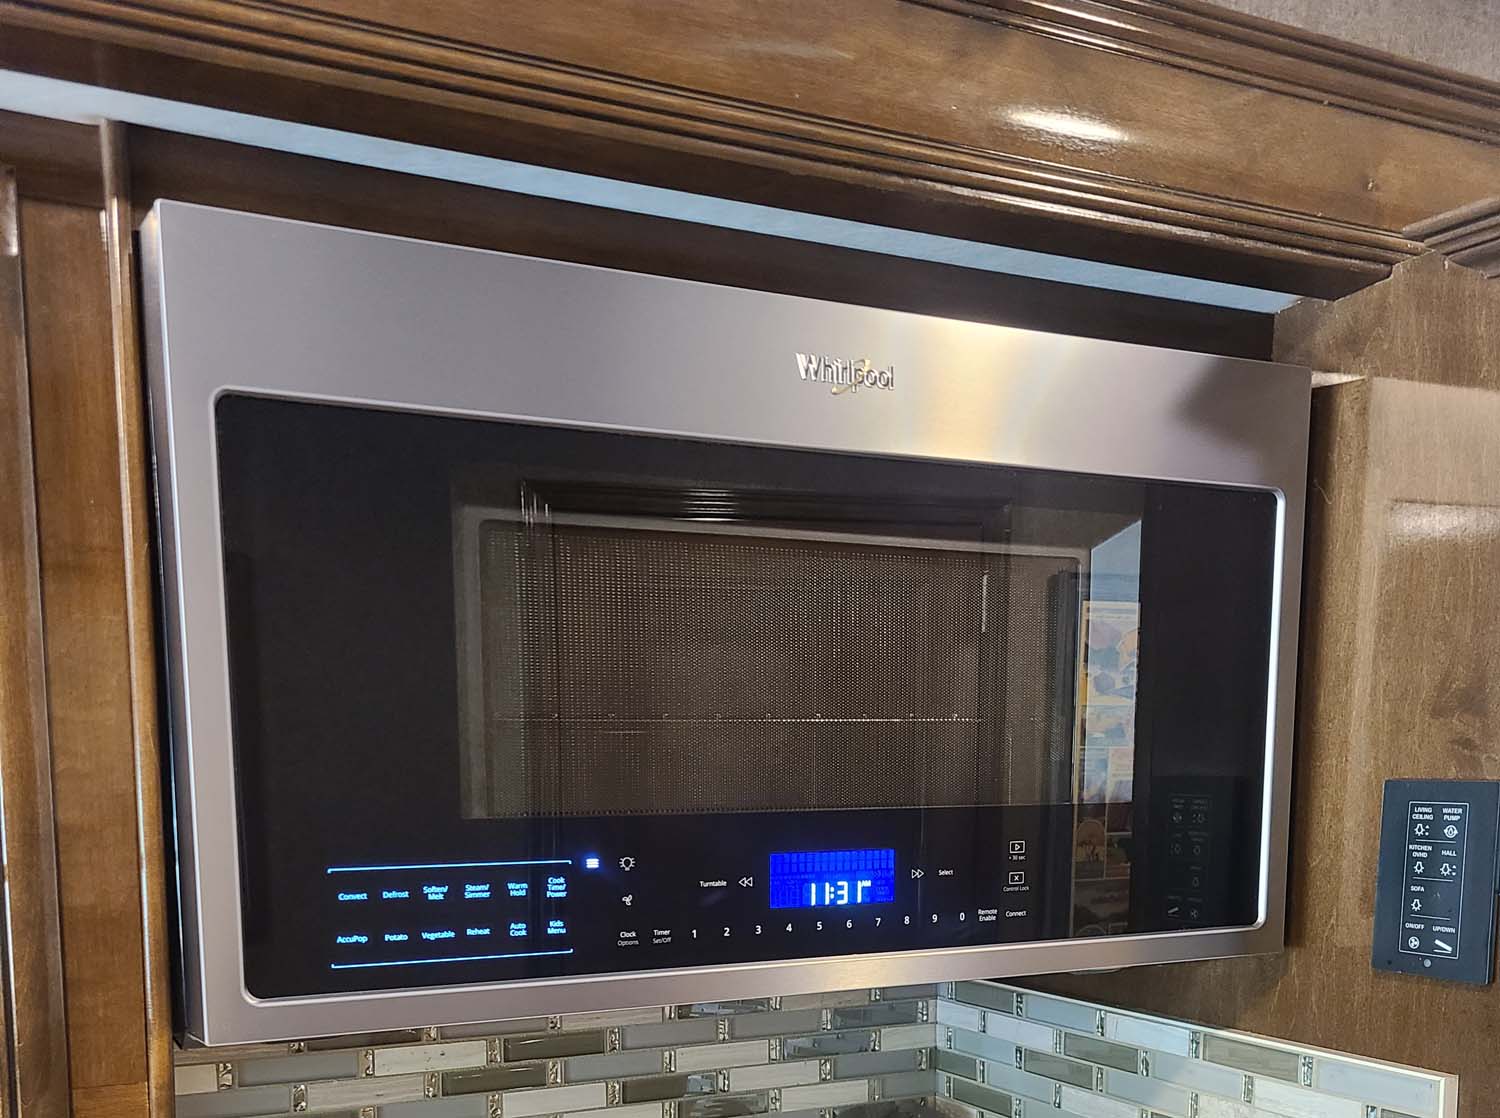
We recently replaced the microwave on Our 2019 Thor Challenger 37YT. The upgrade we went with is a Whirlpool WMH78019HZ-3 Convection Microwave. It was a major upgrade from the junky High Pointe Convection Microwave that came in our RV.
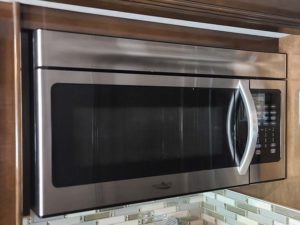
From the start, the High Pointe microwave was cumbersome and confusing to use. On the Convection Mode, the temperature always seemed to fluctuate and would either burn parts of the food we cooked or undercooked parts.
Why the Upgrade
The need to upgrade was not one we planned on. The High Pointe Convection Microwave while it was not a great unit worked well enough even though we were still learning how to use it efficiently.
Lisa was heating a muffin in the microwave for 30 seconds. At 27 seconds she said she saw a flash and the microwave went dead. There was no power to the touchpad or any lights on in the microwave. We checked the breakers which were all normal. Then we used our outlet tester to check the microwave’s outlet. The outlet was still live. The microwave was DEAD!
I started troubleshooting the microwave and researching possible problems on the internet. I found a lot of posts about problems with the High Pointe units. It seems like a popular model in many RV brands. For each brand I checked I found plenty of people that had issues with these microwaves.
Finally frustrated with not tracking down an issue I could fix, I called Thor only to be told it was three months out of warranty. Thor told me I could probably have it replaced with our extended warranty. The extended warranty company told me they would cover it, but I would need to take the motorhome to a service center to get the microwave inspected, and it would cost me the $200 deductible.
I figured being in the Lake Tahoe area I would need to drive the motorhome to Carson City or Reno to get it looked at. I estimated it would cost $100 to check out the microwave, plus the $200 deductible plus gas back and forth I’d be better off just buying a new microwave.
See Why Whirlpool Kitchen Appliances Provide The Best Organization And Flexibility
Back on the internet, I started checking out different Convection Microwaves that would fit. Luckily our motorhome takes a standard 30″ microwave. After looking at the reviews for the Whirlpool WMH78019HZ-3 Convection Microwave we decided to go with it. We’re very happy with our selection.
We purchased the Whirlpool WMH78019HZ-3 Convection Microwave from Lowes. It took about 10 days for it to come in. The day before we went to pick it up in Carson City I got an Email from Thor stating that they would cover the High Pointe microwave under warranty. Now what?
I contacted Thor Warranty and let them know I had already purchased a new microwave when they told me they wouldn’t cover it over the phone. Thor has been very good with their warranty on our motorhome. They told me they would cover $240, (their cost for the High Pointe Microwave), toward the purchase of our new microwave. I felt that was fair and it took nearly 50% off the cost of our new microwave. I just had to send them the power cord and the label from the microwave.
Out with the Old

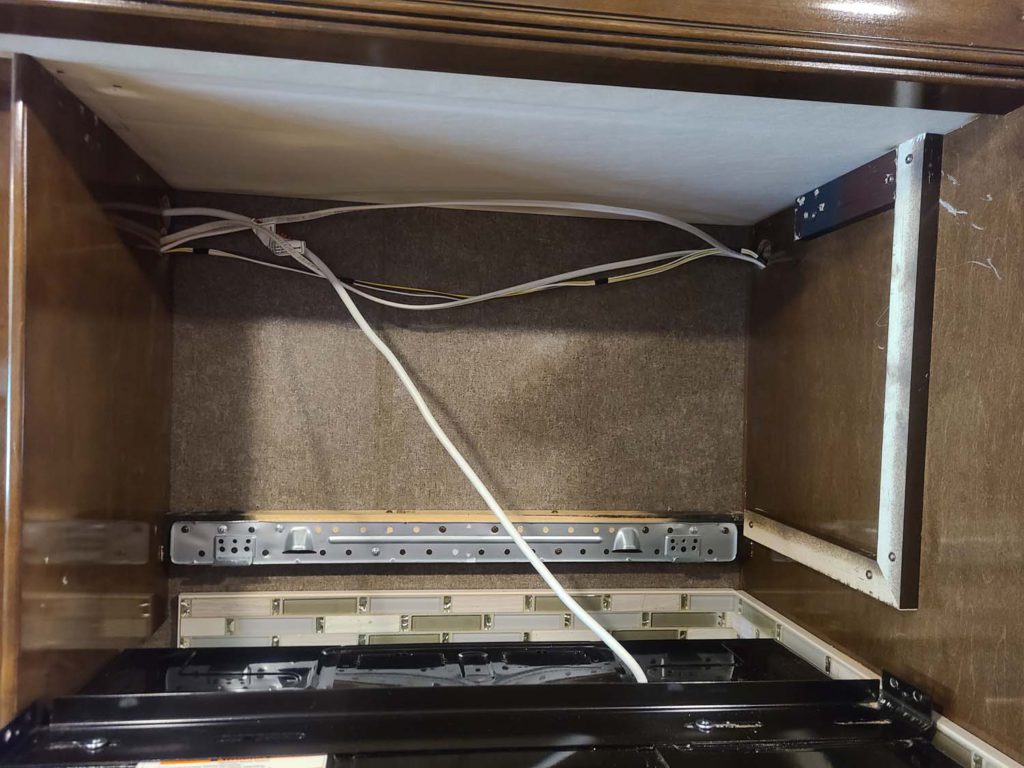
If you’ve ever changed out an under-cabinet microwave they are usually mounted using screws through the cabinet above them. Since there is no cabinet above the microwave in our RV I asked Thor how the microwave was mounted.
They told me it was screwed in through the top of the slide and I’d need to run the slide in to get to the screws. Wrong! After running the slide in and seeing no screws I ran the slide back out to investigate further. I had to remove a piece of wood trim that is basically just jammed into the space between the microwave and the slide ceiling.
Once that piece of wood is removed I discovered the microwave is actually hung by a bracket that screws into the walls between the refrigerator and the cabinets next to the microwave.
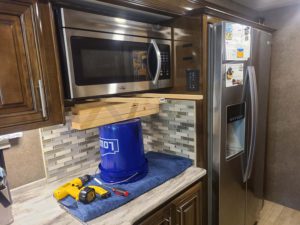
Using a five-gallon bucket and some 2X4s for support along with some assistance from our bosses kid Dylan we easily got the old microwave out. It was as easy as removing the two lag bolts on each side, then lifting the microwave off the bracket attached to the outer wall.
In with the New

After moving the top mounting bracket to the new microwave and changing out the rear mounting bracket on the wall, Dylan and I used the same five-gallon bucket and 2X4s to lift the new microwave into place.
The microwave went right in, hung on the new back mounting bracket and Dylan lifted the front while I installed the four lag bolts. It was an easy process that I soon found out was probably too easy.
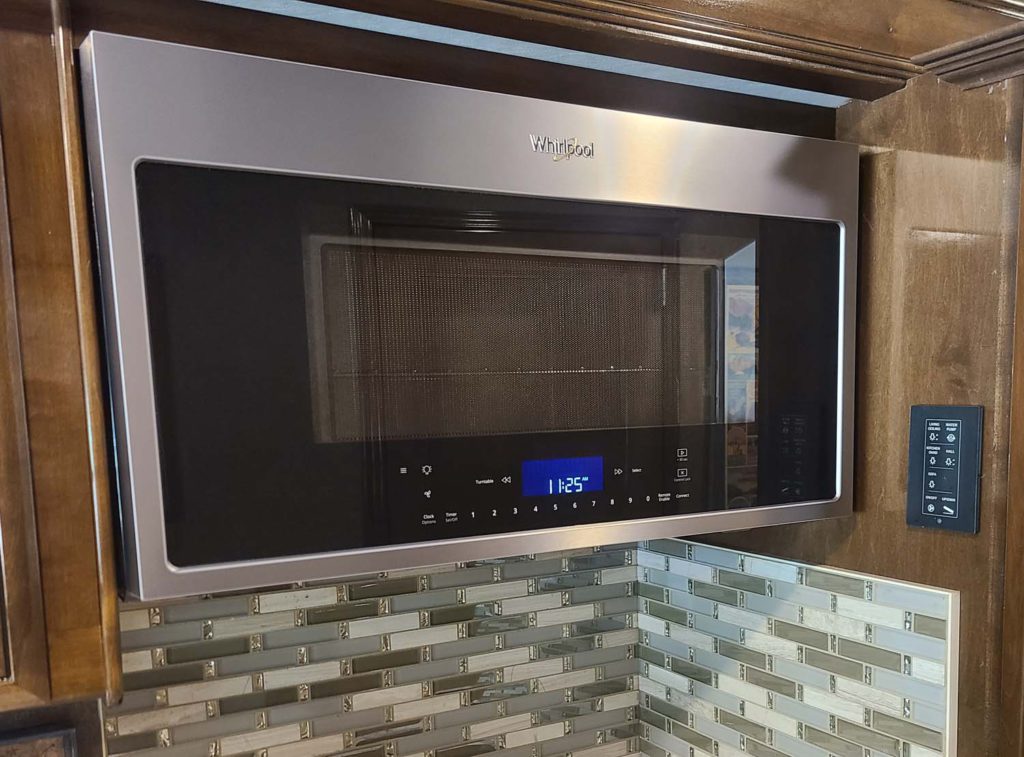
Once the new microwave was installed it just didn’t look quite right. The top seemed to be out too far and there was no way to pull on the handle that is recessed into the right side of the door. We had to pull the door open from the bottom or top. I also couldn’t put the wood trim back into place.
The microwave was a bit too high and out a bit too far on the top. It was OK for then as we had to go to work. We would make some changes to it later.
Removal Again and Modification
The installation of the new microwave was still bugging me after a few days. It just didn’t look right. I knew it needed to come back out and move the aft mounting bracket down a bit so the top could move in further. And while I had the new microwave back out I wanted to see if I could move it over further to the left so we could access the actual door handle that is recessed into the door on the right side. It would make opening the door a lot easier.
Dylan wasn’t able to stop by and help me lift the microwave out so I recruited Lisa to help. I got out the five-gallon bucket and 2X4s once again and stacked them beneath the microwave. I removed the four lag bolts holding the microwave up and we let it down onto the 2x4s. As Lisa removed the 2X4s and bucket and I lifted the microwave off the back bracket and set it down.
There was a small 1″ wood trim piece used for a spacer on the left side of the microwave. I figured moving that trim to the right would give me the clearance I needed to access the door handle on the right of the door. The trim was held on with four small screws and came off easily. I leveled them up and re-installed the trim on the right side across from their previous position.
After moving the aft mounting bracket down about an inch it was time to re-install the microwave. I lifted it onto the freshly moved back bracket and Lisa put the bucket and 2X4s back into place to support the microwave. This time I placed one of the trim supports on top of the microwave and lifted the front into place making sure I had enough room to install the trim wood. Everything looked square, level, and perfect! The door handle is accessible and the microwave looks like it was made for our RV.
Conclusion
Removing and replacing a microwave in an RV may seem harder than in a sticks-and-bricks home, but it really isn’t. It is an upgrade you can make on your own if you need a new microwave. Whether you just want something more up-to-date or if your old microwave dies like ours did it is a fairly straightforward process. With a few simple hand tools, you can get the job done.

Thank you for taking the time to read this article. If you have any questions about changing out the microwave in your RV or if you already have, we’d love to hear about your experiences. Please leave a question or comment below.

Thank you, I have been trying for a month to get mounting information from THOR about the unit in my WINDSPORT with no luck. It is mounted the same way I am sure.
Hello Russell, Sorry for the delay it responding it’s been a busy summer. I hope you got your issues worked out. Thor is usually pretty helpful but occasionally they falter. Best Wishes, Rob